Creating custom cards is a fun and personal way to express your feelings and creativity.
When you use stamps and embellishments, you can transform simple cardstock into unique masterpieces that can brighten someone’s day.
Whether you’re making a greeting card for a friend, a special occasion, or just because, these tools can add flair and personality to your designs.
With countless styles and techniques to explore, experimenting with rubber stamps and various embellishments can take your card-making game to the next level.
Embrace your imagination and get ready to turn ordinary materials into something truly special.
It’s all about finding your style and enjoying the process of crafting something from the heart.
Choose Vibrant Ink Colors
Selecting vibrant ink colors is key to making your custom cards stand out.
Bright, bold hues can add energy and excitement to your designs.
When picking colors, consider the theme of your card.
For holiday cards, reds and greens create a cheerful vibe, while pastel shades work well for spring occasions.
Don’t be afraid to experiment with color combinations.
Using darker shades for edges or accents can create depth and interest.
Try inking the edges of your stamps to give a more dynamic look.
If you’re a fan of layering, vibrant inks can bring your layers to life.
Different colors can complement each other beautifully, enhancing the overall design.
Lastly, remember to test out your ink on scrap paper first.
This way, you can see how the colors look together before committing to your card.
Have fun with your ink selection and get creative!
2) Mix Patterned Papers
Mixing patterned papers can add depth and interest to your custom cards.
Start by choosing two or three complementary designs.
Look for colors that match or create a contrast for a vibrant look.
When selecting papers, consider their scale.
Pair larger patterns with smaller ones to avoid overwhelming the design.
Fussy cutting elements from patterned paper can create unique embellishments that stand out.
Don’t be afraid to experiment.
Sometimes, unexpected combinations yield the best results.
Try layering different textures and patterns to create visual intrigue.
Balance is key.
Ensure that one pattern doesn’t overshadow the others.
You want each piece to play a role in the overall design.
Finally, embellishments like ribbons or stickers can enhance your chosen patterns, bringing everything together.
A little gold or silver accent can complement bright colors beautifully.
Happy crafting!
3) Experiment with Textures
Adding texture to your cards can elevate your designs and make them more engaging.
You can achieve this through various techniques and materials.
Start with embossing folders.
They’re easy to use and create a raised design on your card.
Just run your card stock through a die-cutting machine, and you’ll see the difference immediately.
Consider ink blending as another method.
Applying different colors can add depth and dimension.
Use a sponge or blending tool to create soft transitions between shades.
Layering is also key.
Use different weights of paper or fabric to add physical depth.
You might include ribbons, twine, or felt shapes for added interest.
Don’t forget about embellishments too.
Items like enamel dots or sequins can provide a glossy finish and draw the eye.
They’re perfect for adding those final touches.
Feel free to mix and match these techniques.
Experimenting with textures will help you discover what works best for your style.
4) Add Personal Photos
Adding personal photos to your custom cards can really make them special.
Whether it’s a picture of a beautiful memory or a fun snapshot, photos bring a personal touch.
You can easily print your photos at home or use online services.
Once you have your photos ready, think about the best placement on the card.
You want your pictures to complement your design.
When you’re sticking your photos down, consider using embellishments like washi tape or decorative corners.
These little touches can enhance the overall look.
Don’t forget to include a heartfelt message alongside the photo.
Your words can make the card even more meaningful.
With a bit of creativity, your custom cards will stand out.
Adding personal photos isn’t just a trend; it’s a way to share memories and make connections through your handmade creations.
Enjoy the process of customizing and have fun with it!
Use Metallic Stamps

Metallic stamps can add a stunning touch to your custom cards.
They give your designs a chic and elegant feel.
Using metallics is a great way to make your cards stand out.
To start, gather your metallic ink pads and cardstock.
Choose a color that fits your theme, such as gold, silver, or copper.
It’s essential to pick high-quality inks for the best results.
Next, position your stamp on the paper.
Use a stamping block for better control.
Make sure to press firmly and evenly to ensure an even impression.
After stamping, let the ink dry completely.
Metallic inks can take longer to dry, so be patient.
To enhance the look, consider adding embossing powder for a raised effect.
You can also layer your metallic stamped images with other embellishments.
Mixing textures, like adding ribbon or glitter, can create a unique design.
Try incorporating metallic stamps with various styles to find what you love best.
Experiment with combinations to create one-of-a-kind cards that reflect your style.
Enjoy the process and let your creativity shine!
6) Layer Different Shapes
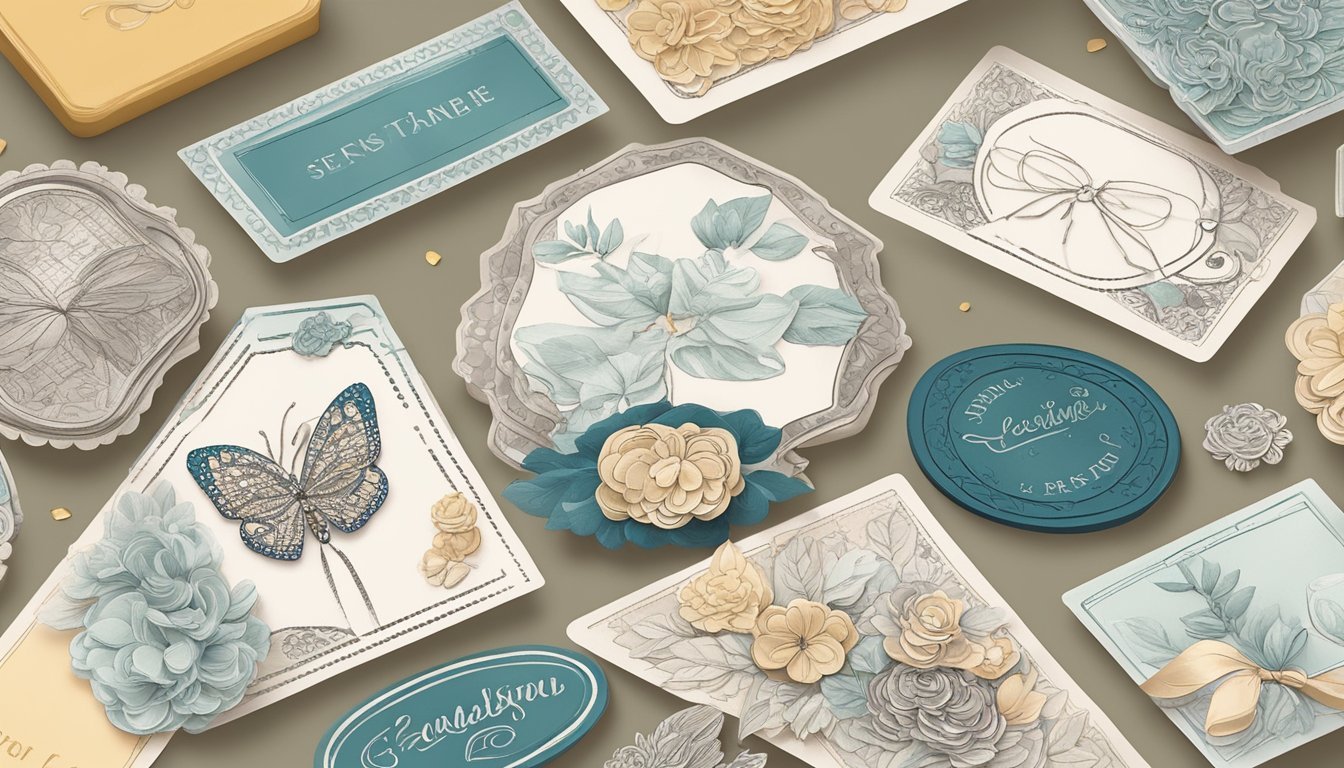
Layering different shapes can add visual interest to your custom cards.
Start by choosing a mix of basic shapes like circles, squares, and triangles.
This variety keeps your design dynamic.
Use die cuts or punches to create your shapes.
You can stack them or arrange them in a creative pattern.
Try overlapping shapes for a unique look.
Incorporate different colors and textures to enhance your layers.
For instance, use a smooth cardstock for one shape and a textured paper for another.
This contrast makes your card stand out.
Don’t forget about embellishments! Adding buttons, sequins, or stickers between your layers can give your card a finished, polished appearance.
Experiment with placement to see what works best for your design.
Lastly, play with the size of your shapes.
Larger shapes can serve as a background, while smaller ones can act as focal points.
Adjusting the scale creates depth and dimension in your layout.
Enjoy the process and let your creativity shine!
7) Pick a Theme
Choosing a theme sets the tone for your custom card.
Think about the occasion.
Is it a birthday, holiday, or just a cheerful greeting? Each event has unique elements you can incorporate.
Next, consider the recipient.
Tailoring your design to their interests adds a personal touch.
For example, if they love nature, you might use floral stamps or earthy colors.
Colors play a big role too.
They can evoke certain feelings, so pick a palette that aligns with your theme.
Soft pastels for a sweet birthday or bold colors for a vibrant celebration work well.
Don’t forget about embellishments.
Items like ribbons, jewels, and wood veneers can enhance your theme and add depth to your card.
Mixing and matching different textures can create a richer visual experience.
Lastly, keep it simple.
A focused theme can help you select stamps and embellishments more easily, making the crafting process enjoyable.
8) Use Heat Embossing

Heat embossing adds a neat touch to your custom cards.
It gives your stamped images dimension and a shiny finish that really stands out.
To start heat embossing, you need some basic supplies.
Grab an embossing ink pad, embossing powder, and a heat gun.
You can choose from various colors and textures of embossing powder to match your design.
Begin by stamping your image with the embossing ink.
Make sure to cover it well, as this is what the powder will stick to.
Then, sprinkle your chosen embossing powder over the stamped image.
Next, shake off any excess powder.
Now comes the fun part.
Use your heat gun to gently melt the powder.
Watch as it transforms from a powdery state to a smooth, shiny surface.
Experiment with different techniques.
You can layer powders for depth or use bold letters and embellishments for extra flair.
Heat embossing opens up creative possibilities, making it a must-try for any card maker.
9) Try Watercolor Backgrounds
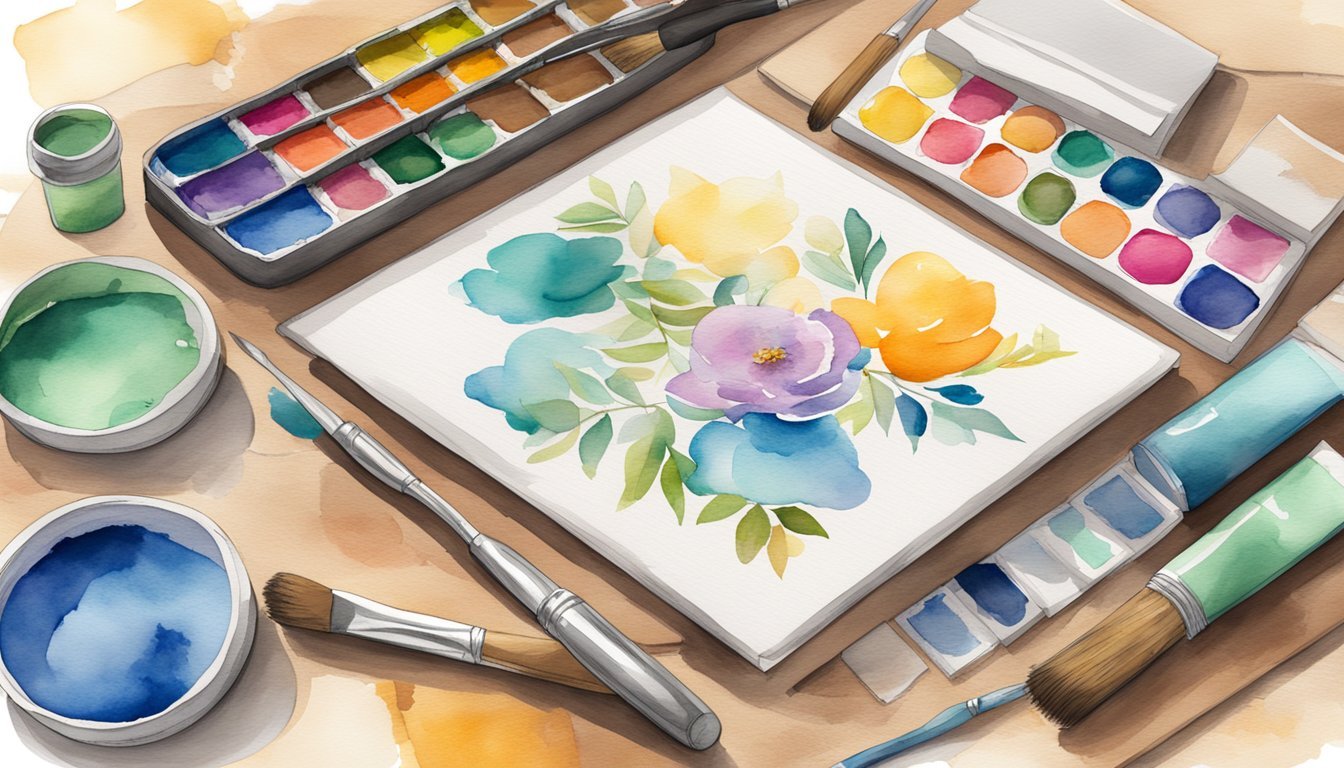
Creating a watercolor background for your cards can add a unique touch.
You can achieve this look using various watercolor techniques.
Start by using watercolor paper to prevent warping.
Regular paper won’t hold up when wet.
You can try the smoosh technique by applying paint to a surface and pressing your paper onto it.
Using stamps on wet backgrounds can create interesting effects.
The colors will blend softly, giving a dreamy vibe.
Experiment with different shapes and sizes of stamps to see what works best.
You can also use stencils to add dimension.
Lay down a stencil and apply paint.
This adds depth without overwhelming the design.
Don’t forget to incorporate embellishments like sequins or ribbons for extra flair.
Feel free to mix different colors to create a gradient effect.
Just remember to let layers dry before adding more.
Watercolor backgrounds offer a playful canvas for your creativity.
10) Add Ribbon or Lace
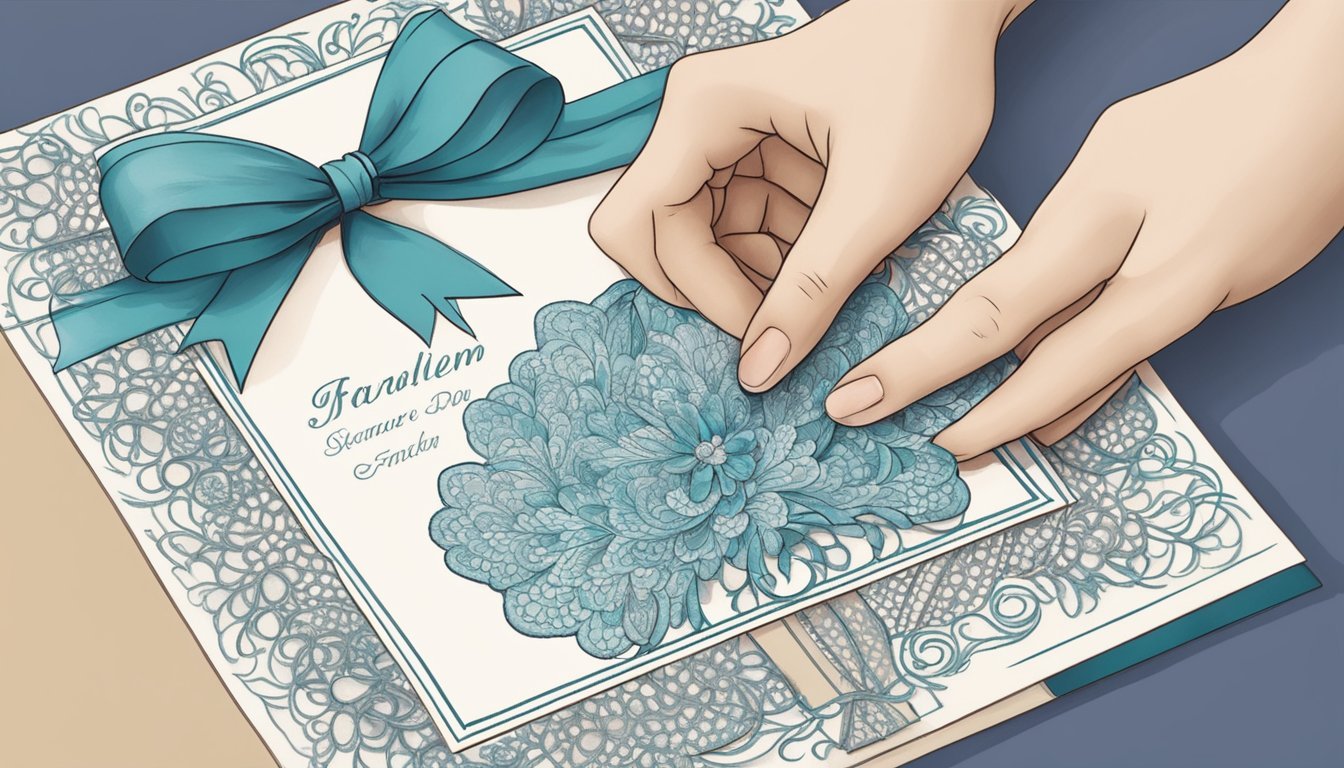
Adding ribbon or lace to your cards can transform a simple design into something special.
These elements provide texture and visual interest.
You can use ribbon to create bows or loops.
This adds dimension and can highlight focal points on your card.
Consider layering ribbon with stamped images or greetings for a cohesive look.
Placing a strip of lace along the edge can create an elegant finish.
Don’t be afraid to experiment with different types of ribbons.
Satin, burlap, and lace each bring a unique touch to your creations.
Try securing ribbons behind elements or running them along the card base.
Stripes or plaid patterns can be achieved by layering different colors and widths.
Using embellishments like ribbons can elevate your card-making game.
Get creative and have fun mixing and matching with your other supplies.
Choosing the Right Stamps
Selecting the right stamps is essential for creating custom cards that reflect your style and meet your project needs.
Understanding the different types of stamps and their materials will help you make informed choices for optimal results.
Types of Stamps
There are several types of stamps to consider, each offering unique benefits:
-
Rubber Stamps: These provide a solid, clear impression and are great for detailed designs. They are often more durable and can withstand repeated use.
-
Clear Stamps: Made from flexible material, clear stamps allow for precise placement since you can see through them. They’re easy to clean and store.
-
Foam Stamps: Lightweight and easy to handle, foam stamps give a softer impression. They’re effective for backgrounds or larger designs.
-
Digital Stamps: You can print these out at any size you like. Perfect for those who enjoy digital crafting methods.
When choosing, think about what design you want to create and how often you plan to use them.
Materials and Durability
The material of your stamps affects both performance and longevity:
-
Natural Rubber: Offers excellent durability but may require care. They usually provide the richest impressions.
-
Photopolymer: This type is clear and allows detailed designs. While not as durable as rubber, they’re a favorite for their precision.
-
Silicone: Great for intricate designs, silicone stamps are less durable but very affordable.
Keep in mind the wear and tear based on your usage.
Regular maintenance, like cleaning after each use, can extend the life of your stamps and keep them performing at their best.
Ultimately, choose materials that align with your crafting habits and aesthetic preferences.
Creative Embellishment Ideas
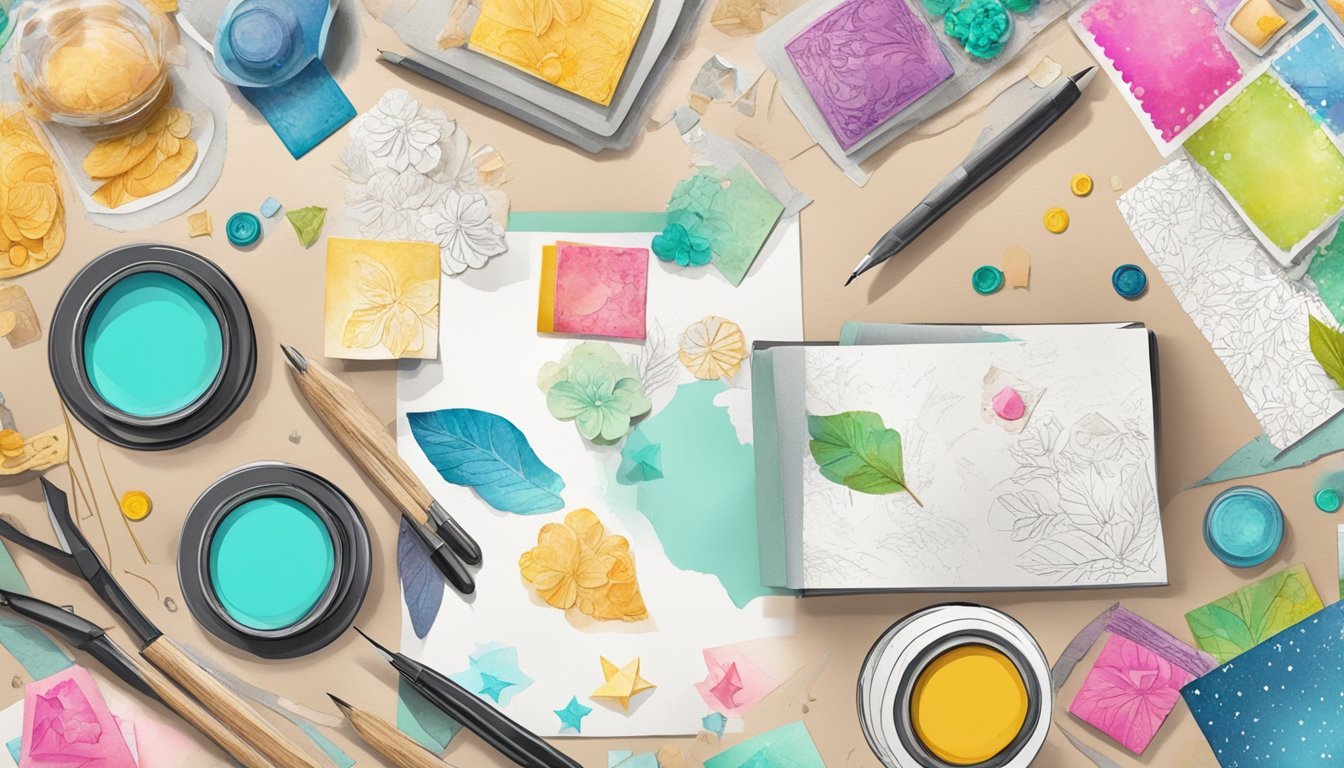
Adding creative embellishments to your cards enhances their visual appeal and uniqueness.
From texture to vibrant colors, there are countless ways to make your cards stand out.
Using Texture and Layers
Texture adds depth and interest to your cards.
You can achieve this by layering various materials such as cardstock, fabric, or even mesh.
Consider using foam tape to create raised elements.
This technique not only makes your designs pop but also encourages tactile engagement.
Another approach is to incorporate embossed elements.
You can use dry or heat embossing to create patterns or shapes, like hearts or flowers, on the card’s surface.
Lastly, ribbon and trims can be excellent for adding texture.
Use them as borders, bows, or even tags to draw attention and enhance your design.
Experimenting with different layers will invite curiosity and add dimension to your creations.
Incorporating Colors
Color plays a vital role in card design.
Start by selecting a color palette that resonates with your theme.
Utilizing a mix of bold and soft colors can create a striking contrast.
Incorporate glitter for a touch of sparkle.
It can elevate any card and make it more visually appealing.
Epoxy buttons, with their glossy finish, can also add a fun splash of color.
Another fun idea is to use colored paper cutouts.
Banners made from various colored papers can serve not just as components but also as focal points.
This infuses your card with personality and vibrancy, ensuring it captures attention while conveying your sentiment.


