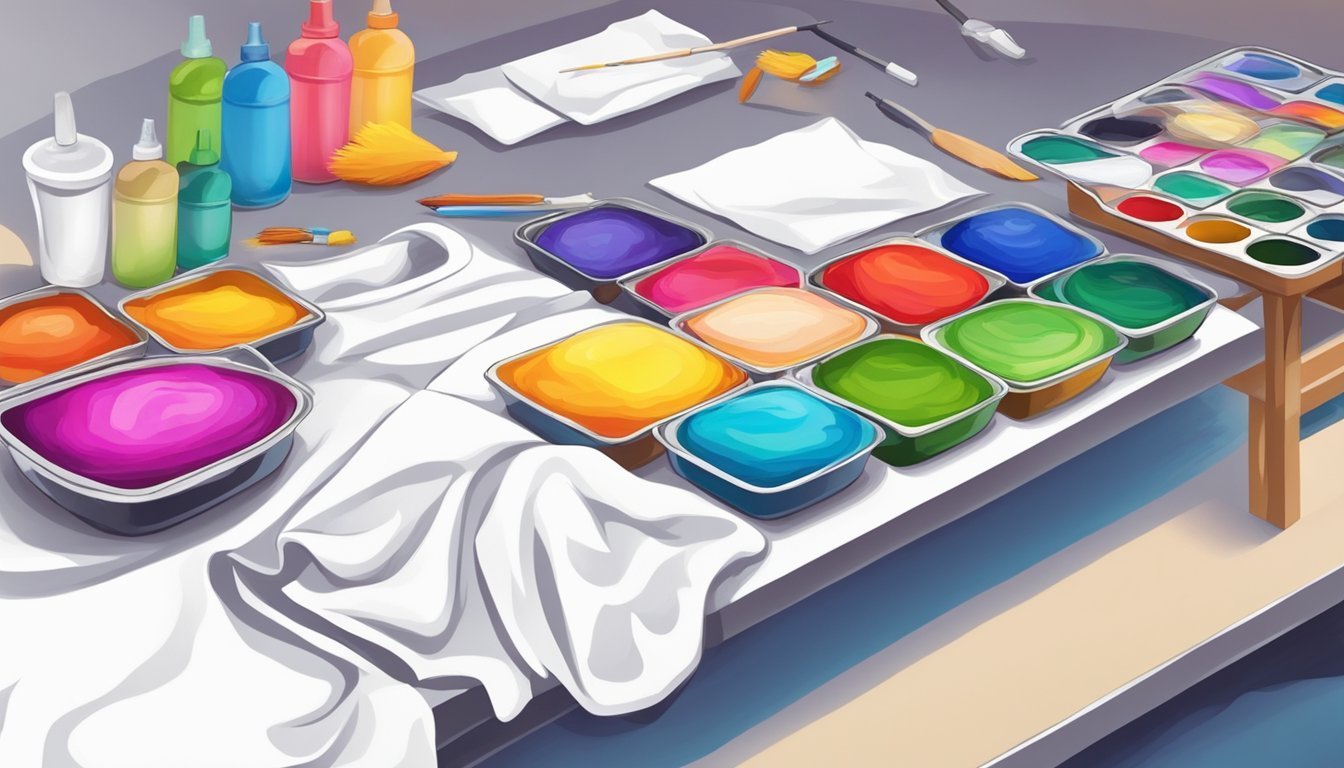
If you’re looking to breathe new life into your wardrobe, using fabric dyes can be a fun and creative way to achieve unique designs. With a few basic techniques and the right dyes, you can transform plain fabrics into vibrant pieces that reflect your personal style.
This process allows you to express your creativity, experimenting with colors and patterns to create clothing that truly stands out.
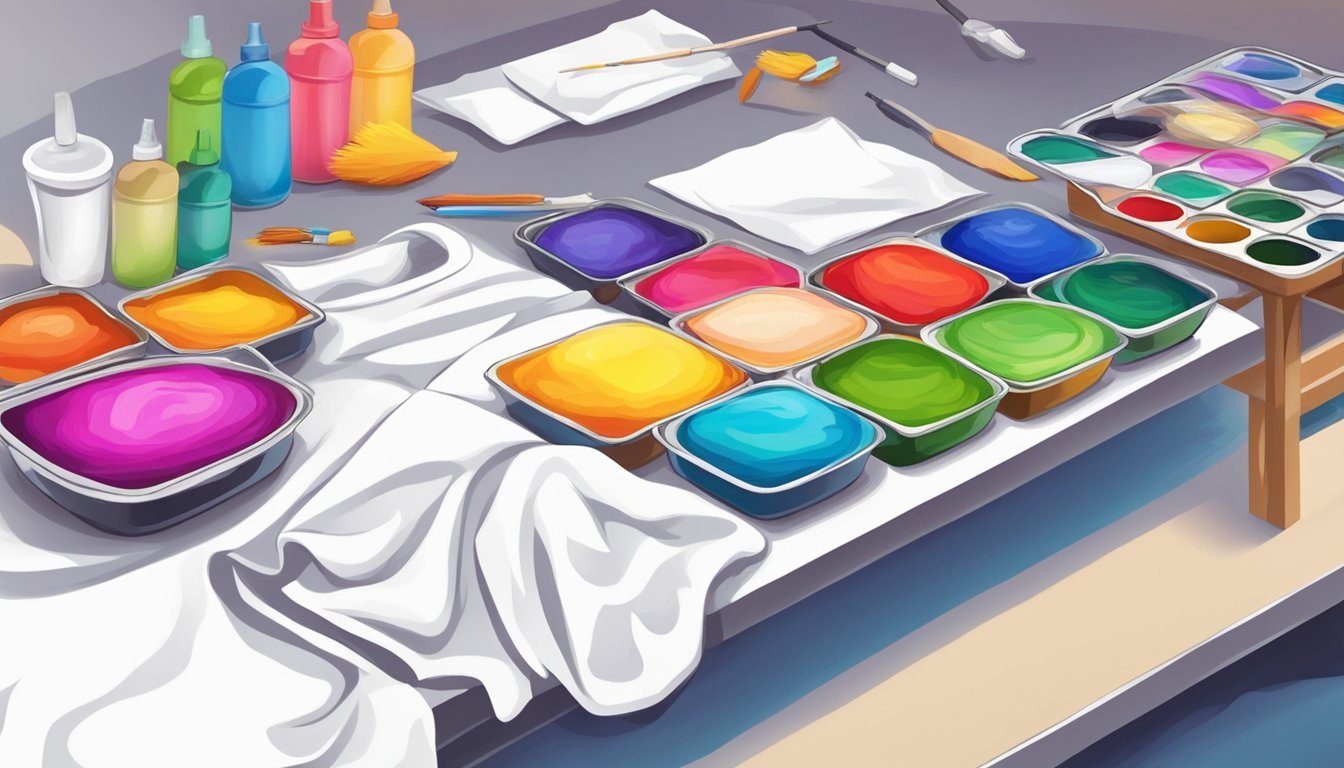
Whether you’re a seasoned crafter or a beginner, there are plenty of dyeing methods to suit your skill level and vision.
From tie dye to batik, each technique offers its own charm and results.
Get ready to dive into the colorful world of fabric dyeing and discover how you can turn ordinary clothing into extraordinary fashion statements.
Tie-Dye Techniques
Tie-dyeing is a fun way to personalize your clothing.
You can create various designs using simple techniques.
One popular method is the crumple technique.
Lay your fabric flat, scrunch it randomly, and secure it with rubber bands.
This creates a unique, abstract pattern.
For a classic look, try the spiral technique.
Pinch the center of your fabric and twist it until it forms a flat disk.
Use bands to hold it in place.
This gives you those iconic pie-shaped sections.
If you want to get creative, you can use ice dyeing.
It involves layering ice over your tied fabric and adding dye.
As the ice melts, it creates a beautiful, blended effect.
When applying dye, use squeeze bottles for precision.
This helps you control color application without overwhelming the fabric.
Don’t forget to wear gloves to keep your hands clean!
Choose fabric dyes designed specifically for tie-dyeing to achieve vibrant results.
Each technique offers its own charm, so experiment to find your favorite style.
Dip Dye Method
The dip dye method is a fun and straightforward way to add color to your fabric.
This technique allows you to create beautiful gradients or solid washes.
Start by mixing your fabric dye according to the instructions on the package.
Set up your dye bath in a container large enough for the piece you’re working with.
To achieve a striped or banded look, drape your fabric over the edge of the dye bath.
Make sure the area you want dyed is fully submerged.
Leave the fabric in the dye for about 15 minutes or until you’re happy with the color.
Remember, the fabric will dry lighter than it appears in the dye.
For a multi-color effect, dip one edge of the fabric in the dye, pull it out, and rinse it in cold water.
You can repeat this process with different colors to create a vibrant design.
Always wash the fabric afterward to set the colors properly.
This ensures that your unique design will last through wear and washes.
Enjoy the process and experiment with different colors and saturation levels!
Ombre Effects
Ombre effects create a stunning gradient of colors on your fabric.
This technique allows shades to blend seamlessly, giving your clothing a unique look.
To achieve the ombre effect, start with a natural fiber fabric like cotton.
Pre-wash your fabric to remove any finishes that might affect dye absorption.
You can use various methods to create ombre.
The dip-dye technique is common; simply submerge part of the fabric in your dye bath.
The longer you leave it, the darker the color will be.
Another fun method is using a spray bottle.
Mix your dye and spray it onto the fabric, moving from dark to light as you go.
This offers more control over the blending and can create a soft, diffused look.
Keep in mind the dye’s temperature.
For synthetic fabrics, a stovetop method may be necessary, maintaining a hot dye bath for better results.
Experiment with color combinations to personalize your designs.
With ombre, the possibilities are endless!
4) Reverse Dyeing
Reverse dyeing is a fun way to create unique designs by removing color from fabric instead of adding it.
It’s a creative twist on traditional dyeing methods.
To start, choose a piece of clothing made from natural fibers like cotton.
Lay your fabric flat and make sure it’s clean and dry.
This ensures the bleach will work effectively.
Protect your workspace by covering surfaces with plastic.
When you’re ready, dilute a bleach solution, typically one part bleach to three parts water.
Wearing gloves, apply this mixture using a squeeze or spray bottle.
For added creativity, you can use rubber bands to tie the fabric or stencils to create sharp patterns.
Experimenting with different techniques, like using ice dyeing or folding methods, can produce amazing results.
Watch your design develop as the bleach works on the fabric.
Once you achieve the desired look, rinse it thoroughly and let it dry.
Reverse dyeing gives your old clothes a brand-new vibe!
5) Natural Plant Dyes
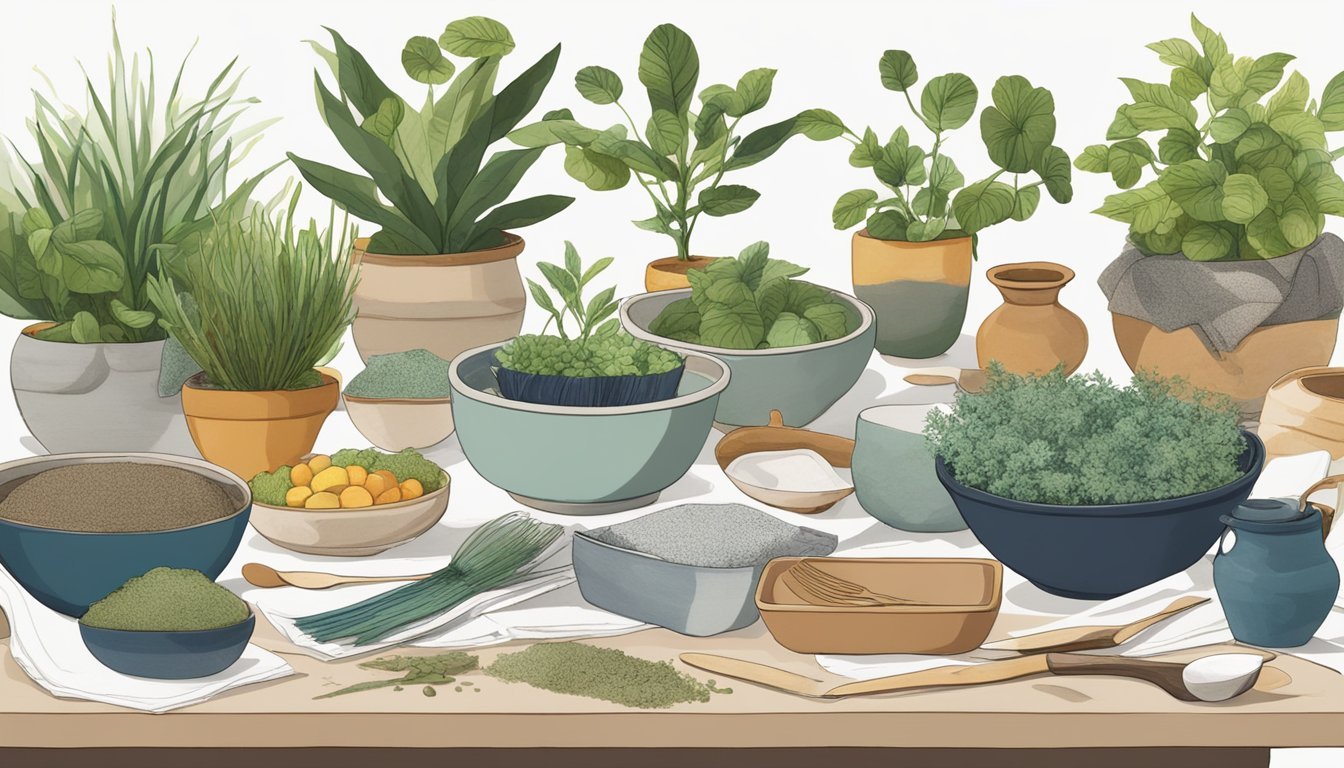
Using natural plant dyes is a fun and eco-friendly way to add unique colors to your clothing.
You can create beautiful shades straight from your kitchen or garden.
Start by gathering plant materials like flowers, leaves, or fruits.
Make sure they are mature and ripe for the best results.
For most dyes, you’ll need a 2:1 ratio of water to plant material.
Chop your plants into small pieces and boil them in water for about an hour.
This process extracts the color.
After boiling, strain the mixture to remove solid bits.
Before dyeing, prep your fabric by soaking it in a mordant solution to help the dye adhere better.
Common mordants include salt for fruits and vinegar for plant materials.
Once your dye is ready, submerge your wet fabric into the dye bath and simmer for an hour.
Keep an eye on the color to achieve your desired shade.
Rinse your fabric in cold water and let it dry, and you’ll have a stunning, custom piece!
6) Ice Dyeing Process

Ice dyeing is a fun way to create unique fabric patterns.
Start by prepping your fabric.
Make sure it’s clean and damp for the dye to set well.
Next, crumple or fold your fabric to add texture.
Place it into a plastic storage bin.
The way you fold it impacts the final design.
Now, cover your fabric entirely with ice.
Use small-to-medium-sized ice chips for best results.
You want no fabric showing through.
As the ice melts, it will release the dye, creating beautiful patterns.
After you’ve added the ice, sprinkle your chosen dyes over the top.
Different dye colors can interact and blend in interesting ways.
Let the ice melt completely.
This process usually takes about six to twenty-four hours, depending on your environment.
You can go about your day while the magic happens.
Once everything has melted, rinse the fabric to remove excess dye.
This helps set the colors.
Finally, hang it to dry and enjoy your unique creation!
7) Resist Dyeing

Resist dyeing is a fun way to create unique patterns on fabric.
The basic idea is to block certain areas from receiving dye, resulting in cool designs.
One popular method is batik, where you apply hot wax to the fabric in specific patterns.
Once the wax cools, you can dye the fabric.
The areas covered in wax will stay the original color, creating a striking contrast.
Another approach is using glue or soy wax.
With these, you can draw your designs directly onto the fabric.
After dyeing, simply wash off the resist material, revealing your design.
Tie-dye is another variation of resist dyeing.
Here, you twist and tie sections of the fabric before applying dye.
This leads to random yet beautiful patterns.
You can experiment with various materials for resistance, such as rubber bands, strings, or even plastic wrap.
Each technique gives a different look, allowing for endless creative possibilities.
Just remember, the key is to be playful and patient.
With practice, you’ll be able to create stunning textiles that reflect your personal style.
Shibori Style

Shibori is a fascinating Japanese dyeing technique that allows you to create beautiful patterns on fabric.
It uses a resist-dyeing method, meaning parts of the fabric are bound or folded to prevent dye from reaching certain areas.
To start, gather your materials.
You’ll need fabric, dye, rubber bands or string, and gloves.
The binding creates various designs, from simple to intricate.
One popular method is Kanoko, where you tie sections of fabric tightly.
This results in charming burst or ring patterns when dyed.
You can also try folding techniques for unique effects.
Once you’ve bound your fabric, prepare your dye bath.
Using salt for cotton or vinegar for wool enhances the dye uptake.
Dip your fabric, then let it dry.
After drying, remove the bindings to reveal your designs.
Hang it up to air dry completely.
You’ll see the colors lighten as they oxidize.
Shibori adds a personal touch to your clothing, making it a fun project that showcases your creativity.
9) Stencil Dyeing
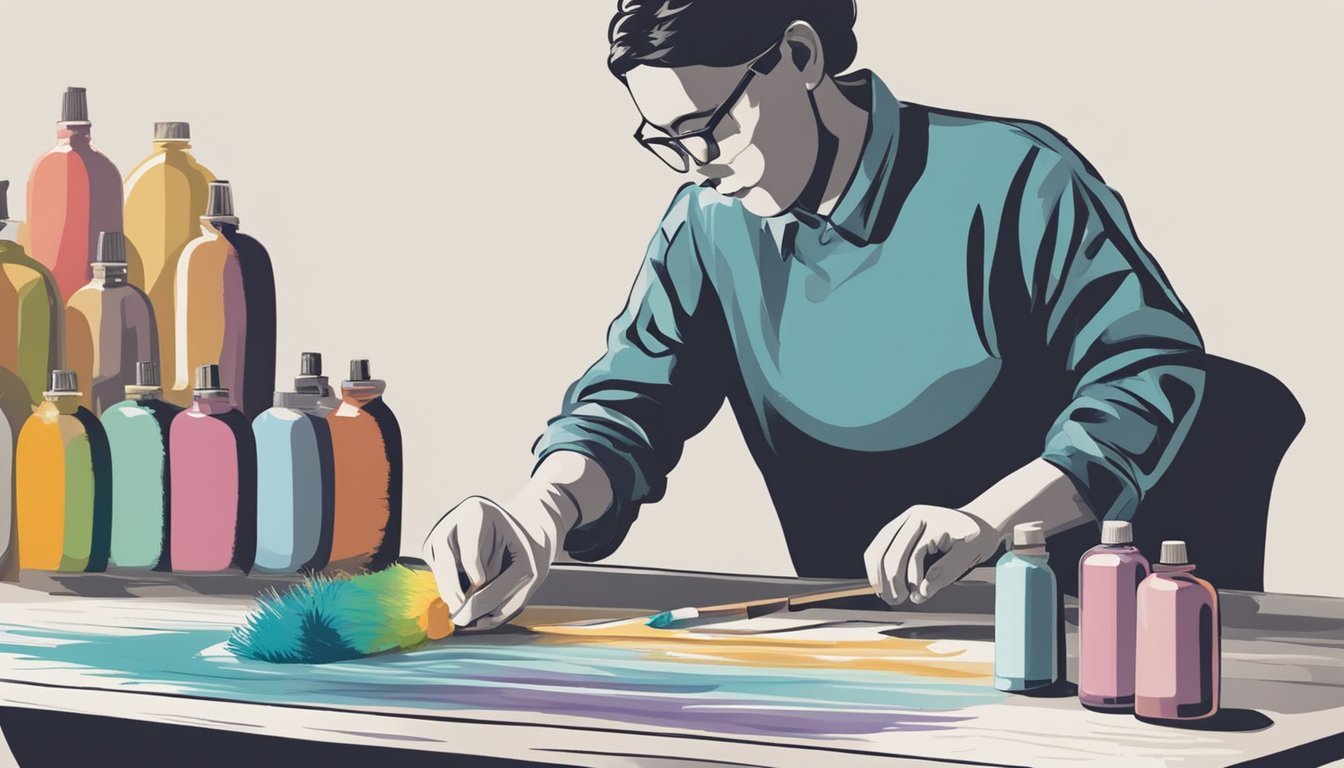
Stencil dyeing is a fun way to add unique designs to your clothing.
You can achieve a soft, watercolor effect by using fabric dye instead of traditional paint.
First, prepare your stencil.
If you don’t have a commercial stencil, you can create one using freezer paper.
Just cut out your design and place it on the fabric.
Next, use a sponge or spray bottle to apply the fabric dye.
Make sure to control the amount you use to avoid bleeding.
If needed, use masking tape to cover any areas you want to keep dye-free.
Once you’re satisfied with the application, carefully remove the stencil.
If you used freezer paper, peel it off slowly to avoid damaging your fabric.
Let the dyed fabric dry completely before using or washing it.
This technique allows you to experiment with various colors and styles, making your clothing truly one-of-a-kind.
10) Marbling Patterns

Marbling patterns add a unique flair to your clothing designs.
This technique blends tie-dyeing with swirled, abstract patterns that mimic natural marble.
To start, you’ll need fabric dye and a marbling medium, like shaving cream.
First, spread a layer of shaving cream on a flat surface.
Then, drizzle different colors of dye on top.
Use a stick or a whisk to gently swirl the colors together.
Be careful not to over-mix, or you’ll lose the distinct marbled effect.
Next, press your fabric onto the surface.
Make sure it contacts the cream without trapping air underneath.
Lift it after a few moments and rinse to reveal your pattern.
Experiment with colors and swirl patterns to create one-of-a-kind results.
This method is great for upcycling thrifted clothes or adding flair to basic items.
Enjoy the creativity and have fun!
Choosing the Right Fabric Dye
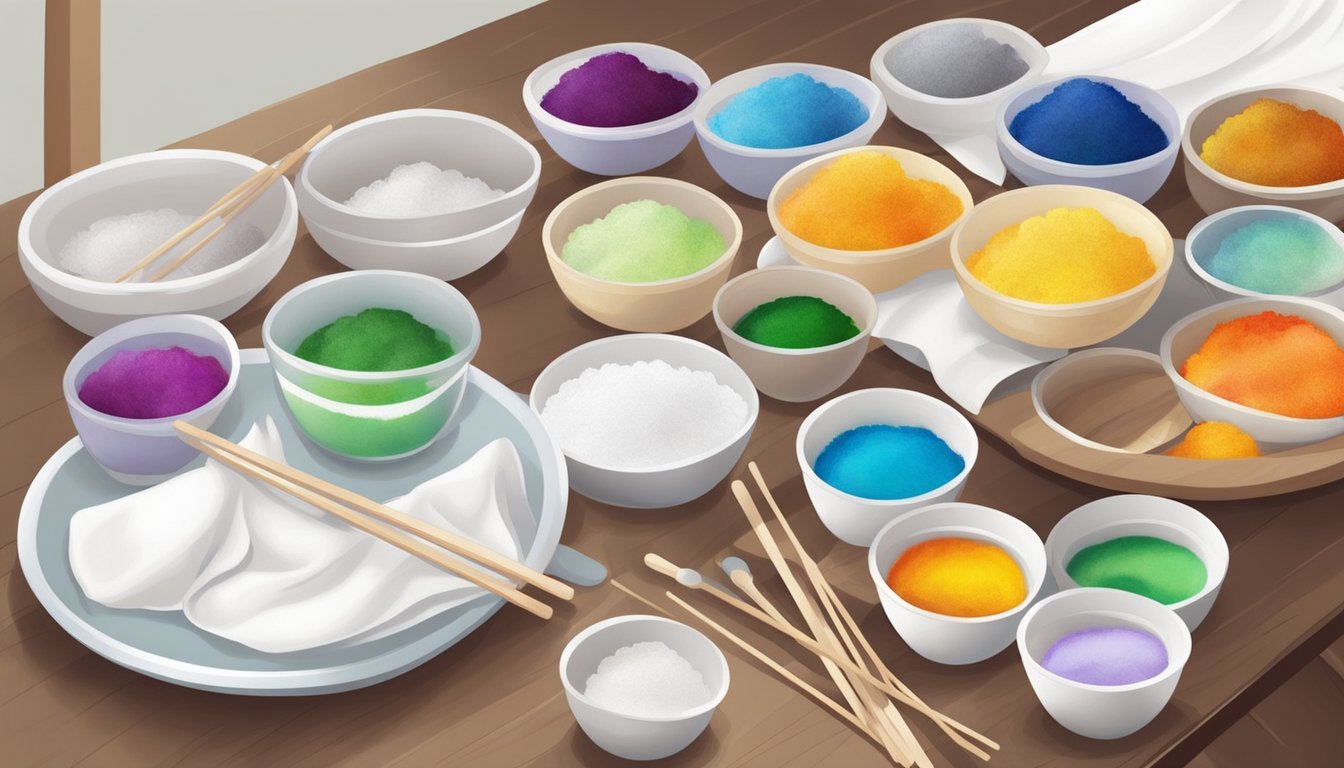
Selecting the right fabric dye is essential for achieving the desired look in your clothing designs.
Different dyes serve various purposes, so understanding your options is key.
Here’s what you need to know.
Understanding Different Dye Types
There are several types of fabric dyes, each suited for specific materials and techniques.
Here are the main types:
-
Fiber-Reactive Dyes: These dyes create a strong bond with cellulose fibers like cotton and rayon. They produce vibrant colors and excellent washfastness.
-
Acid Dyes: Ideal for protein fibers such as wool, silk, and nylon, acid dyes offer bright, rich colors. Using these dyes requires heat to set the color.
-
Natural Dyes: Sourced from plants, insects, or minerals, natural dyes provide organic options. While colors may be subtler, they’re eco-friendly and unique.
-
Direct Dyes: Suitable for cotton and other cellulosic fibers, these dyes are easy to use but may lack the vibrancy and washfastness of fiber-reactive dyes.
Knowing these types will help you choose the best dye for your project.
Selecting Dye for Fabric Type
Your fabric type significantly influences your dye choice.
Here’s a quick guide:
-
Cotton: Opt for fiber-reactive dyes for intense color and durability. Popular brands include Procion MX.
-
Wool and Silk: Use acid dyes like Jacquard Acid for strong color results. These are ideal for projects involving natural fibers.
-
Synthetic Fabrics: Look for dyes specifically formulated for synthetics, such as disperse dyes. These work well for polyester and nylon.
-
Blended Fabrics: If you have a blend, consider a combination of dyes. For example, use fiber-reactive dyes for the cotton portion and acid dyes for wool.
When picking dye, always check the manufacturer’s recommendations for the best results.
Creative Dyeing Techniques

Experimenting with different fabric dyeing techniques can transform your clothing into unique masterpieces.
Whether you prefer bold patterns or subtle gradients, there’s a technique for your creative vision.
Tie-Dye and Its Variations
Tie-dye is a fun and versatile technique that allows you to create vibrant patterns.
You start by folding, twisting, or crumpling the fabric before binding it with rubber bands or string.
Common styles include:
- Spiral: Create a circular design by twisting the fabric into a spiral.
- Crumple: Randomly crumple the fabric for an organic look.
- Shibori: A Japanese technique that uses various binding methods to create intricate designs.
Choose your dye colors wisely.
Bright contrasts work well for a bold look, while pastel shades give a softer feel.
After dyeing, rinse the fabric to set your design and prevent bleeding.
Ombre and Gradient Effects
Ombre and gradient effects are perfect for achieving that smooth color transition you see in trendy textiles.
This technique involves gradually mixing dye concentrations to produce a subtle change in color.
To start:
- Prepare Your Dye: Mix your dye with water, and adjust the concentration for your desired effect.
- Soak Fabric Gradually: Dip the fabric into the dye bath, starting at the bottom. Then, slowly raise it, allowing the color to deepen as you go.
- Control the Length: Remember, the longer you leave the fabric in the dye, the darker the color will be.
Experiment with multiple colors for a multi-tonal ombre.
Just make sure to rinse and let it dry flat to maintain the gradient effect.


