
Finding the right space for your art projects can feel challenging, especially when working with limited room.
You can transform a small area into an inspiring creative hub that maximizes its potential by utilizing smart storage solutions and adaptable furniture.
Whether it’s a spare room, a nook in your living area, or even a corner of your closet, there are plenty of ways to get your art supplies organized and ready for action.

Creating a small art space isn’t just about squeezing in a desk and some supplies; it’s about designing an environment that fuels your creativity.
Simple changes, like good lighting and thoughtful organization, can make all the difference in how you approach your art.
With a few clever tweaks, you’ll discover that you can make any small space work for your big ideas.
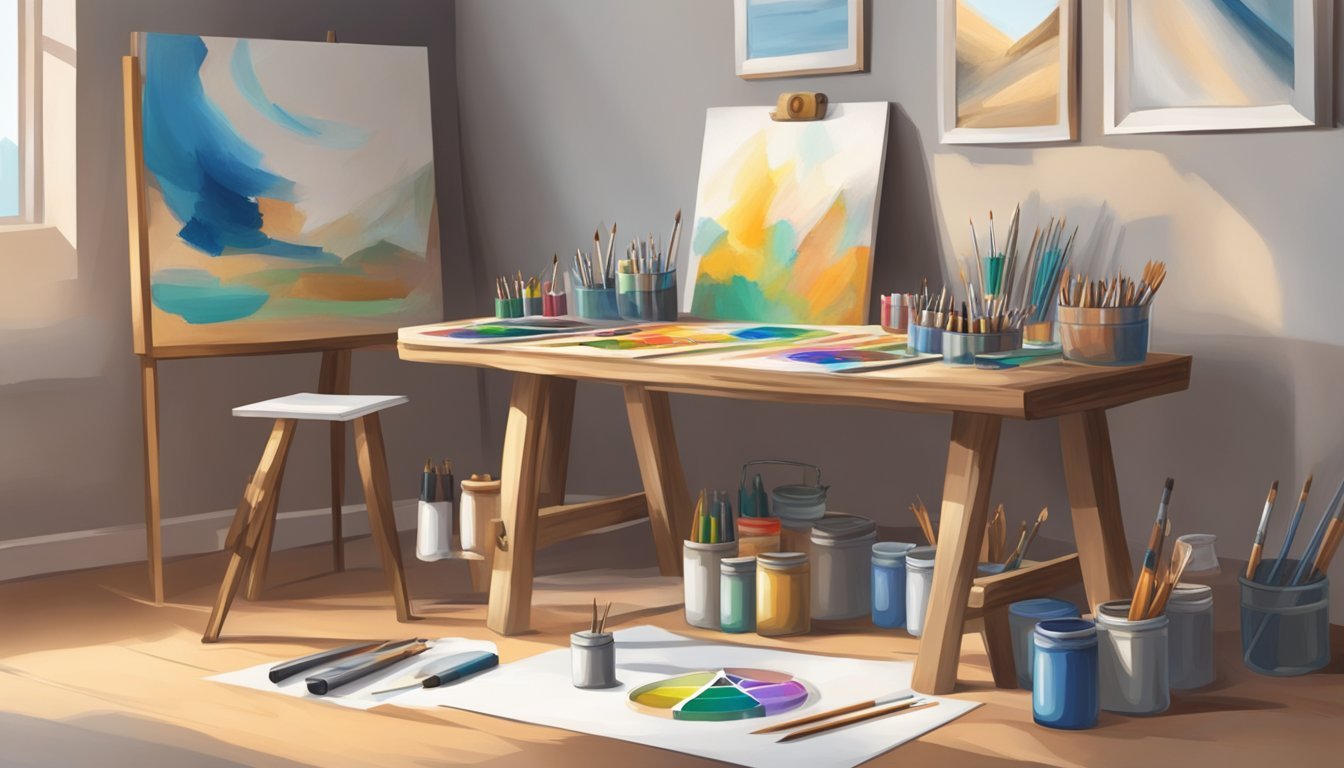
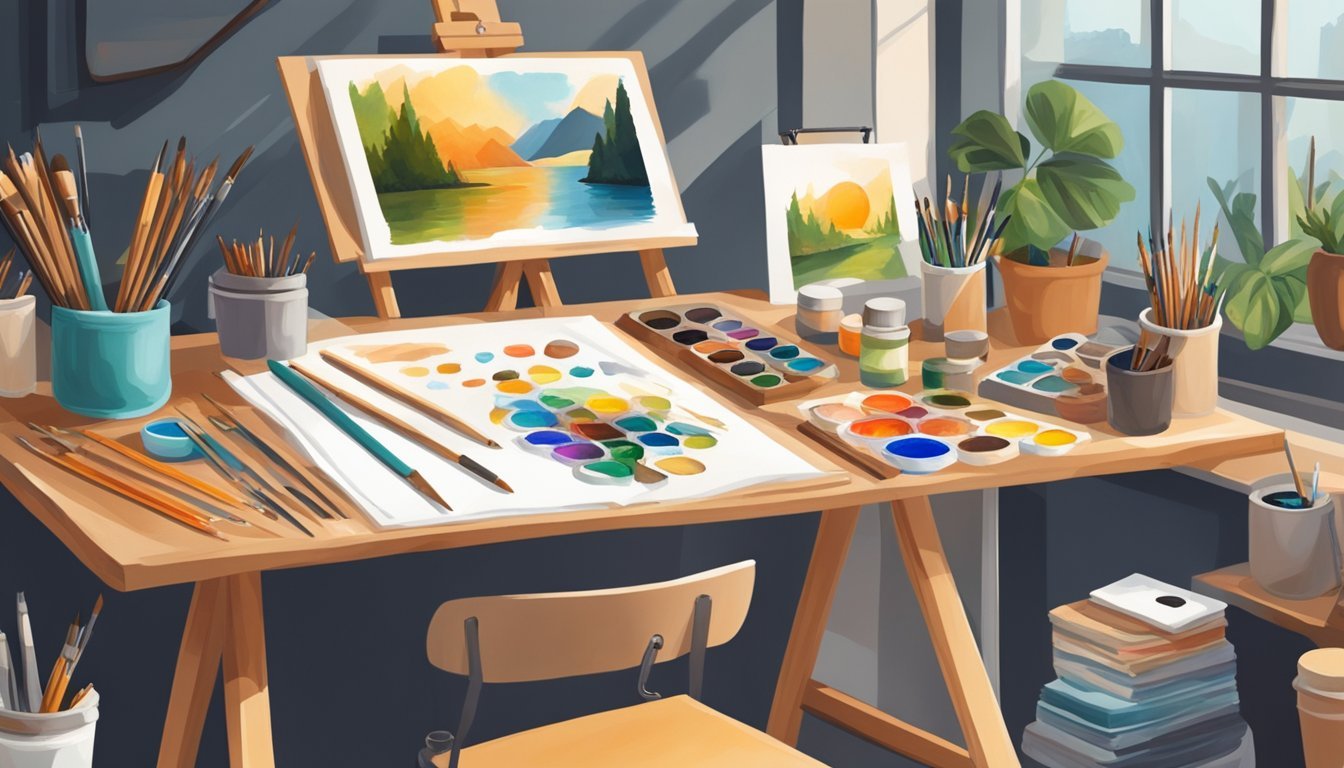
Foldable Easel
A foldable easel is a perfect solution for small spaces.
It provides flexibility without sacrificing quality, allowing you to create big art projects in tight areas.
When setting up, make sure to choose a sturdy model.
This helps maintain stability while you’re working on your art.
Look for an easel with adjustable features so you can easily modify the angle and height to suit your needs.
Most foldable easels are lightweight and portable.
This makes them ideal for storing away when not in use.
You can easily carry them outdoors or to different locations, expanding your creative options.
If you’re working in a studio or even a small apartment, a foldable easel can drastically enhance your space.
It’s designed for artists who need convenience without compromising on design.
Plus, many models come with additional storage for your supplies, keeping everything organized and within reach.
Compact Light Box
Setting up a compact light box can significantly enhance your art projects, especially in a small space.
This tool is great for tracing, sketching, or viewing colors accurately.
You can create a DIY light box using a shallow container, a piece of frosted acrylic or glass, and some LED strip lights.
Place the lights around the edges of the container to evenly diffuse light.
If you prefer a ready-made option, look for portable light boxes designed for artists.
They come in various sizes, so you can choose one that fits your workspace.
Position your light box near your workspace, ensuring it’s well-lit but doesn’t take up too much room.
Having your light box handy helps in planning your compositions without cluttering your studio.
Using a light box can also aid in layering techniques, making it easier to experiment with different styles while keeping your area organized.
It’s a simple way to elevate your artwork without needing a lot of space.
Portable Storage Caddy
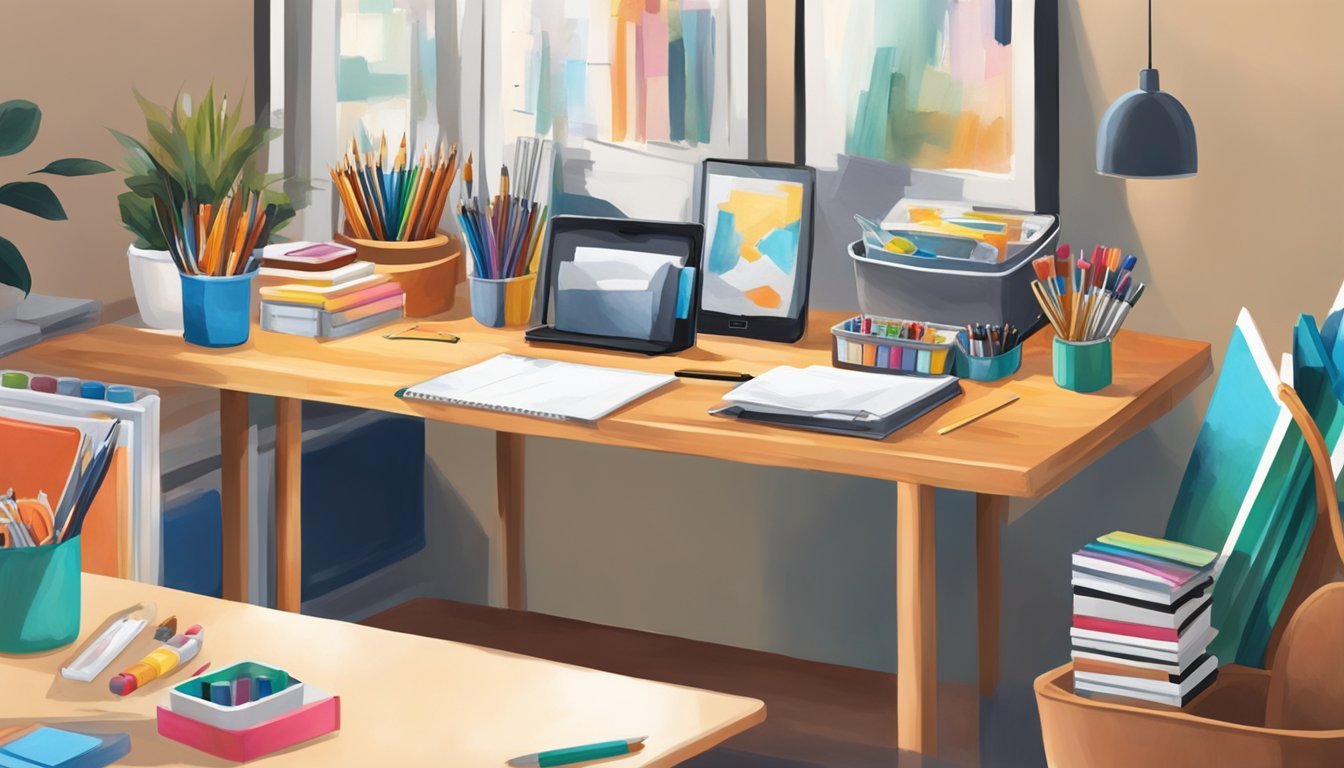
A portable storage caddy is a game changer for your art projects.
It keeps your supplies organized and easy to access wherever you choose to work.
Look for options with multiple compartments to hold everything from brushes to paint tubes.
This way, you can find what you need quickly without rummaging through a messy pile.
Consider a caddy that’s lightweight and easy to move.
You can bring it to the living room, patio, or even take it on the go.
This flexibility is ideal for smaller spaces.
If you want to add a personal touch, customize your caddy with dividers or containers to suit your needs.
Metal cups or small bins are especially handy for organizing smaller items like beads or specialty tools.
Make sure your caddy is sturdy enough to handle the weight of your supplies, but not too heavy to carry comfortably.
With the right portable storage solution, you’ll be ready to tackle any art project, big or small.
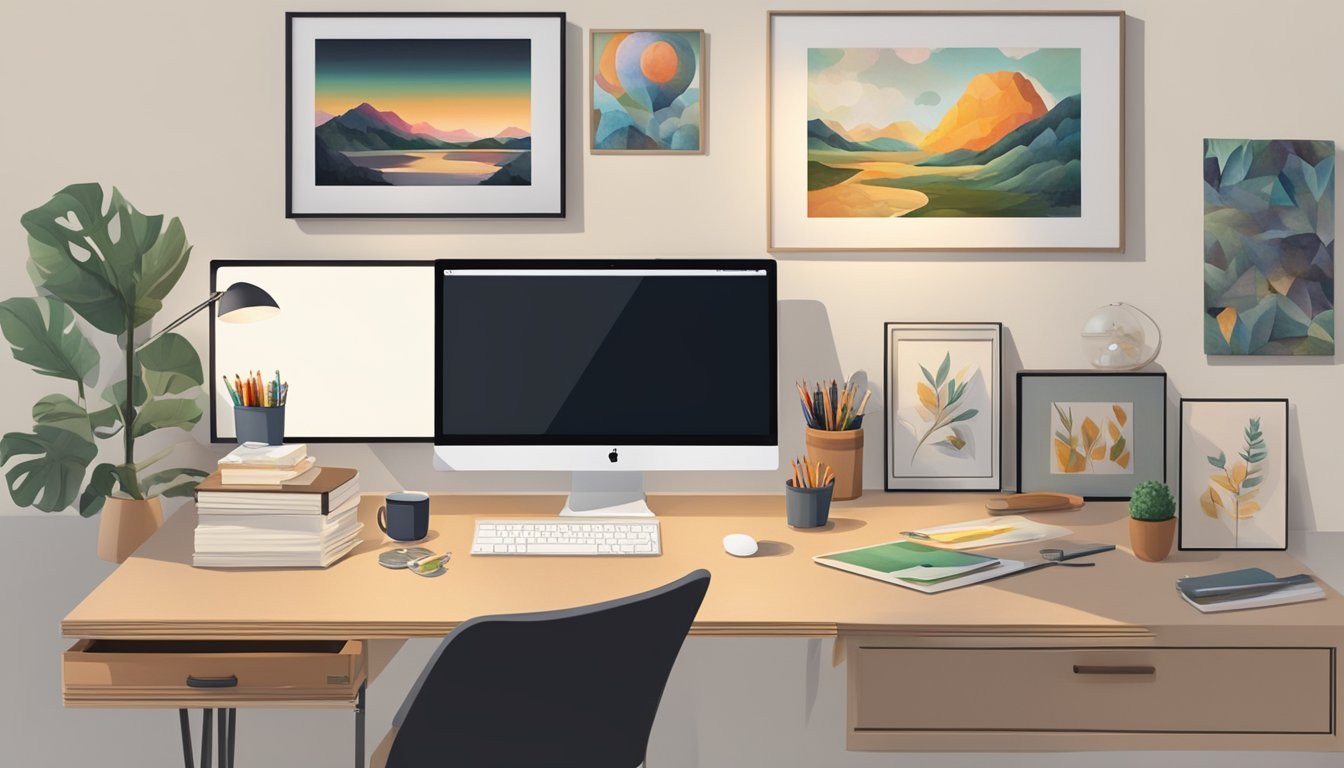
Clip-On Desk Lamp
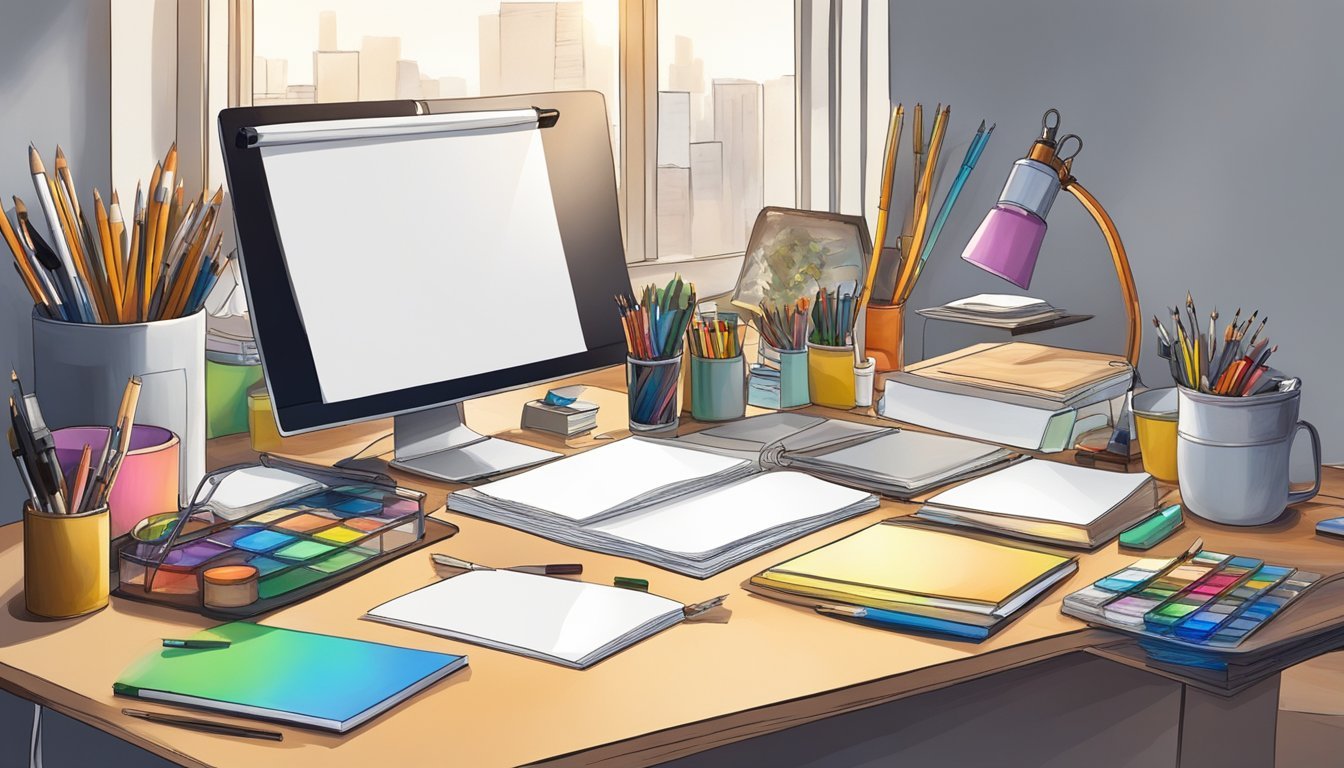
A clip-on desk lamp is a practical choice for small spaces.
It attaches easily to your desk or a nearby shelf, freeing up valuable work area.
Look for a lamp with adjustable brightness settings to customize your lighting needs.
This helps you avoid glare while working on detailed projects.
Many models come with a clamp that can fit surfaces around 1 to 2 inches thick.
This makes setup simple and flexible.
Consider the color rendering index (CRI) of the lamp.
A CRI of 90 or higher shows colors accurately, which is essential for artistic work.
You can also find designs that incorporate multiple color options to suit your style.
A lamp like the Micomlan LED offers a dual light source, reflecting natural sunlight for comfort during long hours.
Light bars are another option, providing focused lighting without taking up space.
They can be mounted on your monitor, highlighting your workspace efficiently.
5) Wall-Mounted Drying Rack
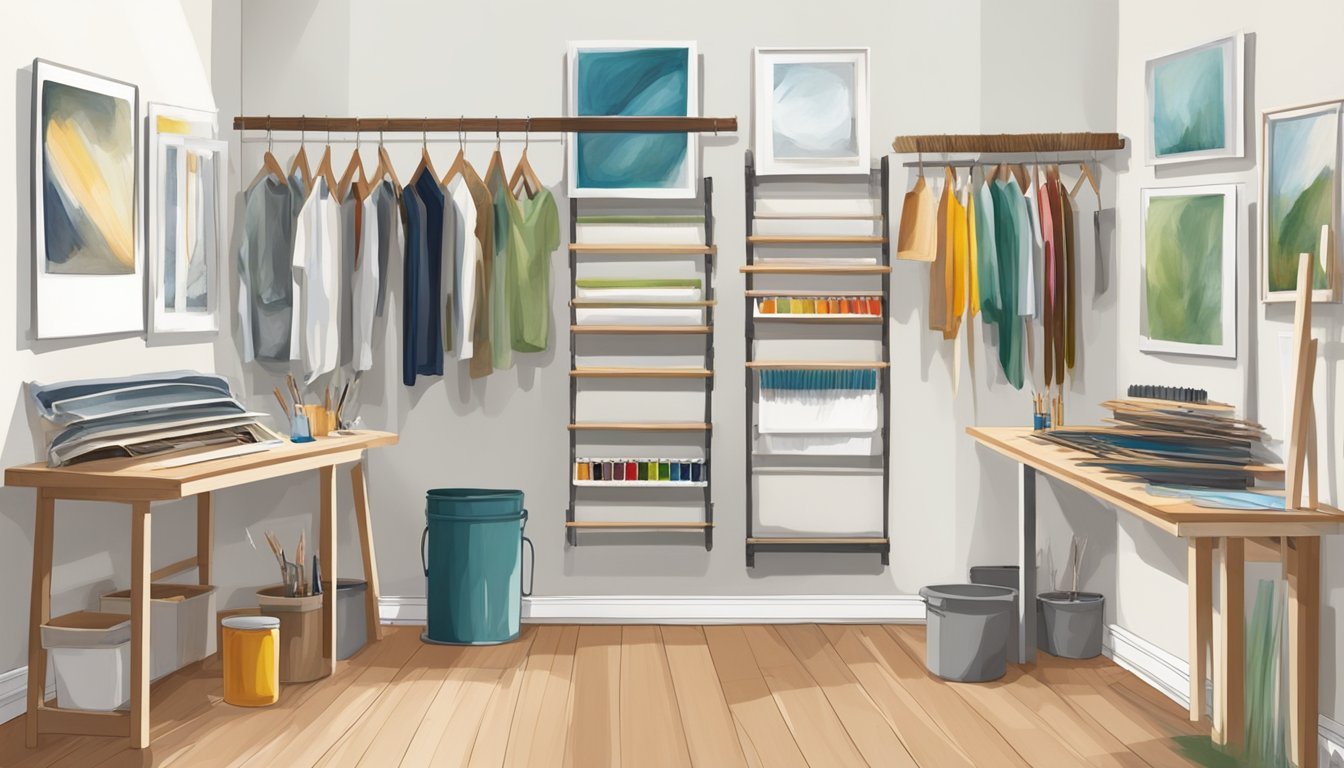
Creating a compact art space can be a challenge, but a wall-mounted drying rack is a smart solution.
It keeps your projects accessible and off the floor, maximizing your workspace.
You can build your own drying rack with simple materials like wooden dowels or slats.
Install them at varying heights to accommodate different sizes of artwork.
When not in use, you can fold the rack against the wall.
This feature saves space while keeping your art organized.
Look for designs that fit your wall’s dimensions and style.
Additionally, using collapsible drying nets or mesh racks for delicate items can be handy.
They can be tucked away easily when you need more room.
Position your drying rack near your workspace for convenience.
This will allow you to seamlessly transition from painting to drying without interruption.
6) Multi-Purpose Craft Table
A multi-purpose craft table can transform your small space into a functional creative hub.
Look for a table that fits your needs and can adapt to various projects.
Consider a fold-down table that attaches to the wall.
When you need extra workspace, simply unfold it.
When you’re done, tuck it away to clear the area.
Another great option is a table with built-in storage.
Desks with drawers or shelves can keep supplies organized and within arm’s reach.
This setup minimizes clutter, making it easier to focus on your art.
If you often switch between different crafts, choose a table that accommodates all your activities.
A sturdy surface is essential for everything from painting to sewing.
Remember, flexibility is key.
You can even repurpose a dining table or a sturdy desk.
Just make sure it’s spacious enough for your materials and tools.
7) Magnetic Pegboard
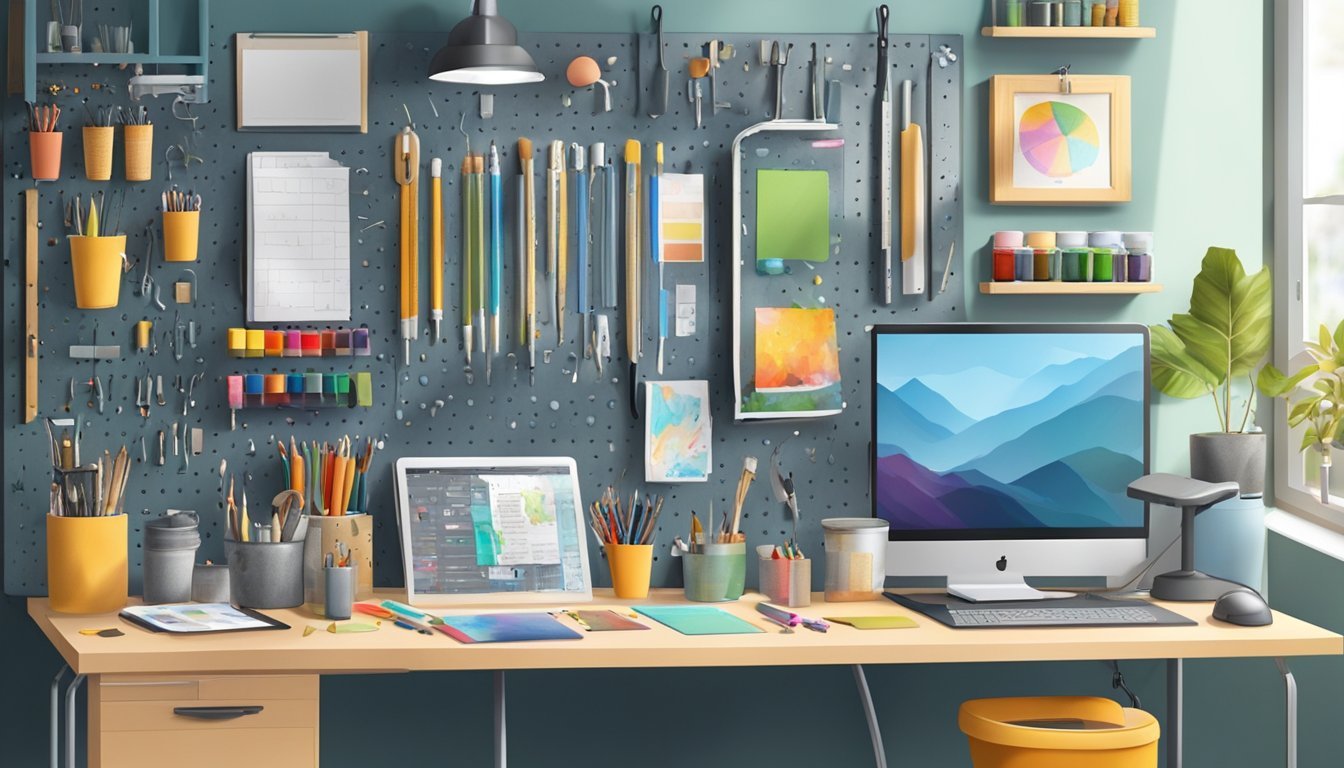
Magnetic pegboards are a fantastic solution for organizing your art supplies in a small space.
They let you easily access tools and materials, keeping your workspace tidy.
You can attach magnets directly to the pegboard, allowing you to secure tools or containers.
This keeps everything within reach while maintaining visibility.
To set it up, find a suitable wall space and mount the pegboard.
Ensure it is securely fastened to hold the weight of your supplies.
Consider using different sizes of magnets for various items.
Smaller magnets work well for brushes, while larger ones can hold heavier equipment.
With magnetic pegboards, you can easily rearrange items as needed.
This flexibility is great when you’re working on different projects.
Plus, they add a functional yet stylish touch to your creative space.
8) Stackable Storage Jars
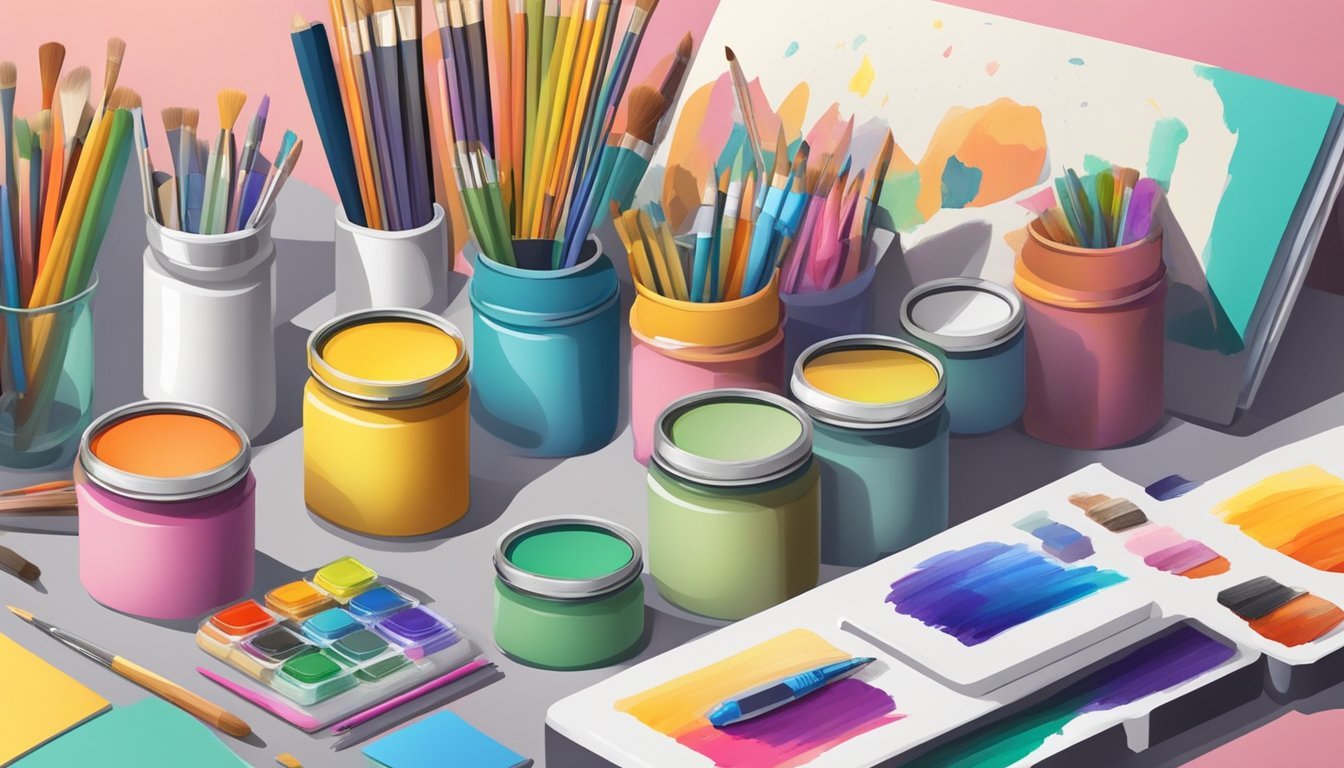
Stackable storage jars are a simple yet effective solution for organizing your art supplies.
They help you maximize vertical space while keeping your items easily accessible.
Using jars, you can store everything from brushes and paints to beads and markers.
Clear jars make it easy to see what’s inside, helping you grab what you need without rummaging through chaotic piles.
They come in various sizes, letting you choose the right ones for different items.
Stack them on shelves or your craft table for an organized look.
Plus, many jars have airtight lids, which keep your supplies fresh and protected.
If you want to get creative, consider labeling each jar.
This adds a personal touch and makes finding specific items a breeze.
You can also mix and match jars to add visual interest to your workspace.
Incorporating stackable storage jars into your art setup can transform your small space into an efficient and enjoyable area for your creative projects.
So, gather those supplies and get organizing!
Adjustable Chair with Storage
An adjustable chair with storage can transform your small art space.
Look for models that allow you to change the height to suit your needs while providing places to keep essentials close at hand.
Some chairs come with built-in compartments beneath the seat.
This feature helps you store supplies like brushes, pencils, or sketch pads, keeping your workspace tidy.
Consider a stool design for a more compact option.
Some stools offer a minimalist look while still providing a storage solution.
They often fit easily into tight corners.
When choosing a chair, comfort is essential.
Favor ergonomic designs that support your back during long hours of creating.
This ensures you stay focused and energized for your projects.
There are also options with side pockets or attached organizers.
These can hold your tools, making them readily accessible without cluttering your workspace.
Rolling Utility Cart
A rolling utility cart can be a game changer for your art space.
It offers mobility, making it easy to move supplies wherever you need them.
Choose a cart with multiple tiers to store various materials.
You can dedicate different shelves to paints, brushes, and other tools, keeping everything organized and within reach.
When setting up your cart, think about what you use most often.
Having essentials on the top shelf makes retrieval quick and easy.
You can also personalize the cart to fit your artistic style.
Consider using bins or jars in the cart for smaller items like beads or brushes.
This helps keep everything visible and prevents clutter.
With a little creativity, the rolling utility cart can serve as both storage and a mobile art station.
It’s perfect for small spaces, allowing you to create without much fuss.
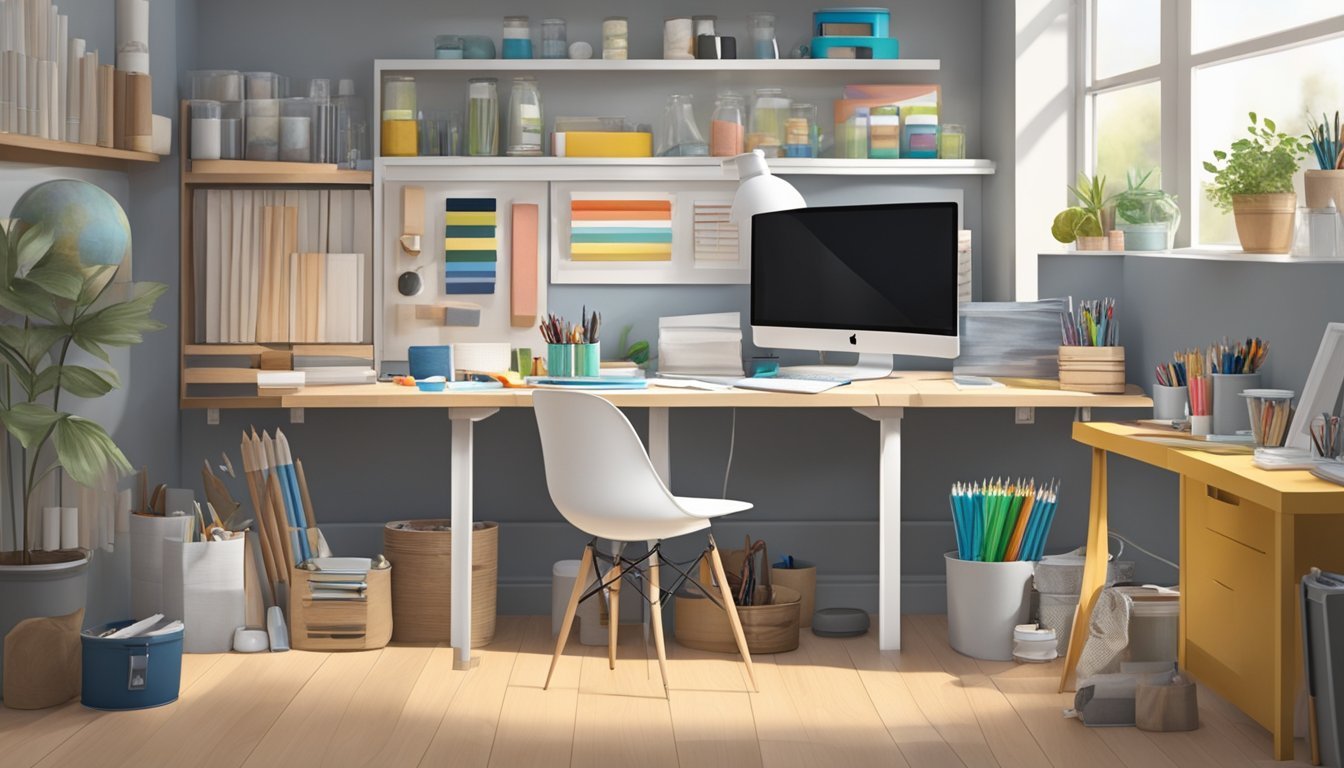
Choosing the Right Space
Finding the perfect spot for your art projects is essential.
You’ll want a space that’s both practical and inspiring, tailored to fit your specific needs and workflow.
Assessing Your Space Needs
First, think about what size space you actually need.
Consider the type of projects you’ll be working on.
Do you need a large table for painting, or a corner for sketching?
Key questions to ask yourself:
- What medium do you use most often?
- Do you need room for multiple projects at once?
- Will you need storage for supplies?
Identify unused areas in your home, like a spare room, garage, or even a cozy corner in your living room.
Remember, you don’t need a massive space; even a small nook can be functional with the right setup.
Lighting Considerations
Lighting is crucial for any artist.
Natural light is often best, so find a spot with plenty of windows.
Tips for effective lighting:
- Position your workspace near a window if possible.
- Use adjustable lamps for evenings or cloudy days.
- Consider daylight bulbs for true color representation.
Avoid harsh lighting that can distort colors.
Soft lighting helps reduce eye strain, making long hours in your studio more comfortable.
Plan your layout based on lighting to ensure you’re always working in the best environment for creativity.
Organizing Art Supplies
Keeping your art supplies well-organized is crucial for maximizing creativity in a small space.
When you have a system in place, it not only enhances efficiency but also makes it easier to maintain a tidy workspace.
Storage Solutions for Small Spaces
Consider using vertical storage options to make the most of limited floor space.
Wall-mounted shelves or pegboards can hold a variety of supplies, from brushes to paint tubes, while keeping them visible and accessible.
Rolling carts are another great choice.
They offer multiple tiers for storage and can be easily moved around.
You can group similar supplies—like paints, brushes, and papers—together for a more organized look.
Clear boxes or bins allow you to see what you have without digging through piles.
Labeling your containers helps you grab what you need quickly.
Whether you stack them on a shelf or slide them under a bed, they efficiently utilize your space.
Keeping Tools Accessible
Having your essential tools within reach streamlines your creative process. Caddy organizers can hold frequently used items, like scissors, markers, and adhesives.
Plus, they can easily be moved wherever you work.
Consider a desktop organizer to keep smaller tools right where you need them.
Utilize small drawer units for items like washi tape or push pins, so everything is neatly arranged.
You could also create a tool wall with hooks for items like aprons or scissors.
This keeps everything visible and easily reachable, reducing time spent searching for supplies.
A clean and organized setup will encourage you to dive into your next project without the hassle of disorganization.