
Making your own candles at home can be a fun and fulfilling project.
Imagine creating unique designs that reflect your personal style and preferences.
Crafting DIY candles is not only easy but also allows for endless creativity.

With a few basic supplies and some simple techniques, you can transform wax into beautiful, personalized pieces.
Whether you want to make candles for yourself, as gifts, or even to sell, the possibilities are limited only by your imagination.
1) Choose Soy Wax for a Natural Scent
When it comes to candle making, soy wax is a top choice for a natural scent.
It’s derived from soybeans, making it a renewable resource.
This gives your candles an eco-friendly edge.
Soy wax burns cleaner than paraffin, producing less soot.
This means you can enjoy the fragrance without worrying about indoor air quality.
Another benefit is how well soy wax holds fragrance.
You can easily add your favorite essential oils to create a lovely scent profile.
Soy candles also have a longer burn time.
You’ll get more hours of enjoyment out of each candle, which means they’re not only great for personal use but also make fantastic gifts.
Overall, choosing soy wax means you’re opting for a natural and pleasant experience in your DIY candle projects.
So gather your materials and enjoy the process!
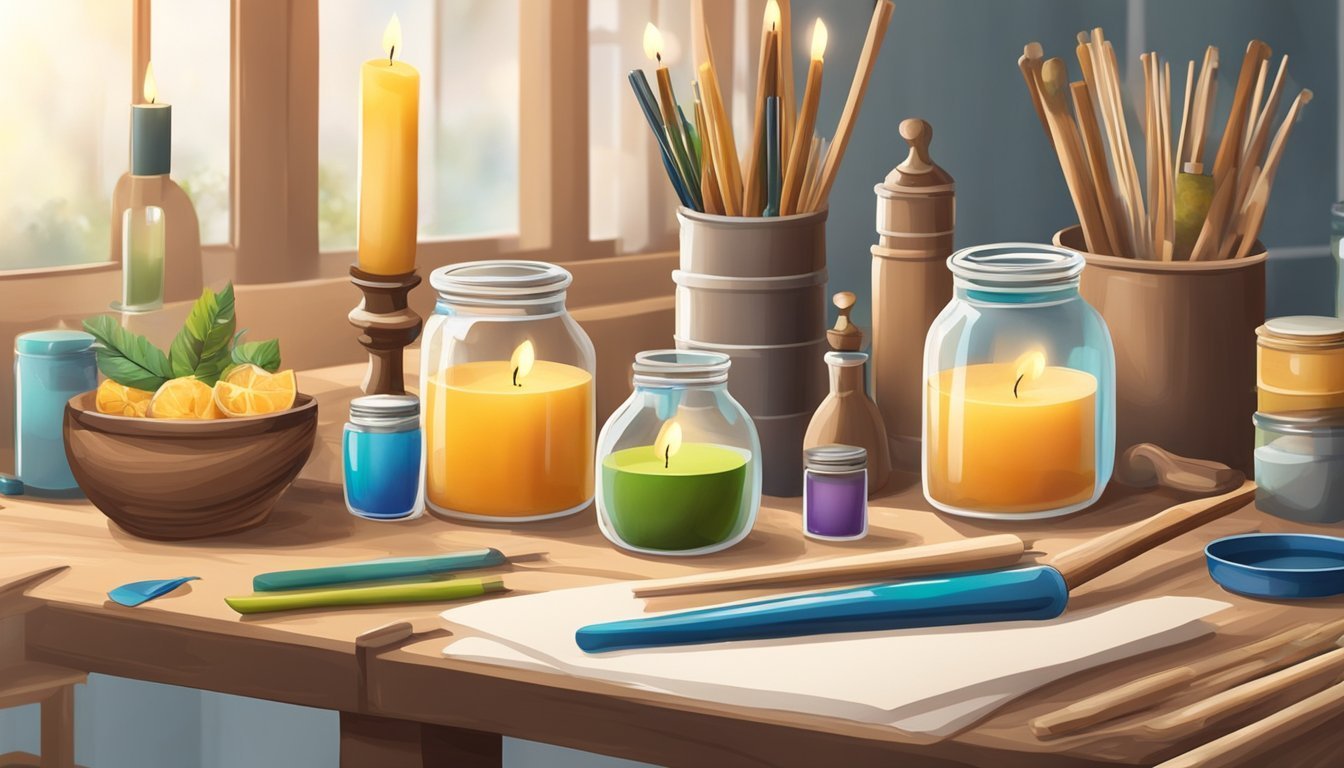
2) Use Crayons for Color Customization
Using crayons in your candle-making process offers a fun way to add vibrant colors.
You can select any crayon shade you like for a personalized touch.
To start, gather your crayons and break them into small pieces.
Then, set up a double boiler.
Fill a saucepan with a couple of inches of water and place a heat-safe container inside it.
Melt the crayon pieces along with some wax.
This mixture will create a colorful wax for your candles.
If you’re feeling creative, try melting different colors separately to achieve a striped or layered look.
Once the wax has melted, carefully pour it into your candle mold.
You can experiment by mixing colors or pouring layers at intervals.
Let each layer harden for about 25 minutes before adding another.
This method not only enhances the look of your candles but also allows you to use leftover crayons creatively.
Have fun customizing your candles with shades that express your personality!
3) Try Essential Oils like Lavender
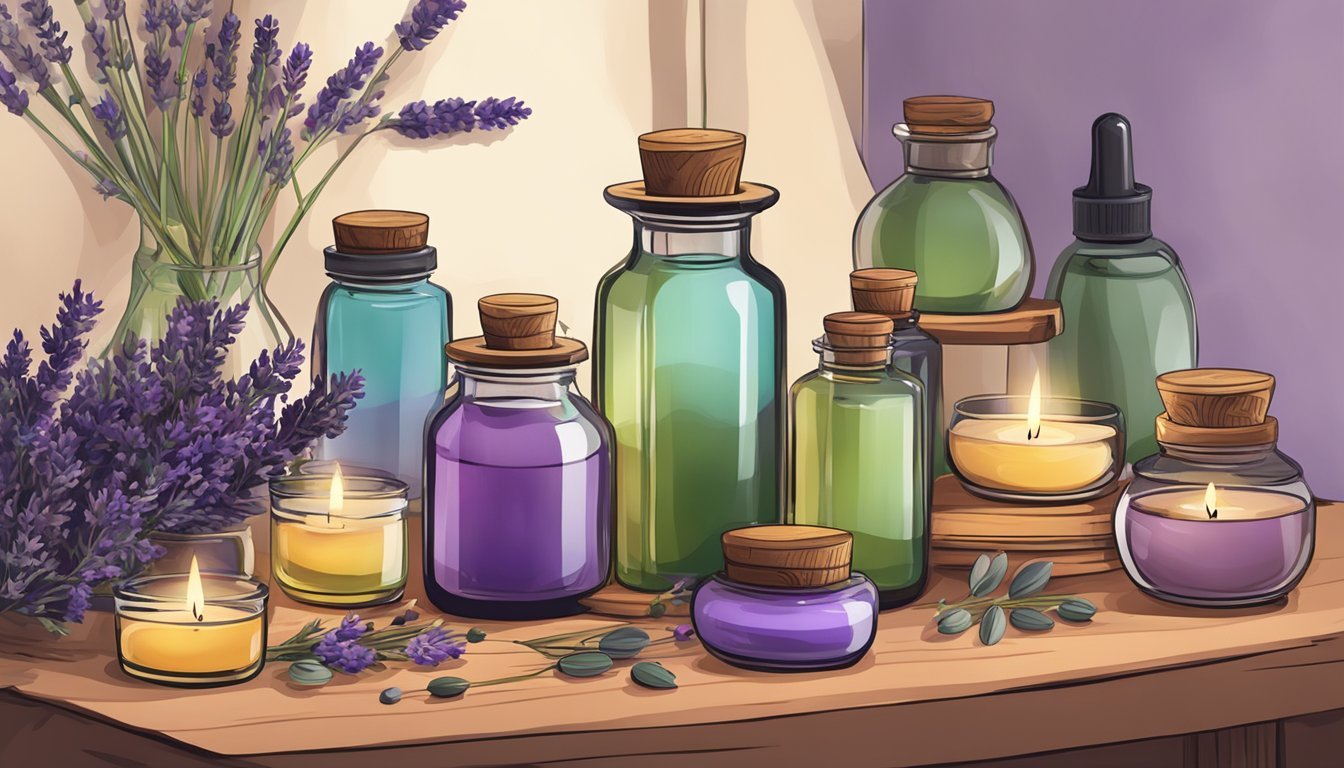
Adding essential oils to your DIY candles can elevate your whole experience.
Lavender is a popular choice for its calming aroma and soothing properties.
When making your lavender candles, start by melting your chosen wax.
You can use a double boiler or a microwave if you prefer.
Once the wax is melted, let it cool slightly before mixing in your lavender essential oil.
Stir thoroughly to ensure the oil binds well with the wax.
It’s crucial to mix for about 30 seconds to prevent the oils from separating.
Pour the mixture into your candle container at the right temperature, around 135°F (57°C).
Adding real lavender flowers can enhance the visual appeal and fragrance.
Remember to position the wick correctly at the center before pouring.
This helps the candle burn evenly.
Enjoy the delightful aroma of your homemade lavender candle.
It not only brightens your space but also brings a sense of relaxation.
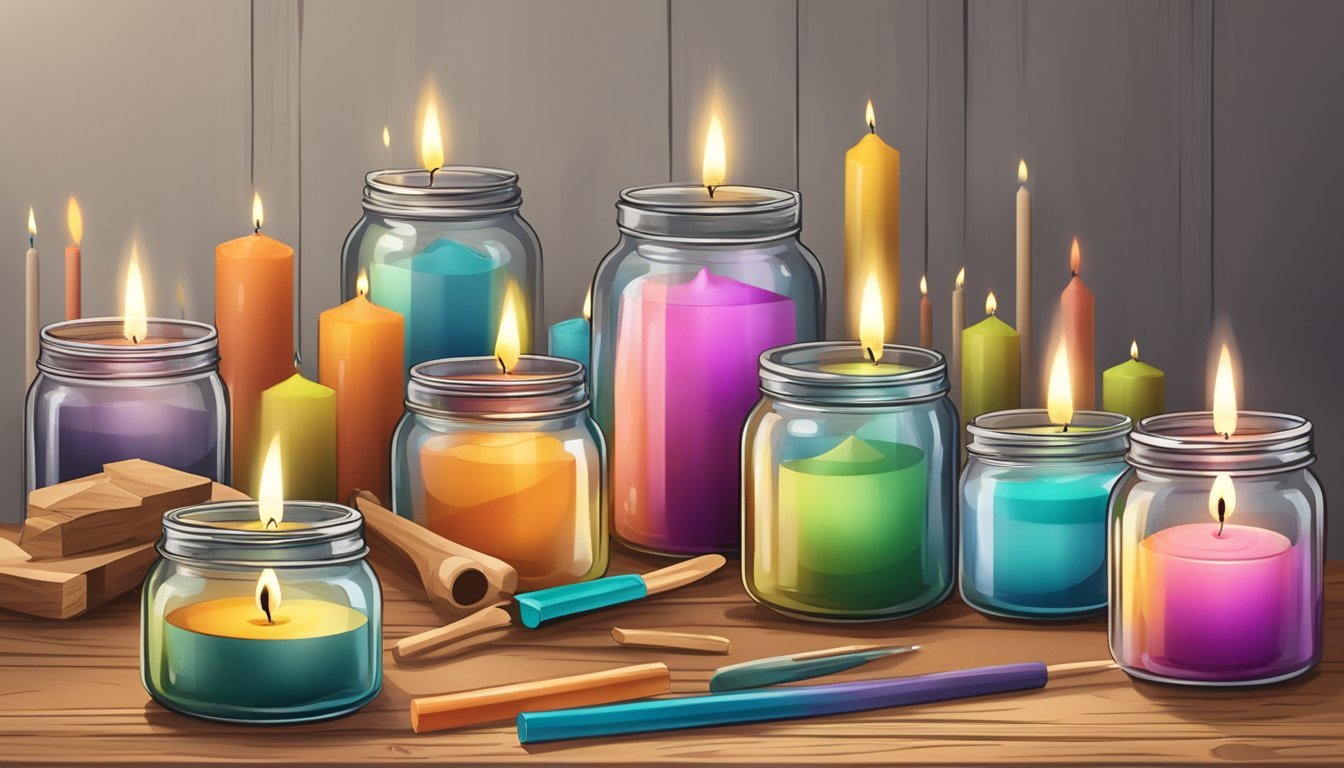
Create Layers with Different Colors
Creating layered candles can be a fun and creative project.
You can mix various colors and scents to personalize your designs.
Start by melting your chosen wax.
Soy wax is a popular option because it burns clean and holds color well.
Use small amounts to keep control during the layering process.
Once the wax is melted, add your favorite candle dyes.
Make sure to mix the color thoroughly for an even shade.
Then, pour the colored wax into your container, filling it partway.
Let the first layer solidify fully before adding the next layer.
This helps prevent the colors from mixing.
You can repeat the process with different colors, creating a beautiful layered effect.
For an added twist, consider using different scents for each layer.
Choose seasonal fragrances for themed candles, like peppermint for winter or citrus for summer.
Remember, the key is patience.
Take your time while pouring and layering to achieve the best results.
Enjoy the process and let your creativity shine!
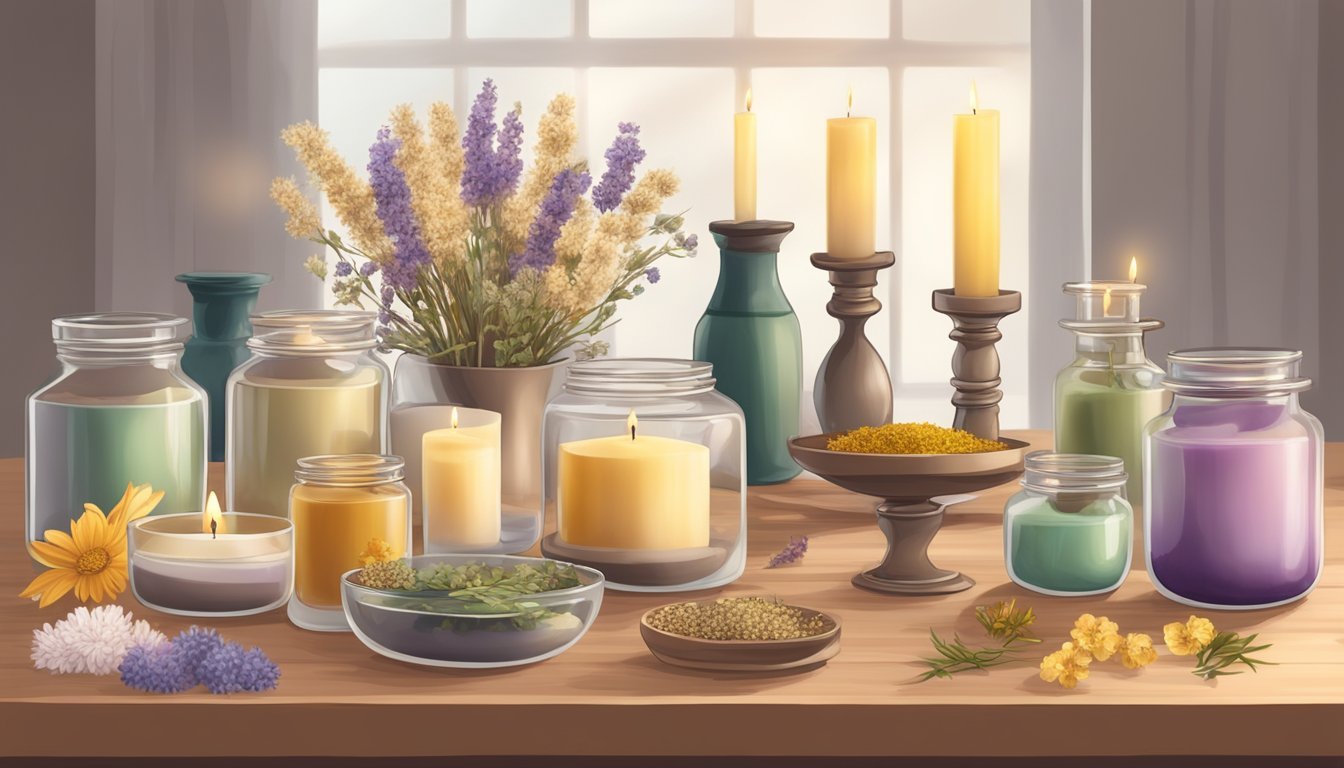
5) Embed Dried Flowers for a Rustic Look

Adding dried flowers to your DIY candles can create a beautiful, rustic touch.
Start by selecting flowers that will complement your candle color and scent.
Lavender, chamomile, or dried roses work well for this.
Before embedding, ensure your dried flowers are completely dry to prevent moisture from affecting the wax.
You can use flowers you’ve dried yourself or purchase them from a craft store.
When pouring the wax, add the dried flowers at different stages.
For a layered effect, pour a small amount of wax, sprinkle some flowers, and wait for it to set slightly before adding more wax.
This will keep the flowers suspended within the candle.
Using clear glass containers can showcase the beauty of the dried flowers.
Choose containers that allow you to see the details of your design from all angles.
Make sure to place the flowers strategically so they won’t interfere with the candle wick.
This will ensure even burning and safety while using your candle.
6) Decorate with Glitter for Sparkle
Adding glitter to your DIY candles is a fun way to enhance their appearance.
It brings a touch of sparkle that can elevate any design.
Start by preparing your candle.
Once it’s fully cooled and set, you can apply glitter.
A good technique is to use spray adhesive formulated for candles.
This ensures that the glitter sticks well.
For a simple application, hold the glitter about 12 inches away and spray it evenly over the surface.
Let it dry completely before touching it.
This will help you achieve a light, shimmery effect.
If you prefer a more controlled approach, use a paintbrush to apply a thin layer of corn syrup to areas where you’d like the glitter to adhere.
Roll the jar in glitter until it’s covered, and shake off the excess.
Mixing different sizes of glitter can create an interesting texture.
A tip is to let your decorated candle rest on parchment paper while it dries.
This prevents it from sticking to surfaces or losing any glitter.
Enjoy the sparkle!
7) Make Citronella Candles for Insect Repellent
Creating your own citronella candles is a fun and practical way to keep insects at bay.
Start by gathering your materials: wicks, wax, a container, and citronella oil.
Affix the wick to the bottom of your container using a hot glue gun.
If you’re using a larger vessel, consider adding multiple wicks for better distribution of the scent.
Melt the wax in a double boiler, then mix in several drops of citronella oil.
This oil is key for repelling mosquitoes.
Once the wax is melted, carefully pour it into your container.
Allow the candle to cool for a few hours.
For best results, place it in a warm oven to cool slowly.
This helps prevent cracks in the finished product.
Once cooled, trim the wick to about a quarter inch.
Your homemade citronella candle is now ready to use! Light it up outdoors for a pleasant aroma and a bug-free environment.
8) Use Ice for Unique Texture Designs
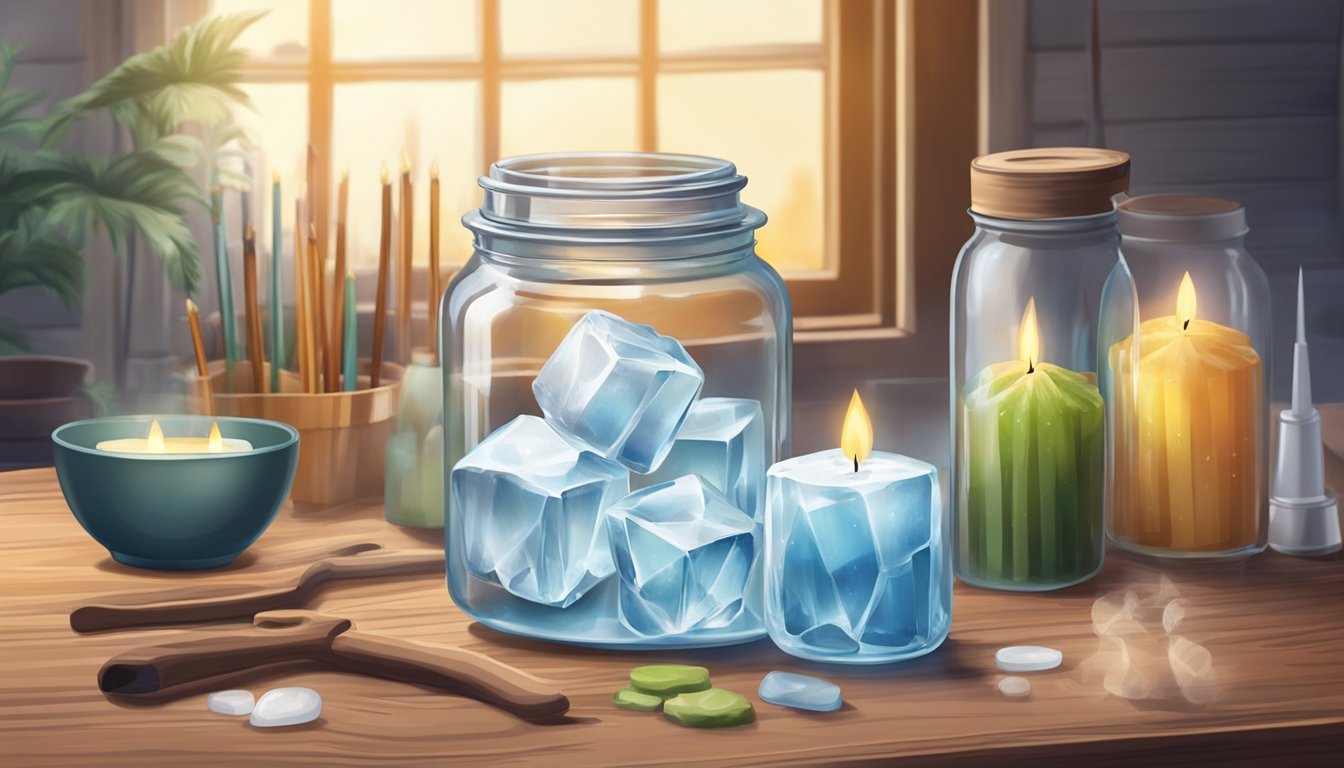
Making candles with ice can create stunning and unique textures.
This technique is simple and adds an artistic touch to your DIY projects.
To get started, gather your materials.
You’ll need wax, wicks, and, of course, ice.
You can use any type of wax you prefer, but soy wax is a popular choice for beginners.
Begin by placing your ice in a container.
As the wax melts, pour it over the ice.
The ice will create cavities in the wax, resulting in distinctive patterns once it melts away.
Make sure to pour the wax slowly to control the design.
After the wax sets, you’ll have a candle that showcases cool, textured effects.
Experiment with different types of ice—crushed, cubed, or even shaped ice—for varying results.
This method not only looks great but also provides a fun twist to standard candle-making.
Enjoy crafting your unique candles!
Recycle Old Jars as Candle Holders
Repurposing old jars into candle holders is a fun and sustainable project.
You can use glass jars of various sizes, like those from pasta sauce or even candle remnants.
Start by cleaning out your jars thoroughly.
Remove any labels and leftover residue.
A little hot soapy water works wonders for this.
Next, you can personalize your jars.
Consider painting them or wrapping them with twine for a rustic touch.
This adds character and fits your home decor.
For a simple candle holder, place a tea light or small candle inside the jar.
You can also fill the bottom with sand or pebbles to add stability.
This not only looks great but helps prevent tipping.
If you want something more elaborate, combine several jars in different heights.
Cluster them together for a beautiful centerpiece on your dining table.
Using old jars helps reduce waste and gives your living space a cozy ambiance.
It’s an easy way to add a personal touch to your home.
Plus, it’s satisfying to see something old transformed into something new and functional.
10) Incorporate Aromatherapy Blends

Adding aromatherapy blends to your DIY candles can enhance relaxation and create a pleasant atmosphere.
Start by choosing essential oils that you enjoy.
Popular options include lavender, eucalyptus, and citrus scents.
When making your candles, melt your wax in a double boiler.
Once the wax is fully melted, remove it from heat and stir in your selected essential oils.
A good rule of thumb is to use about 1 ounce of essential oil for every pound of wax.
If you’re experimenting with multiple scents, try blending them in small amounts first.
This helps you find the perfect combination before committing to a larger batch.
Don’t forget to dip the wick’s bottom in melted wax to secure it in your container.
This ensures the wick stays put while you’re pouring in the wax mixture.
Feel free to explore different scents and ratios until you find your favorite blend.
Creating a personalized scent can make your candles truly unique.
Enjoy the process and let your creativity shine!
Understanding Candle-Making Basics
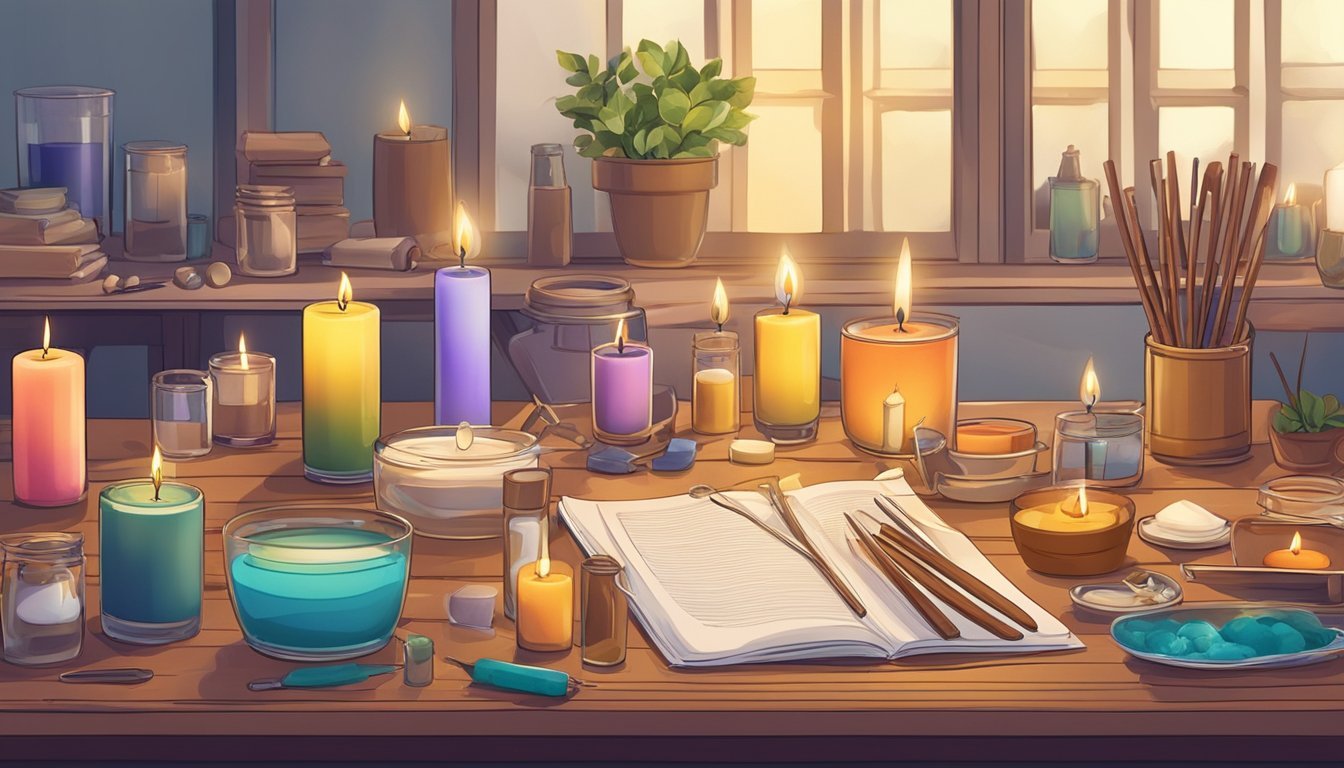
Candle-making is a fun and creative process that involves selecting the right materials and tools.
Knowing the types of wax available and the essential tools you’ll need can help you craft beautiful candles with ease.
Types of Wax
When it comes to candle-making, the type of wax you choose plays a significant role in the appearance and fragrance of your candles.
Here are the most popular types:
- Paraffin Wax: This is the most common and cost-effective option. It holds color and fragrance well but is derived from petroleum.
- Soy Wax: A natural option made from soybeans, it burns cleaner and lasts longer. It’s ideal for making container candles.
- Beeswax: A natural wax with a sweet, honey scent. It’s excellent for tapered candles and has a long burn time.
- Palm Wax: This wax creates a unique crystalline appearance. It’s eco-friendly but may require a bit more skill to work with.
Choose the wax that suits your project and preferences.
Essential Tools
Getting started with candle-making requires a few key tools.
Here’s a list of what you’ll need:
- Double Boiler: Essential for melting wax safely without direct heat.
- Pouring Pitcher: Helps pour wax easily into molds or containers.
- Wicks: Choose wicks suitable for your wax type and candle size.
- Thermometer: Important for monitoring wax temperature for proper pouring.
- Color and Fragrance Additives: Optional, but they can enhance your candles’ appeal.
Having the right tools can make your candle-making experience smoother and more enjoyable.
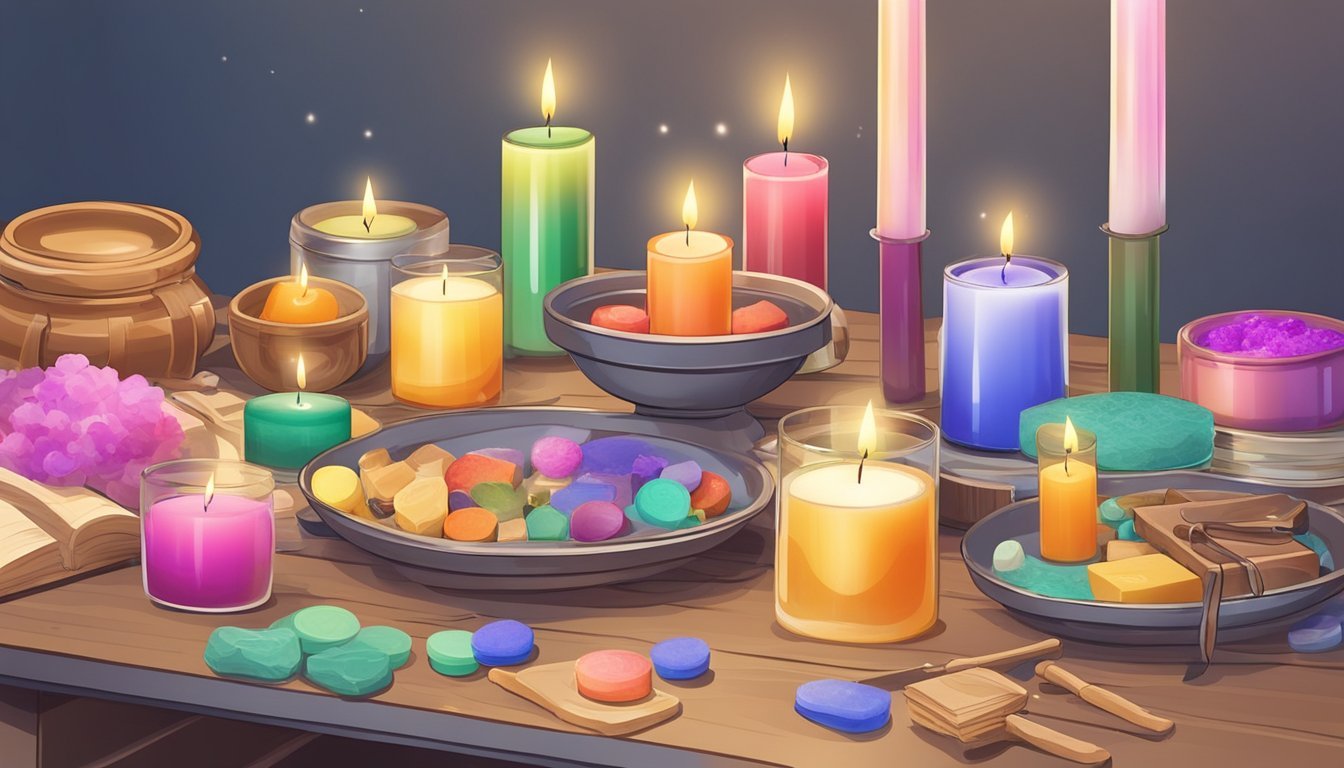
Choosing Scents and Colors

When creating your DIY candles, selecting the right scents and colors is crucial.
The scents can evoke different moods, while colors add visual appeal.
Here’s how to make those choices effectively.
Scent Combinations
Choosing the right scents is about balancing fragrances to create an inviting ambiance.
Here are some popular combinations:
- Citrus & Lavender: Refreshing and calming—great for relaxation.
- Vanilla & Cinnamon: Warm and cozy, perfect for fall.
- Eucalyptus & Mint: Invigorating and uplifting, ideal for energizing spaces.
To enhance your scent experience, consider using essential oils, which offer natural aromas.
A good rule of thumb is to use 1 ounce of fragrance oil per pound of wax.
Experimenting with scent ratios can help you discover your unique blends.
Keep in mind that some essential oils can have varying strengths.
Always test your blends before committing to a full batch to ensure the fragrance is just right.
Mixing Colors
Color can greatly influence the mood of your candles.
Here’s how to approach mixing them:
- Complementary Colors: Pairing colors opposite each other on the color wheel can create vibrant contrast. For example, mix blue with orange for a striking effect.
- Analogous Colors: Using colors next to each other, like red, orange, and yellow, creates a harmonious look.
When mixing dyes, start with small amounts.
It’s easier to add more color than to fix a candle that’s too dark.
Always test a small sample in a white wax piece to see the final result.
Consider using natural colorants like herbal powders for a unique touch.
They can add depth while keeping your candles eco-friendly.
Adding Personal Touches
Making your candles unique can add a special flair that reflects your style.
You can enhance their appearance and make them personal through custom labels and unique mold shapes.
Custom Labels
Creating custom labels for your candles can significantly enhance their appeal.
You can use design software or online tools to create labels featuring your favorite fonts and colors.
Think about adding your name, a meaningful quote, or even a fun scent description.
To make it more personal, consider using high-quality adhesive paper to print your designs.
This can ensure that your labels have a professional finish.
You can also experiment with different shapes, such as circles or rectangles, to see what suits your candle best.
If you want to go a step further, adding a little bit of embellishment can elevate your labels.
Use ribbon, twine, or other decorative elements to add texture and dimension.
This will not only make your candles stand out but also create a memorable gift or home decor piece.
Unique Mold Shapes
Using unique mold shapes is another fantastic way to customize your candles.
Instead of standard molds, think outside the box.
You can use silicone molds that come in various fun shapes, such as animals, geometric designs, or seasonal themes.
If you’re feeling adventurous, consider making your own molds using items from around the house.
For example, you could try repurposing food containers or even creating molds from clay.
Make sure the material you choose is heat-resistant to avoid any mishaps during the pouring process.
Once you’ve selected your molds, take the time to experiment with colors and scents to create a one-of-a-kind look and fragrance.