Creating your own beaded jewelry designs can be a fun and rewarding way to express your creativity.
Whether you’re a complete beginner or looking to refine your skills, making unique pieces like bracelets, necklaces, and earrings offers endless possibilities. Learning to combine different beads and techniques allows you to showcase your personal style in a way that store-bought jewelry can’t match.

With just a few tools and materials, you can start experimenting with your designs.
From choosing the right beads to mastering simple techniques, the process allows for exploration and innovation.
Embrace the journey of crafting jewelry that speaks to you, and enjoy the satisfaction of wearing pieces you made yourself.
Choose Your Beads
Picking the right beads is the first step in designing your jewelry.
You’ll find a variety of materials like glass, wood, acrylic, and metal.
Each type has its own look and feel.
Think about the colors you want to use.
Consider your personal style and what outfits you’ll pair with your jewelry.
Mixing colors can create a unique and vibrant design.
Size also matters.
Larger beads make bold statements, while smaller beads can add delicate details.
It’s all about the look you want to achieve.
Don’t forget about shapes.
Round, square, and even unusual shapes can enhance your design.
Experimenting with different shapes will help you create something truly special.
Lastly, consider the texture.
Smooth beads can convey elegance, while textured or faceted beads can add depth.
Play around with various combinations to see what works best for your project.
2) Pick the Right Stringing Material
Choosing the right stringing material is key to your beaded jewelry project.
It affects both the look and durability of your piece.
If you’re starting out, elastic cord is a solid choice.
It’s stretchy and perfect for bracelets.
Plus, it’s easy to secure with a knot and some glue.
For a more polished look, consider flexible beading wire.
This works well for necklaces and bracelets and gives a nice drape.
Make sure to match it with your bead type for the best results.
Waxed cotton is another great option.
It’s easy to knot and isn’t sticky, which makes it user-friendly.
Plus, it comes in vibrant colors that can add some fun to your designs.
If you’re into a more traditional feel, silk threads can give your jewelry an elegant touch.
They’re soft and drape beautifully, perfect for a classic style.
Experiment with different materials to see what works best for your designs and personal style!
3) Create a Design Plan

Creating a design plan is an essential step in making your own beaded jewelry.
Start by gathering inspiration from various sources like nature, fashion, or online platforms.
This helps you visualize your piece.
Next, sketch your design ideas.
You don’t need to be an artist; simple shapes and colors will do.
This gives you a better idea of color combinations and bead types.
Think about the materials you’ll need.
Make a list of beads, thread, and tools required.
Consider the style: do you want something casual or more elegant?
Also, plan the size of your jewelry.
Measure your wrist or neckline to ensure a perfect fit.
It’s helpful to use a ruler for accuracy.
Once you have everything laid out, it’s time to select your beads.
Choose colors and shapes that resonate with your design.
Don’t be afraid to experiment.
Having a clear plan will make the beading process smoother and more enjoyable.
Plus, it can save you time and effort when you start crafting.
Happy designing!
4) Use Crimp Beads for a Secure Finish
Using crimp beads is essential for finishing your beaded jewelry securely.
They help hold everything in place, preventing any loose ends.
To start, thread your beading wire through a crimp bead and a clasp.
Then, loop the wire back through the crimp bead.
This creates a secure loop for the clasp.
Next, use crimping pliers to flatten the crimp bead.
Squeeze it gently to create a “C” shape, which grips the wire firmly.
Make sure not to squeeze too hard, as that might break the bead.
If you notice that your crimp bead isn’t holding the wire well, you can use flat-nose pliers to tighten it.
This additional squeeze can help ensure a sturdy hold.
Lastly, trim any excess wire to keep your design neat.
Make sure your crimp beads are small enough to fit within your design but strong enough to provide a secure finish.
This technique will give your jewelry durability and a polished look.
5) Explore Different Bead Shapes
Experimenting with different bead shapes can add depth and personality to your designs.
From round to square, each shape brings its own vibe.
Round beads are classic and versatile, perfect for creating simple strands.
They can be used alone or combined with other shapes for texture.
Flat beads, like squares or rectangles, create a modern look.
They can also be stacked or layered to create interesting patterns.
Drop or teardrop shapes enhance elegance in jewelry.
Use them as focal points or add them to chains or woven pieces.
Keep in mind that the shape of your beads influences the overall flow of your design.
Mixing various shapes can create a unique aesthetic that reflects your style.
Don’t hesitate to try unusual shapes or sizes.
Unique beads can elevate your jewelry projects and inspire creativity.
Incorporate Charms or Pendants
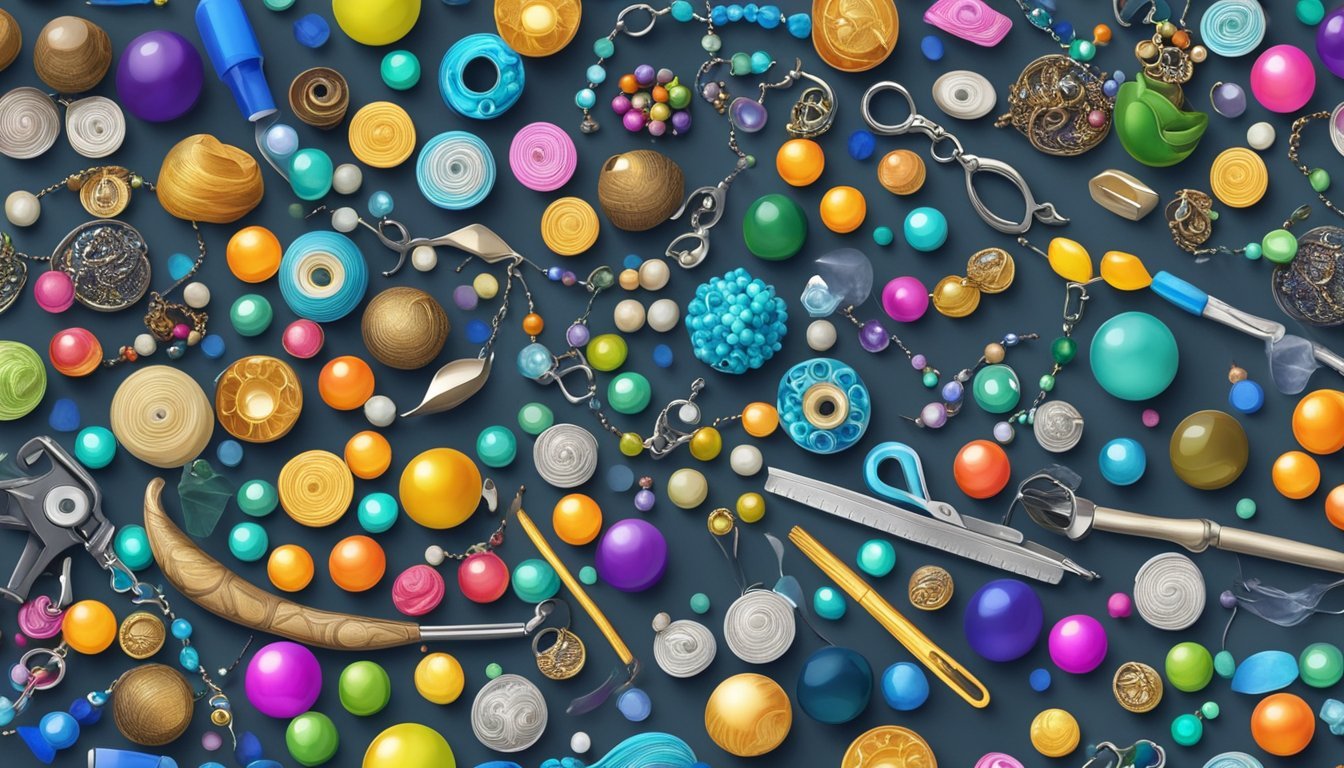
Adding charms or pendants to your beaded jewelry can greatly enhance its visual appeal.
These elements introduce personality and uniqueness to your designs.
Start by selecting charms that resonate with you.
They can represent hobbies, symbols, or themes that hold special meaning.
This personal touch makes your jewelry more than just accessories.
When incorporating charms, consider the overall balance of your piece.
You can use a few larger charms or several smaller ones, depending on your design style.
Mix different shapes and materials for an interesting look.
Pendants can also serve as focal points.
String them alongside your beads, or let them hang freely at the center of your design.
This draws attention and gives your piece a polished feel.
Experiment with placement to see what works best.
You might find that evenly spaced charms create a harmonious look, while an asymmetrical arrangement adds a playful touch.
Enjoy the process and let your creativity flow!
7) Add Spacer Beads for Balance
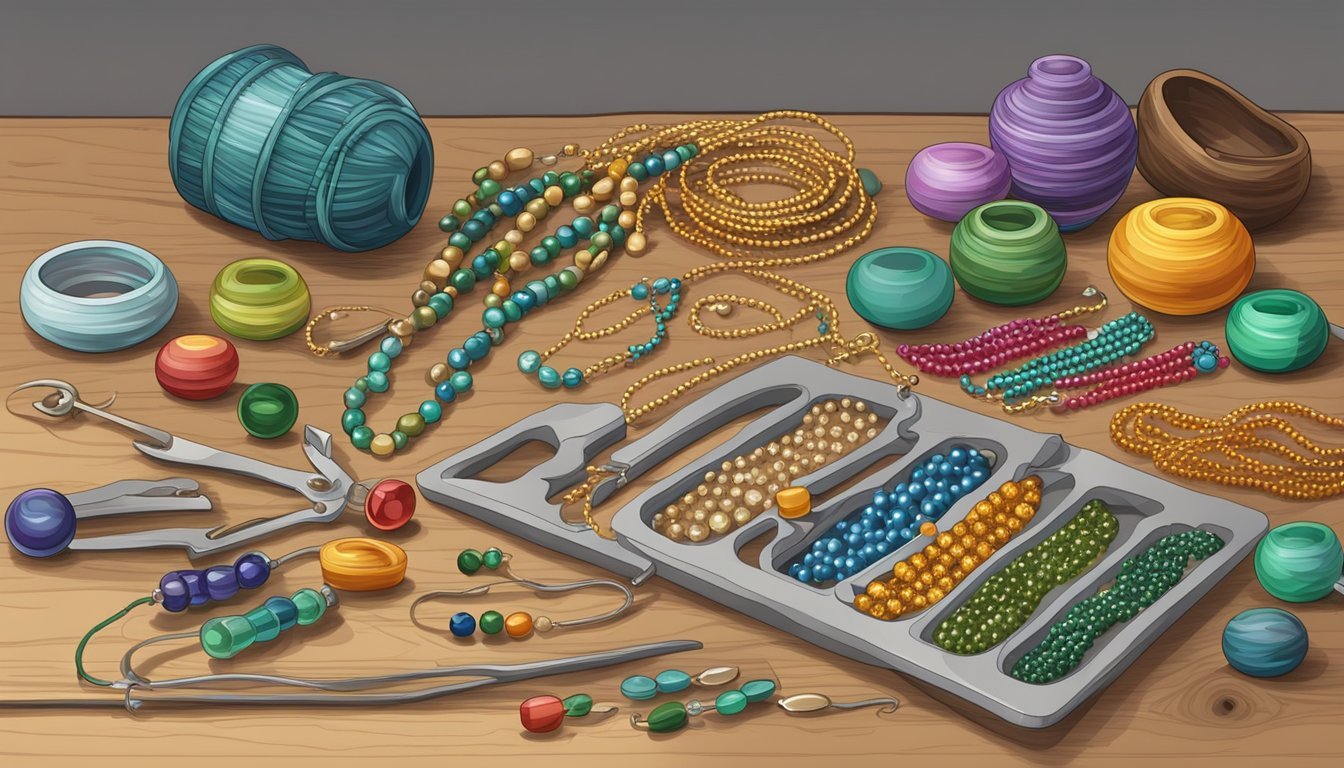
Spacer beads are essential when it comes to creating balanced and visually appealing jewelry designs.
They help separate larger beads, which can make your piece look more organized.
Using spacer beads allows you to achieve symmetry in your design.
By placing them evenly between your main beads, you can create a pleasing rhythm that catches the eye.
They’re also great for adding texture and dimension.
Mixing different styles and materials of spacer beads can enhance the overall look of your jewelry.
Experiment with metallic spacers, wooden options, or even colorful acrylic beads.
This variety can make a simple design feel more dynamic without overwhelming it.
When designing, think about the proportion of your spacer beads in relation to the other elements.
The right size and color can enhance your focal beads, drawing attention where you want it most.
8) Experiment with Color Combinations

Playing around with colors is one of the most enjoyable parts of making beaded jewelry.
Different color combinations can significantly change the look and feel of your pieces.
Use color wheels or online tools to explore harmonious and contrasting colors.
This can help you find the perfect blend that makes your design pop.
Don’t hesitate to mix bold hues with softer tones.
This contrast can create an eye-catching effect that draws attention to your work.
Remember, there are various color schemes to consider.
Complementary colors sit opposite each other on the color wheel and can create dynamic looks.
Analogous colors, which are next to each other, can produce a more subtle effect.
Trust your instincts when selecting colors.
Your personal style should shine through, so experiment and have fun with it.
Trying new combinations might lead to unexpected and beautiful designs.
9) Try Using Bead Caps
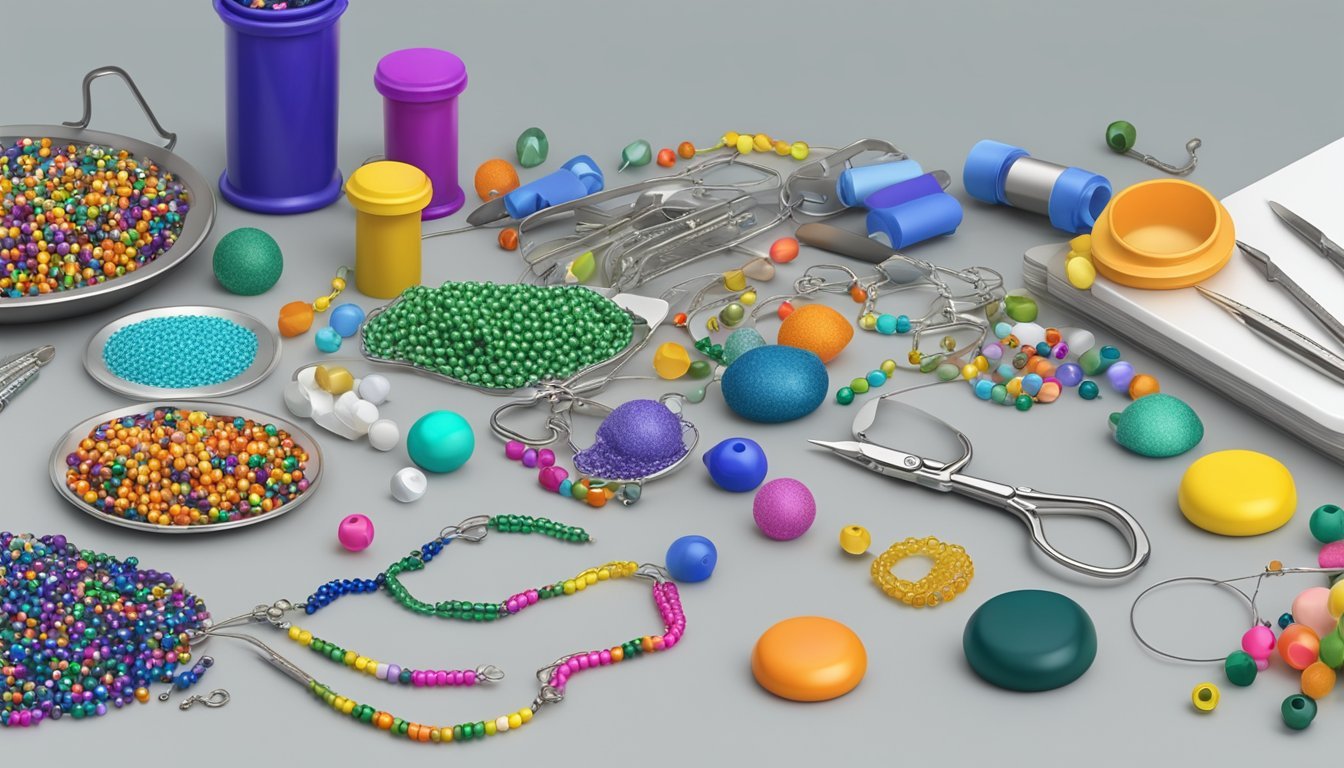
Bead caps can really enhance your jewelry designs.
They add a polished look and can help secure your beads in place.
You might find them particularly useful when making earrings or necklaces.
To use bead caps effectively, consider the sizes and shapes that match your beads.
They come in various designs, from simple flowers to intricate filigree.
Choosing the right one can make your piece stand out.
When you’re ready to attach a bead cap, just position it on top of your bead.
You can use a headpin to create dangles or incorporate them into stringing projects.
Just remember not to overfill them if you’re using clay or resin.
Experiment with different bead cap styles to see how they change the overall look of your designs.
With a little creativity, bead caps can take your jewelry to the next level!
10) Practice Different Knotting Techniques

Knotting is an essential skill in beaded jewelry design.
It helps secure your beads and adds durability to your pieces.
Start with basic knots like the overhand knot, which is simple and perfect for beginners.
This knot is great for securing the ends of your beading line.
Experiment with the Surgeon’s knot, especially if you’re working with slippery cords.
It provides extra strength and prevents slipping, ensuring your creations stay intact.
If you’re crafting pearl jewelry, learn pearl knotting techniques.
This involves making knots between pearls to prevent them from rubbing against each other, which can cause damage.
Using specialty tools can make this process easier, especially when sliding knots close to your beads.
Don’t hesitate to practice these techniques as you create.
The more you practice, the more confident you’ll become.
With various knots at your disposal, you can enhance both the look and longevity of your pieces.
Understanding Beading Basics
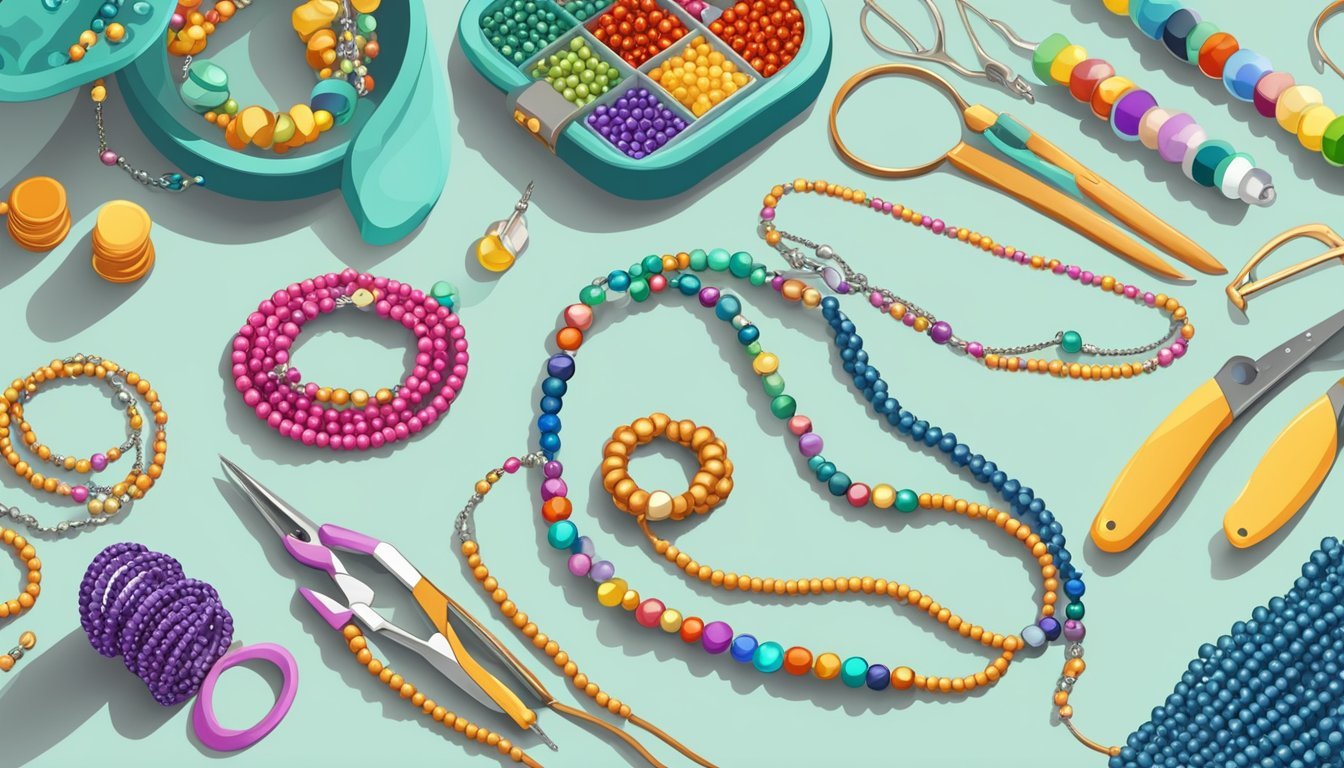
Getting started with beading requires knowing the right tools and materials.
Once you’re familiar with what you need, you can confidently begin crafting your own jewelry designs.
Essential Tools for Beading
To set up your beading station, you’ll need some essential tools.
Here’s a quick list to guide you:
- Beading Needle: A thin, flexible needle designed for threading various types of beads.
- Beading Wire or Cord: Choose the right material based on your project. Wire is sturdy while cord offers flexibility.
- Scissors: Sharp and precise scissors make cutting your materials easy.
- Crimping Tool: This tool secures crimp beads and keeps your design intact.
- Pliers: Round-nose and flat-nose pliers are crucial for bending and manipulating wire.
These tools are fundamental to the process, making it easier to create projects with precision and ease.
Types of Beads and Materials
Understanding the types of beads is key to designing your jewelry.
Here are several popular options:
- Seed Beads: Small, versatile beads perfect for intricate designs and patterns.
- Glass Beads: Available in many colors and styles, these beads add sparkle.
- Gemstone Beads: Organic and beautiful, they give your pieces a natural touch.
- Acrylic Beads: Lightweight and budget-friendly, good for playful designs.
When selecting materials, consider the design’s purpose—whether for daily wear or special occasions.
Mixing different bead types can create unique textures and looks in your jewelry.
Designing Your Jewelry
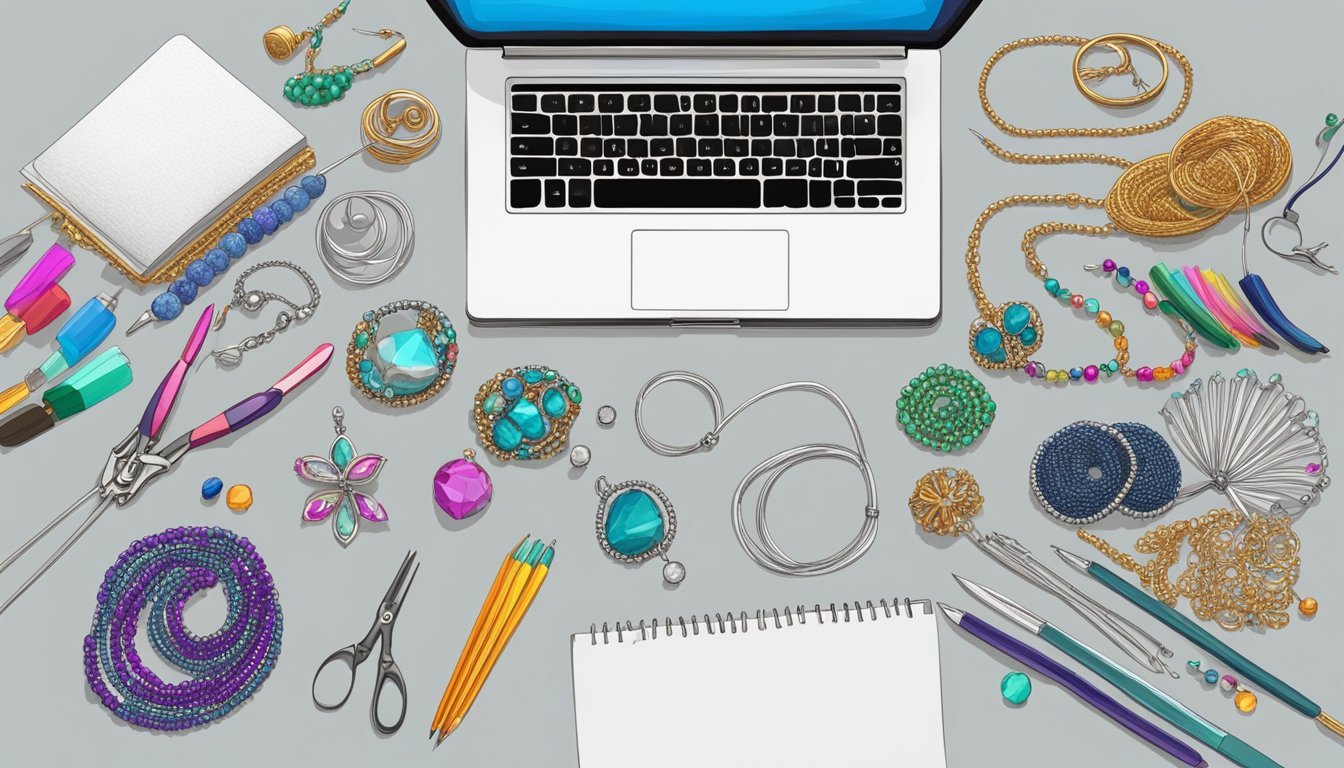
Creating your own beaded jewelry starts with a spark of inspiration and a clear plan.
You can draw ideas from various sources and map out your design for a seamless crafting experience.
Inspiration and Ideas for Designs
When looking for inspiration, consider your personal style and what you enjoy wearing.
- Nature: Look at the colors and shapes in flowers, landscapes, or even the ocean. Photographing these can help you visualize color palettes.
- Fashion Trends: Browse magazines or social media to see what styles are currently popular. Take note of colors, shapes, and materials that catch your eye.
- Art: Visit galleries or explore online art collections. Unique patterns and color combinations can inspire your jewelry designs.
Don’t forget to consider the occasion! What you create for everyday wear may differ greatly from a piece intended for a special event.
Sketching and Planning Your Design
Once you’ve gathered inspiration, it’s time to sketch and plan.
Grab a notebook and start doodling your ideas.
You don’t need to be an artist; simple shapes can help you visualize.
- Outline Your Piece: Start with the basic shape of your jewelry. Will it be a necklace, bracelet, or earrings?
- Select Your Beads: Based on your inspiration, choose beads that reflect your vision. Remember to think about size, color, and texture.
- Create a Color Palette: Jot down potential color combinations. Try to limit your palette to around 2-4 colors to avoid overwhelming the design.
Getting everything on paper can help you decide on the length and overall look before you start stringing.
This approach saves you time and helps ensure you love what you’re making!


