

Resin crafting is a fun and creative hobby that lets you make unique items, from jewelry to home decor. With resin, you can create stunning projects that showcase your individual style.
Whether you’re a complete beginner or have some experience, there’s always something new to learn in the world of resin crafting.
You’ll discover various techniques and tips that can enhance your skills, making each project more enjoyable.
Dive into this exciting journey, and let your creativity shine!
Epoxy Resin Starter Kit
Resin crafting is exciting, and having the right starter kit makes a big difference.
A typical epoxy resin starter kit includes resin and hardener, which are the two main components.
Make sure your kit has clear mixing instructions.
This is crucial since different brands may have different mixing ratios.
You’ll usually mix equal parts, but always double-check the instructions.
Look for kits that come with essential tools like measuring cups, stirring sticks, and gloves.
These items help you achieve accurate measurements and maintain safety while crafting.
Some kits also include pigments, glitter, or molds.
These extras allow you to add personal touches to your projects right from the start.
When choosing a kit, consider your specific crafting goals.
Whether you’re making jewelry, coasters, or decorative items, the right kit will set you up for success.
UV Resin for Beginners
Getting started with UV resin can be a fun experience.
First, make sure you have a well-ventilated workspace.
Dust and debris can ruin your project, so clean your area thoroughly.
Choose a beginner-friendly UV resin.
Some formulas cure more slowly, giving you extra time to work on your creations without rushing.
This is especially helpful when you’re figuring things out.
When working with UV resin, always wear gloves to protect your skin.
It’s also good to have a mask if you’re sensitive to fumes.
Start with small projects like keychains or coasters.
These allow you to practice without feeling overwhelmed.
Using molds can help shape your projects nicely.
Pour the resin into the mold, then use a UV light to cure it.
You’ll see it harden within minutes.
To keep your resin looking great, clean it gently.
Using a soft cloth ensures you won’t scratch the surface.
Remember, practice makes perfect, so enjoy the process and let your creativity shine!
3) Silicone Mold Set
A silicone mold set is essential for your resin crafting journey.
These molds allow you to create a variety of shapes and designs easily.
When choosing a silicone mold set, look for flexible yet sturdy options.
Flexibility makes it easier to remove your finished pieces without damaging them.
Durability is also important, as high-quality molds can be used multiple times without losing shape.
Popular options include coaster molds and jewelry-making molds that cater to different projects.
If you’re just starting out, you might consider kits that come with basic shapes.
This way, you can experiment without investing too much upfront.
Before using your molds, ensure they are clean and dry.
This helps the resin to cure properly and reduces the chance of air bubbles.
Pouring slowly and carefully into the molds will give you the best results.
Remember, practice makes perfect, so don’t be afraid to try different techniques and designs.
Enjoy the creative process!
4) Resin Mixing Cups
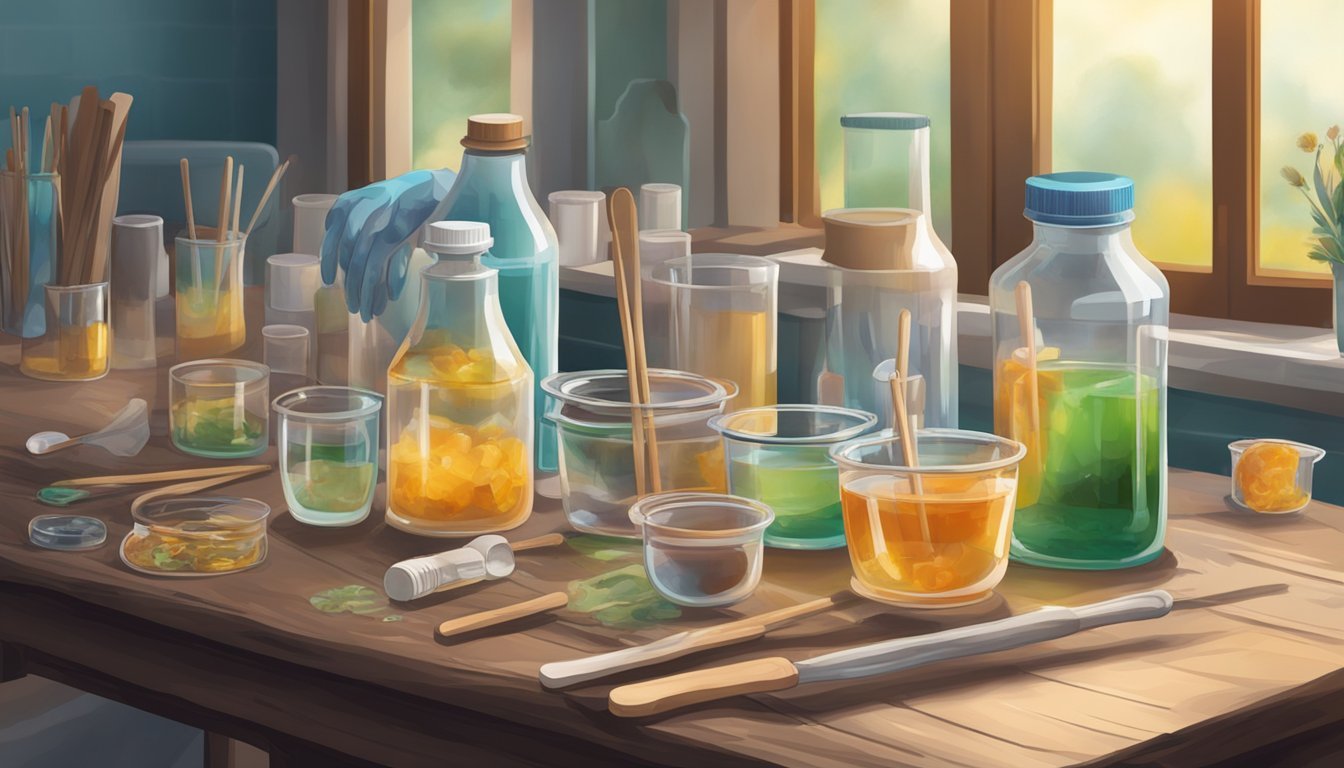
Choosing the right resin mixing cups is essential for your crafting process.
These cups allow you to accurately measure and mix your resin and hardener.
Look for cups that are marked with measurement lines.
This will help you get the correct ratio needed for your specific resin.
Most resins require a 1:1 or 2:1 ratio, so accurate measurements are key.
Using clear plastic cups makes it easy to see the mixture.
You can also use silicone cups, which are flexible and allow for easy pouring.
Make sure to have a few extra cups on hand.
This will give you room to experiment and avoid mistakes when mixing your resin.
Don’t forget about stirring sticks, too! A silicone or popsicle stick works well for mixing.
Remember to clean your cups right after use.
Resin can harden quickly, so it’s best to avoid letting it sit in the cup for too long.
Keeping your tools tidy helps ensure great results in your projects.
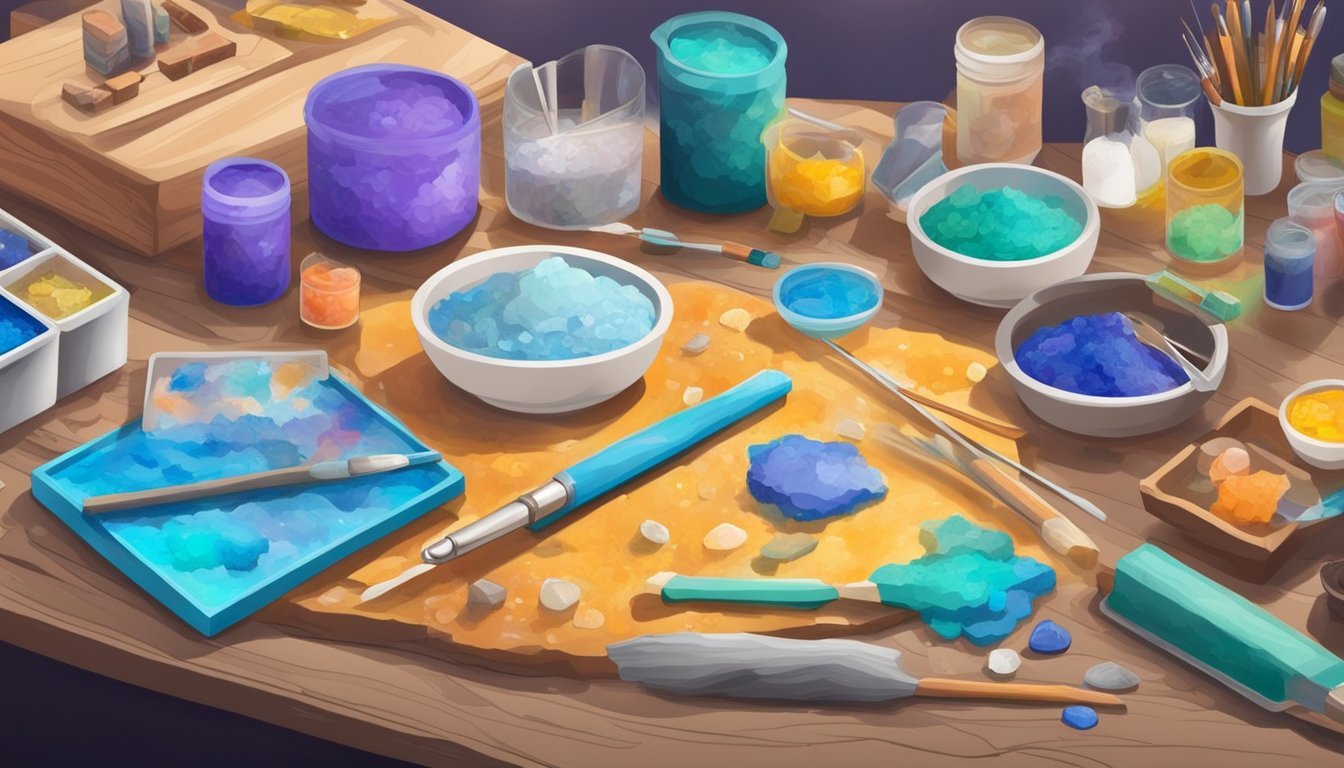
5) Glitter and Foil Flakes
Adding glitter and foil flakes can elevate your resin projects.
They introduce sparkle and texture, making your crafts more visually interesting.
You can choose fine or chunky glitter based on the look you’re going for.
Fine glitter mixes well into the resin, while chunky glitter can be sprinkled on the surface for a cool finish.
When using foil flakes, they give a stunning metallic effect.
Just like with glitter, you can mix them into the resin or apply them on top after the initial layer has cured.
To get started, pour your resin and let it sit until it gets tacky.
This usually takes around 3 hours.
Once it’s tacky, sprinkle your glitter or foil flakes where you want them.
After that, wait 9 to 12 hours before adding more resin to fill the mold.
By doing this, you’ll create layers that show off your decorations beautifully.
6) Silicone Craft Mat

Using a silicone craft mat is a game changer for resin crafting.
These mats provide a non-stick surface that makes cleanup a breeze.
When working with resin, spills and drips can happen.
A silicone mat protects your workspace and can be easily wiped clean.
Plus, many silicone mats are heat-resistant, which is an added bonus if you plan to use heat tools.
You can find mats in various sizes, so choose one that fits your crafting area.
Larger mats give you more room for your projects and supplies.
Silicone mats are great for mixing, pouring, and even setting your resin creations.
They help prevent sticking and ensure your pieces come off without any hassle.
Investing in a quality silicone mat will enhance your crafting experience.
It’ll save you time and keep your workspace tidy.
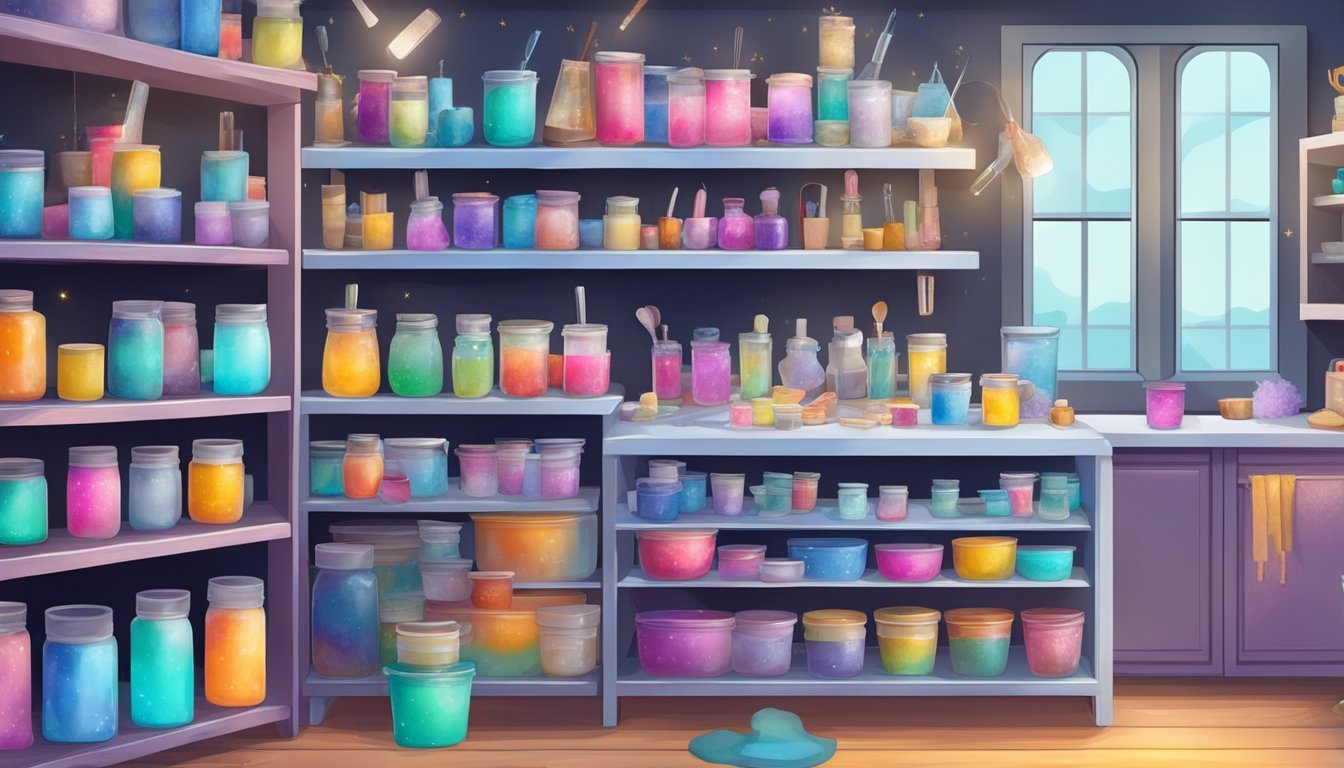
7) Resin Color Pigments

When you start resin crafting, color pigments can really elevate your projects.
You’ll find various options such as mica powders, alcohol inks, and liquid dyes.
Mica powders are popular for their shimmer and vibrant colors.
Just a small amount goes a long way.
Mix about one part pigment to twenty parts resin for the best results.
Alcohol inks are another great choice.
They can create beautiful, translucent effects.
Add them to your resin and watch the colors swirl uniquely.
Liquid dyes are convenient for achieving consistent color.
They blend well and are easy to use.
Remember to use them sparingly to avoid overpowering your resin.
Before you mix, do a small test with your pigments.
This helps you see how the color appears once cured.
Experimenting is a fun part of the process, so don’t hesitate to mix colors to find your perfect shade.
With these options, you’ll have plenty of possibilities for your resin art.
Enjoy the creative journey!
8) Heat Gun for Resin

Using a heat gun can be a game-changer for your resin projects.
It helps eliminate bubbles that form on the surface of the resin.
This is key to achieving a smooth finish.
When you start, hold the heat gun about two inches from the surface.
Move it gently back and forth to avoid overheating any area.
This technique pops the surface bubbles effectively.
For stubborn bubbles, you can move the gun closer, but do it swiftly.
You want to encourage the bubbles to burst without damaging the resin.
While heat guns are super helpful, keep in mind that too much heat can cause issues.
It might make the resin overly hot, leading to cracks.
Always monitor the temperature and give your work time to cool if needed.
Choosing the right heat gun is important too.
Look for one with adjustable temperature settings.
Having control over the heat will give you better results in your crafting.
Safety Goggles

When you start working with resin, safety goggles are a must.
They protect your eyes from any splashes or accidental debris.
Resin can be unpredictable.
A small mistake might result in a splash that could cause irritation or even injury to your eyes.
Wearing goggles creates a barrier to keep your eyes safe.
Choose goggles that fit comfortably yet snugly around your face.
You want to make sure they don’t fog up easily, so you can see your project clearly.
Investing in high-quality safety goggles is worth it.
Look for ones designed specifically for chemical safety.
This way, you can enjoy your crafting without worrying about your eye health.
Remember, it only takes a moment for an accident to happen.
Make it a habit to wear your safety goggles every time you work with resin.
10) Disposable Gloves

You must use disposable gloves when working with resin.
They protect your skin from potential irritation and allergic reactions.
Resin can be messy, and gloves help keep your hands clean.
They also prevent the resin from coming in direct contact with your skin, which is always a good idea.
Choose gloves made from nitrile or latex, as both provide decent protection.
Nitrile gloves are often preferred because they are more resistant to chemicals compared to latex.
Make sure the gloves fit well.
Loose gloves can slip off, while tight ones can reduce dexterity.
You need to feel comfortable while you work.
Remember to change your gloves if they become punctured or torn.
It’s better to be safe and protect your skin.
Keep a box of disposable gloves handy in your crafting area.
This way, you’ll always be prepared for your next resin project.
Understanding Resin Types

When starting with resin crafting, it’s essential to choose the right type of resin for your projects.
Each type has unique properties that suit different applications, so knowing the distinctions can help you achieve the best results.
Epoxy Resin
Epoxy resin is a popular choice for many crafters due to its versatility and strength.
It consists of two components: resin and hardener, which you mix together in equal parts.
This type cures to a clear, durable finish, making it great for jewelry, coasters, and art pieces.
One of the key benefits of epoxy resin is its resistance to yellowing and UV damage, ensuring that your creations maintain their aesthetic over time.
The cure time varies typically from 24 to 72 hours, depending on the specific brand.
Always check your product’s instructions for the mixing ratio and curing conditions.
Polyester Resin
Polyester resin is another option, commonly used in larger projects like surfboards and boats.
This type also comes in two parts but uses a different chemical reaction to cure.
It might emit more fumes compared to epoxy, so proper ventilation is crucial when working with it.
Polyester resin tends to be less expensive than epoxy and cures faster.
However, it can be more brittle and is not as durable or UV-resistant.
If you’re creating pieces that will be exposed to sunlight, consider using a UV stabilizer to prolong the resin’s life.
UV Resin
UV resin offers a quick and convenient option for crafters who want instant results.
This type is photopolymerized, meaning it cures when exposed to UV light.
With minimal mixing required, UV resin can be poured directly into molds and hardened in just a few minutes.
While it’s great for small projects and intricate designs, keep in mind that UV resin can be less durable compared to epoxy and polyester.
It’s essential to ensure that your piece gets even UV exposure for a proper cure.
This type works best for decorative items, jewelry, and other projects that won’t be exposed to harsh conditions.
Essential Tools and Supplies
Getting started with resin crafting involves gathering some key tools and supplies.
Focusing on safety, essential tools, and optional additives will set you up for a successful experience.
Safety Gear
Safety should always be your top priority when working with resin.
Invest in proper safety gear to protect yourself from potential hazards.
Here are the basics:
- Nitrile Gloves: Use these to keep your hands safe. They provide a barrier against resin and are resistant to chemicals.
- Respirator Mask: This will help you avoid inhaling fumes. Choose a mask with organic vapor cartridges for best protection.
- Safety Glasses: Protect your eyes from splashes or debris.
- Apron or Old Clothing: You might get messy, so wear something you don’t mind staining.
Make sure to work in a well-ventilated space to reduce exposure to fumes, and keep a first-aid kit handy just in case.
Basic Tools
Once you have your safety gear, it’s time to gather basic tools.
These items will aid in your resin crafting projects:
- Mixing Tools: Get a set of disposable cups and mixing sticks. You’ll need these to combine resin components effectively.
- Heat Gun: This is crucial for removing bubbles in your resin. A heat gun is preferable to a lighter as it can provide better control.
- Silicone Molds: Choose high-quality silicone molds for casting. They come in various shapes and sizes, making your projects versatile.
- Drop Cloth: Protect your workspace with a reusable drop cloth or plastic sheeting. This makes cleanup much easier.
These tools will help you start creating amazing resin art with efficiency.
Resin Additives
Various additives can enhance your resin projects.
These can add depth and character to your finished pieces.
Some essentials include:
- Pigments and Dyes: High-quality resin pigments or dyes can achieve vibrant colors. They can be mixed into the resin for a custom look.
- Glitters: Add a touch of sparkle with glitters. Make sure they are suitable for resin use, as some may react poorly.
- Inks and Paints: Alcohol inks work well with resin for creating beautiful effects.
Experimenting with these additives can lead to unique and stunning results in your resin crafting.