Creating your own resin molds can be an exciting way to personalize your jewelry-making projects.
Not only is this a fun craft, but it also allows you to ensure that your designs are unique and tailored to your style.
With a few simple materials and techniques, you can easily produce molds for various shapes and sizes.

Whether you want to preserve tiny flowers, create intricate designs, or replicate special objects, making your own molds opens up endless possibilities for custom jewelry.
As you dive into this creative process, you’ll discover how satisfying it is to see your ideas come to life through resin.
Choose a silicone rubber material
Selecting the right silicone rubber is crucial for your resin molds.
There are various types available, so consider your project requirements before making a choice.
Look for silicone that is specifically designed for mold making.
This type usually cures to a flexible and durable form.
You’ll often see it labeled as “mold-making silicone” or “silicone rubber.”
Check the working time as well.
Some silicones set quickly, which can be helpful if you’re in a hurry.
Others take longer, allowing more time to work with the material.
Make sure to read the manufacturer’s instructions.
This will help you understand how to mix and pour the silicone properly.
Also, consider if you need a product that is resistant to heat or can withstand frequent use.
Finally, compare prices and reviews from multiple sources.
This can guide you to a material that fits both your budget and quality standards.
A good silicone will make your resin jewelry projects much smoother and more enjoyable.
2) Design a unique mold shape
Creating a unique mold shape is the fun part of crafting your own resin jewelry.
Start by brainstorming designs that reflect your style or theme.
Sketch your ideas on paper to visualize what you want.
Consider using items around your home as inspiration.
Unique shapes like leaves, flowers, or geometric patterns can really make your pieces stand out.
To bring your shape to life, you might want to sculpt it from clay or carve it into a block of foam.
Just ensure it’s something you’re excited to replicate with resin.
Using a silicone molding material can help capture those intricate details.
Silicone allows for easy release and can tolerate the resin’s heat.
Once your mold is ready, remember to check for any imperfections.
Smooth out any rough edges to ensure a clean finish in your resin pieces.
Getting creative with mold shapes not only personalizes your jewelry but also gives it a unique flair that others can’t replicate easily.
3) Craft a sturdy base for your mold
Creating a sturdy base is crucial for your resin mold.
This base will support the mold as the resin cures and help prevent leaks.
Start by choosing a solid material like wood or cardboard for your base.
If you’re using cardboard, reinforce it with tape to ensure it holds its shape.
Next, measure the dimensions of your original item.
Make the base slightly larger than the item to provide stability.
Position your item in the center, securing it if necessary.
You can also build a mold box using scrap wood.
Cut pieces to form a rectangular or square structure that will contain the silicone or latex material.
Make sure to seal the edges to prevent any leaks.
Once your base is ready, place it on a flat surface.
This stability ensures that your mold material stays in place while setting.
A sturdy base will make your mold-making process much smoother.
4) Mix silicone components thoroughly
Mixing your silicone components is a crucial step in making resin molds.
You want to ensure the two parts blend seamlessly to avoid any imperfections in your mold.
Start by measuring the silicone according to the manufacturer’s specifications.
Generally, you’ll find a 1:1 ratio for many silicone products, but always double-check your specific brand.
Use a clean mixing container and a stir stick to combine the components.
It’s important to scrape the sides and bottom of the container as you mix.
This helps incorporate all of the material.
Aim for an even color without streaks, which indicates that the components are fully blended.
You don’t want any unmixed areas, as they can lead to weak spots in your mold.
Take your time with this process.
Rushing can result in bubbles or inconsistencies.
Once mixed, try to work quickly, as silicone can start to set.
This attention to detail is what helps create high-quality molds for your jewelry projects.
Happy crafting!
5) Pour silicone into the mold frame

Once your mold frame is ready, it’s time to pour in the silicone.
Start by mixing the silicone according to the manufacturer’s instructions.
When you’re ready to pour, do so slowly and in a thin stream.
This technique helps reduce air bubbles that can spoil your mold.
Aim for a consistent pour to ensure the silicone covers your object completely.
Hold the cup of silicone high and pour into the lowest points of your mold first.
This strategy allows air to escape and the silicone to flow into all the crevices around your jewelry design.
Fill the mold frame until the silicone reaches about half an inch to an inch above your object.
This extra thickness ensures the mold is sturdy once it’s cured.
Let the silicone sit undisturbed until it fully cures, which usually takes several hours or as specified by the product instructions.
Avoid touching or moving the mold during this time to ensure the best results.
6) Wait for the silicone to cure

After pouring the silicone into your mold box, it’s time to be patient.
Curing is essential for the silicone to firm up properly.
Generally, you’ll need to let the silicone cure for at least 12 hours.
This allows it to set and attain the right strength.
Check the manufacturer’s instructions for specific curing times, as they can vary.
While waiting, keep the mold in a stable environment.
Avoid direct heat, as it can interfere with the curing process.
After the curing period, you can touch the surface.
If it feels slightly sticky, that’s usually fine.
Once cured, the silicone will be ready for resin casting.
Confirm that it’s fully set before moving to the next step.
Patience at this stage pays off in achieving great results!
7) Carefully remove the mold from the frame
Once your mold has completely cured, it’s time to take it out of the frame.
Start by gently tapping the sides of the frame.
This helps to loosen the mold without damaging it.
Next, look for any areas where the mold may be sticking.
If necessary, use a small tool, like a craft knife, to carefully separate the edges.
Be cautious not to apply too much force, as this could cause tears.
If you’re using a silicone mold, it should come out relatively easily.
Simply peel it away from the frame.
For stiffer or harder molds, you might need to wiggle it a bit to free it.
Once the mold is out, inspect it for any imperfections.
Smooth out rough edges if needed.
This will help ensure your resin pieces turn out beautifully.
Take your time during this process.
Rushing could lead to mistakes or damage.
Enjoy the moment of seeing your mold come to life!
8) Trim excess silicone from the edges
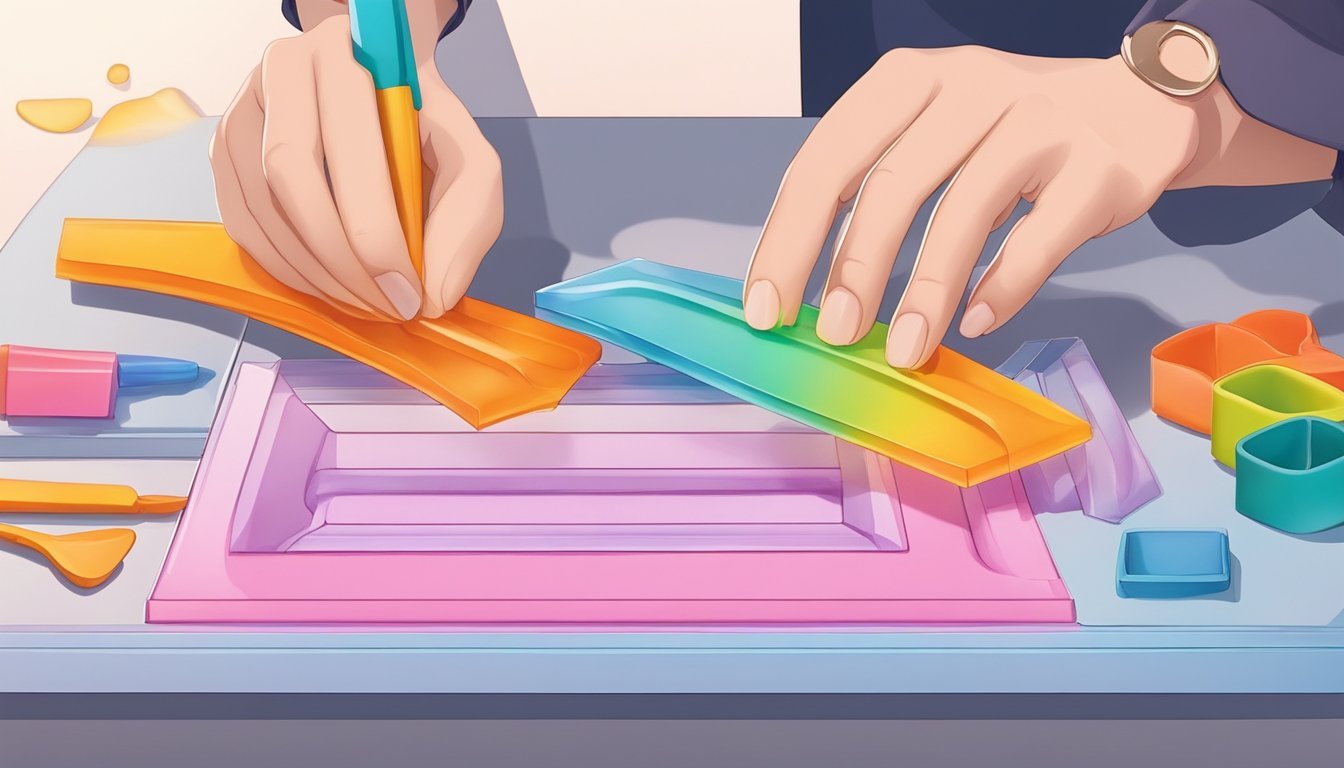
Once your silicone mold has cured, you might notice some excess silicone around the edges.
This is completely normal and can be easily fixed.
Start by using a sharp pair of scissors.
Carefully trim away the excess material to create a cleaner edge.
Take your time with this, as rushing can lead to jagged edges.
If you want an even cleaner finish, you can also use a utility knife.
This can give you more precision, especially on thicker areas.
Just be cautious to avoid cutting too much.
Remember, if you used a mold release agent, the new silicone may not bond well to this trimmed area.
It’s best to ensure a neat cut to avoid any complications during future casting.
After trimming, check for any rough spots and smooth them out if needed.
This step will help ensure that your finished jewelry has a polished look.
9) Test mold with a resin pour
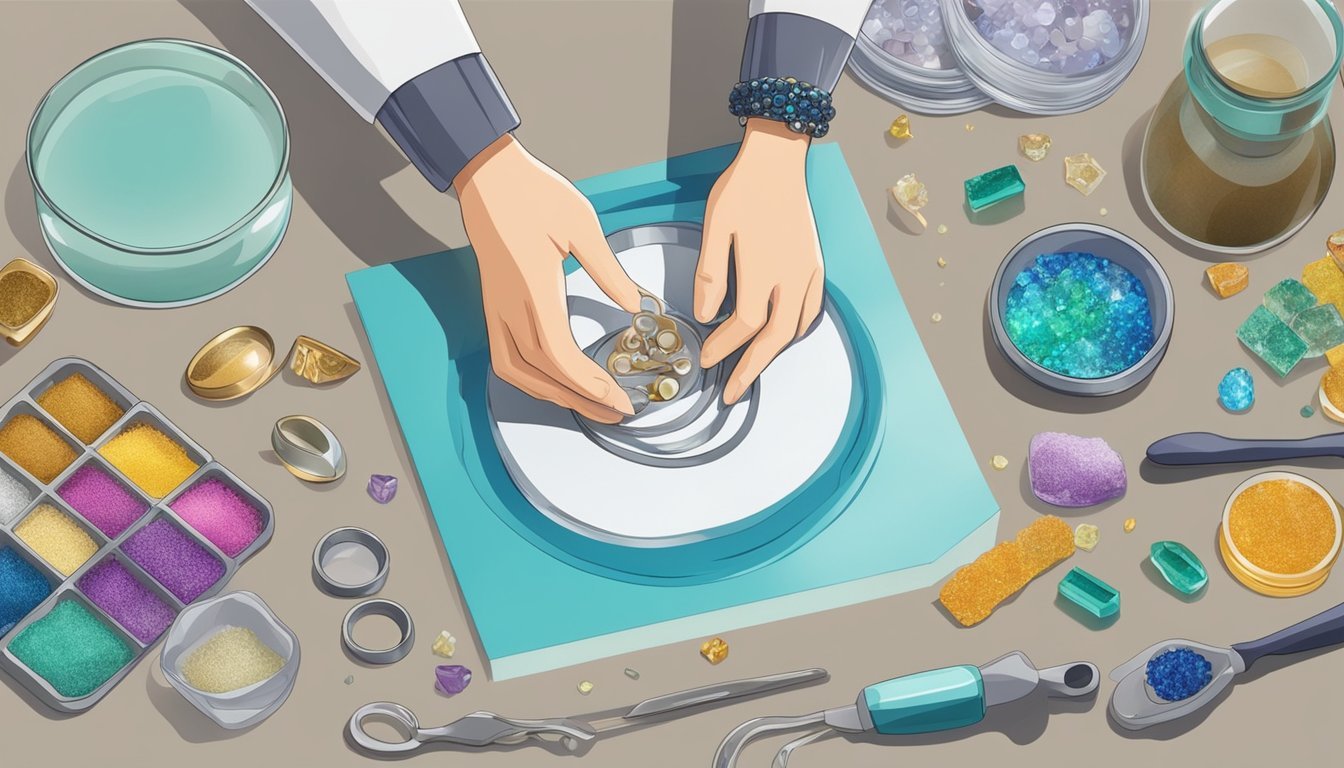
Once your mold is ready, it’s time to test it with a resin pour.
Start by mixing your resin according to the manufacturer’s instructions.
Make sure to work in a well-ventilated area and wear gloves.
Pour a small amount of the mixed resin into your mold.
This initial pour helps you check for any leaks or imperfections.
If you notice any resin seeping out, you may need to reinforce the mold.
After pouring, let the resin cure fully.
Curing times can vary, so follow the product’s guidelines.
Once cured, carefully remove your piece from the mold.
Inspect the finished item for any flaws or areas needing adjustment.
This test run gives you insight into how well your mold holds shape and detail.
If everything looks great, you’re ready to create more pieces!
10) Experiment with different resin types

When creating resin molds for your jewelry, trying out various resin types can lead to exciting results.
Each type has its own unique properties that can affect the look and feel of your final piece.
For starters, epoxy resin is popular for its durability and clarity.
It’s great for capturing details and provides a glossy finish.
You might also consider UV resin, which cures quickly when exposed to sunlight or a UV light.
It’s perfect for smaller projects.
Polyurethane resin is another option.
It tends to be more flexible and can be useful for molds that require some give.
Keep in mind that it often has a stronger odor, so proper ventilation is key.
Don’t shy away from experimenting with colored resins or those containing glitter.
This can add a personal touch to your jewelry projects.
Each combination will give you different visual effects and textures.
Try mixing different types to see how they work together.
The more you experiment, the better you’ll understand how each resin behaves.
Enjoy the process and let your creativity flow!
Understanding Resin Molds
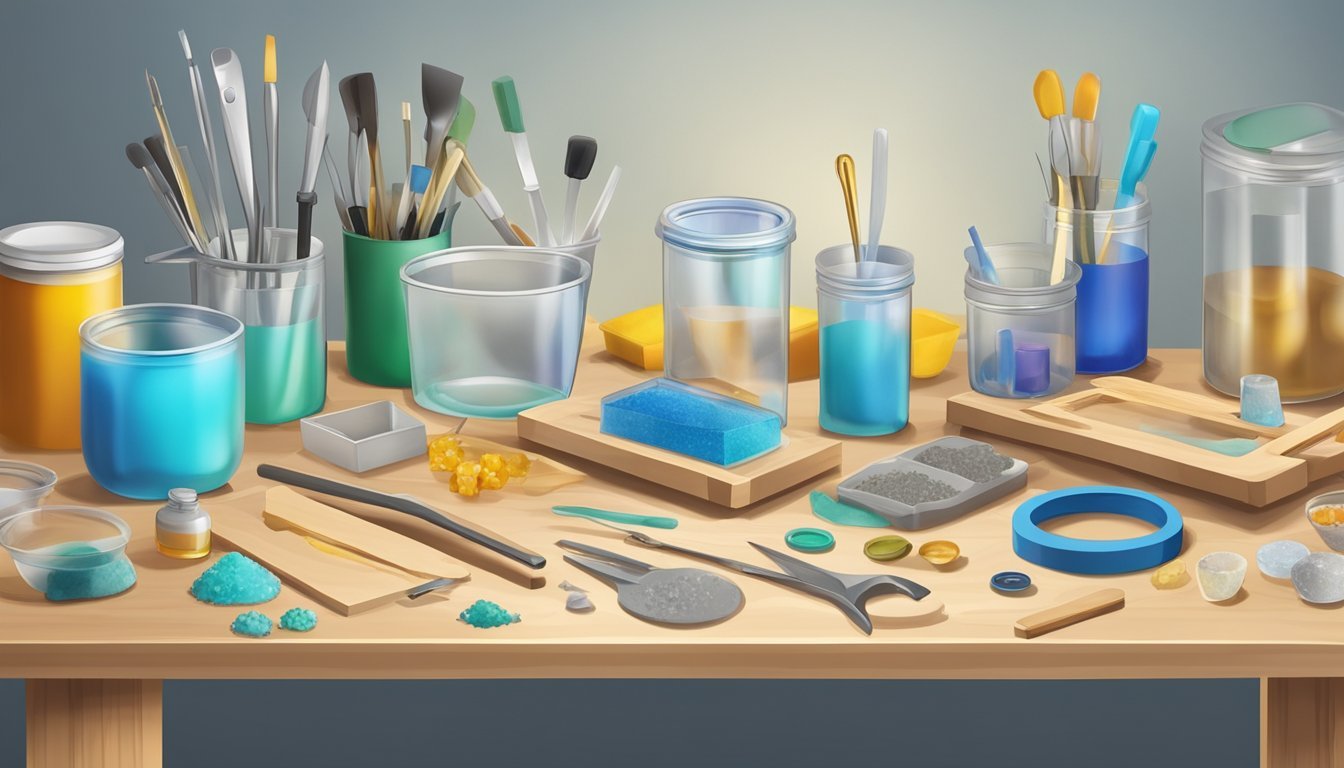
Creating resin molds for jewelry allows you to unleash your creativity.
Knowing the types of resin and the benefits of making custom molds will enhance your crafting experience.
Types of Resin Suitable for Jewelry Molds
When selecting resin for your jewelry molds, epoxy resin is often the best choice.
It’s clear, strong, and provides a smooth finish. Polyester resin is another option, but it can be more brittle.
If you’re looking for flexibility, silicone resin is great for making molds that can bend without breaking.
Here’s a quick comparison:
| Resin Type | Features | Use Cases |
|---|---|---|
| Epoxy | High clarity, durable | Jewelry, art |
| Polyester | Lower clarity, brittle | Less flexibility |
| Silicone | Highly flexible, reusable molds | Complex shapes |
Choosing the right resin is key for achieving the desired finish and durability for your jewelry pieces.
Benefits of Custom Resin Molds
Creating custom molds lets you craft unique designs tailored to your style.
You can replicate intricate shapes and patterns repetitively, saving both time and effort. Cost-effective is another perk—making your own molds cuts down on purchasing pre-made ones.
With custom molds, you can:
- Control the design and shape
- Experiment with colors and textures
- Create specific sizes that fit your jewelry needs
Also, using mold release agents can make the demolding process smoother, allowing for cleaner finishes.
Custom molds can really elevate your jewelry-making game!
Essential Tools and Materials

Creating your own resin molds requires specific materials and safety equipment.
Gathering the right tools ensures a smooth process and optimal results.
Here’s what you’ll need.
Selecting Materials for Mold Creation
When making molds, choosing the right materials is crucial.
You’ll typically need:
- Mold-making material: Silicone is a popular choice due to its flexibility and ease of use. Look for products labeled as “mold-making silicone” to ensure compatibility with resin.
- Mold box: A container to hold your silicone while it cures. You can use a sturdy cardboard box or plastic container. Ensure it’s watertight to prevent leaks.
- Original item: The object you want to replicate. It should be clean and free of grease.
- Release agent: This helps the mold come free from the original item without sticking. Common options include spray-on silicone or petroleum jelly.
Make sure you review product instructions for each material to ensure the best results.
Safety Equipment and Precautions
When working with resin and mold-making materials, you should always prioritize safety.
Here’s what you need:
- Gloves: Nitrile gloves protect your skin from chemicals. Avoid latex, as some people may have allergies.
- Mask: A dust mask or respirator helps guard against inhaling fumes. This is especially important if you’re working in a less-ventilated space.
- Safety goggles: Protect your eyes from any splashes or accidental spills.
- Apron: Consider wearing an apron or old clothing to avoid permanent stains.
Make sure your workspace is well-ventilated and clear of unnecessary clutter.
These precautions will help keep your project safe and enjoyable.


