

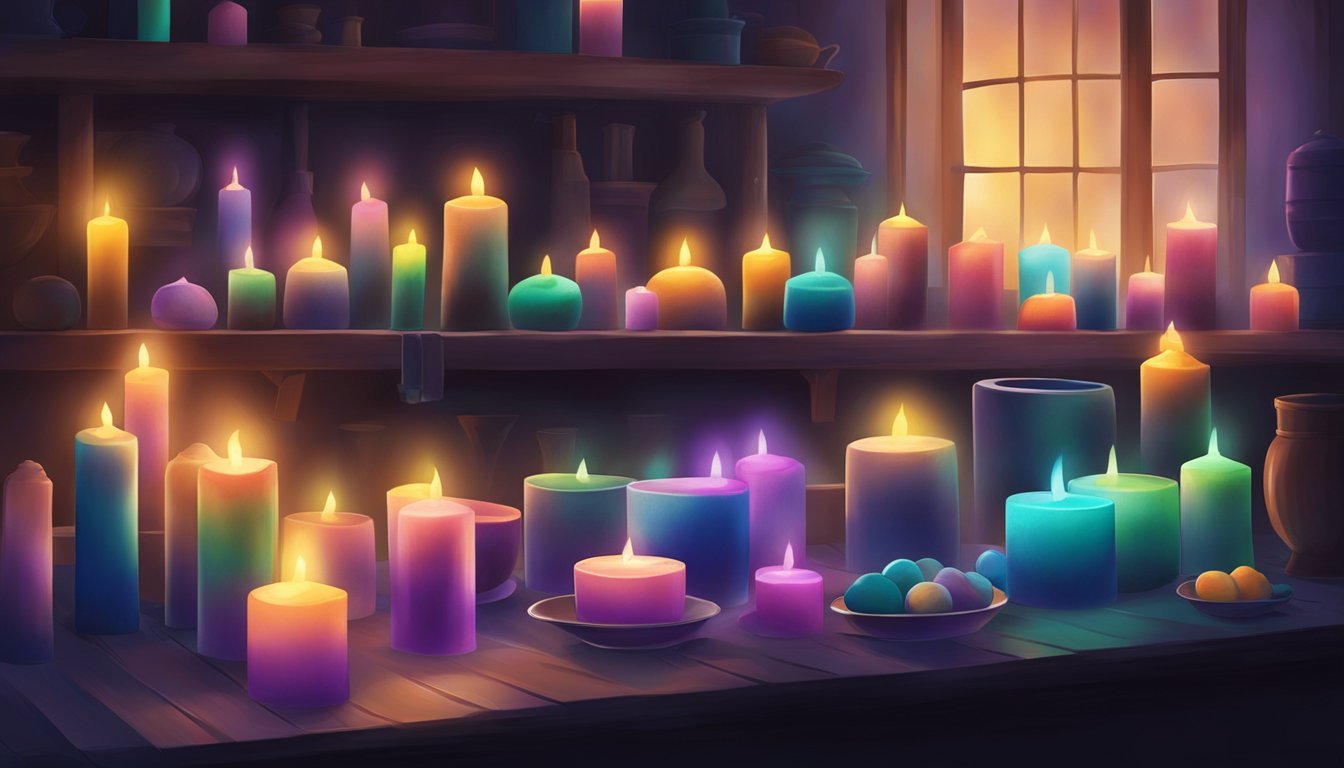
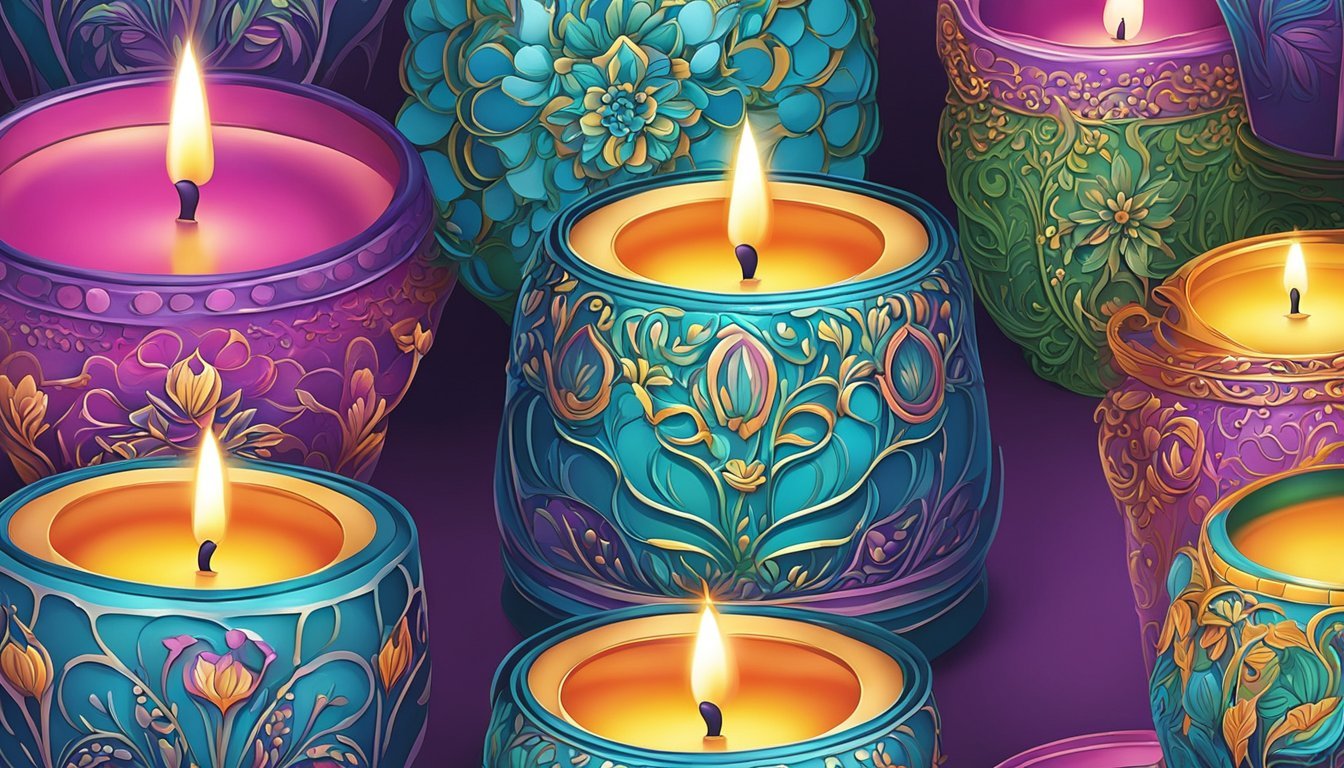
Creating candles is a fun way to express yourself and add a personal touch to your home decor.
With a few tools and materials, you can transform simple wax into beautiful, custom designs that reflect your unique style. The right combination of molds and dyes can elevate your candle-making game and allow you to craft stunning pieces that are perfect for gifts or personal use.
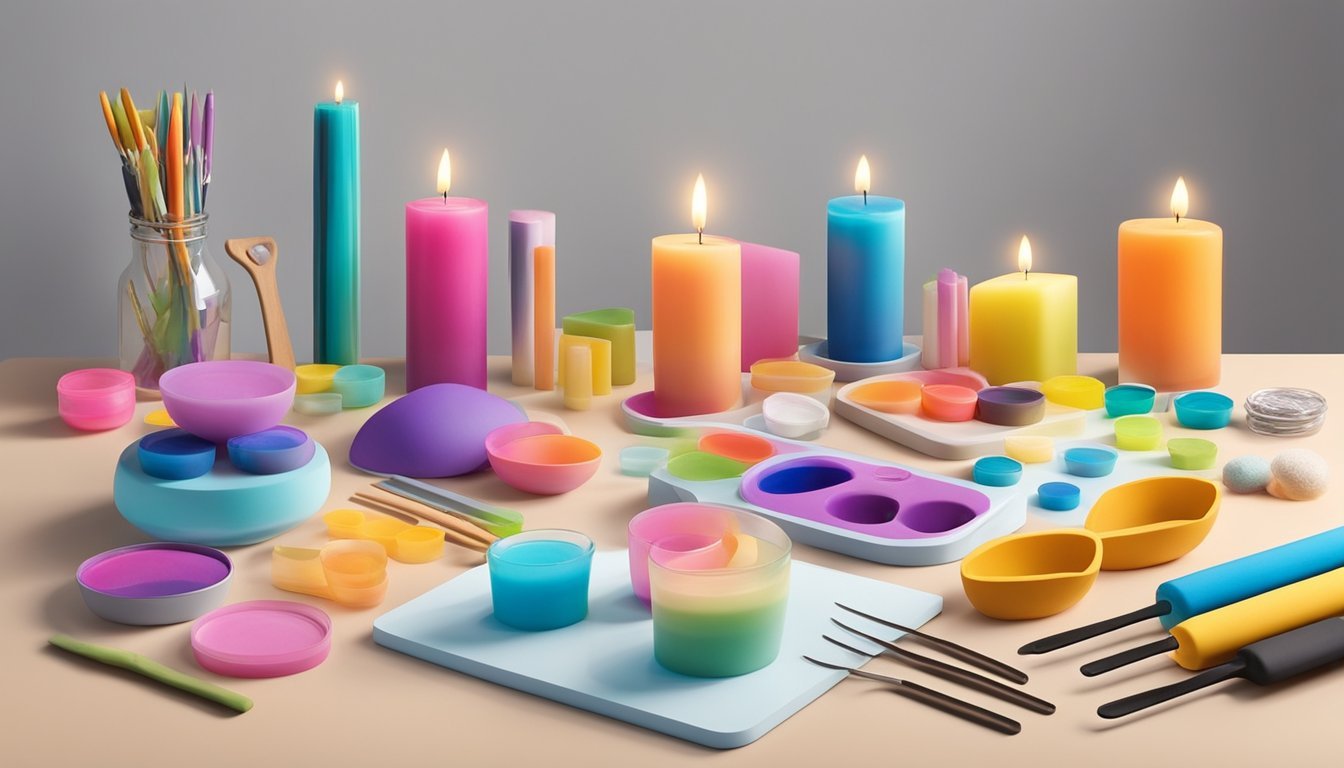
Whether you’re a beginner or have some experience, experimenting with different shapes and colors can lead to exciting results.
The versatility of molds allows you to create a range of designs, from elegant and sophisticated to playful and whimsical.
Embrace your creativity and discover how easy it is to make eye-catching candles that shine in any setting.
Soy Wax Crystals
Creating stunning candle designs often starts with using soy wax crystals.
These crystals provide a unique texture and visual appeal to your candles.
To use soy wax crystals, melt them down carefully.
You can achieve this by using a double boiler or a pouring pot.
Make sure to monitor the temperature for best results, ideally between 150°F-160°F.
Once melted, you can mix in dye to add color and essential oils for fragrance.
Stir the mixture thoroughly to ensure an even distribution of color and scent.
After blending, pour the wax into your chosen mold.
The soy wax will begin to set, allowing you to experiment with different shapes and designs.
Keep in mind that the texture of the crystals can influence how the candle looks when finished.
Some may prefer a smoother finish, while others might enjoy the rustic, varied texture that soy wax crystals offer.
With practice, you’ll discover ways to enhance your candle-making process using these crystals, leading to beautiful, custom creations that are sure to impress.
2) Rainbow Dye Chips
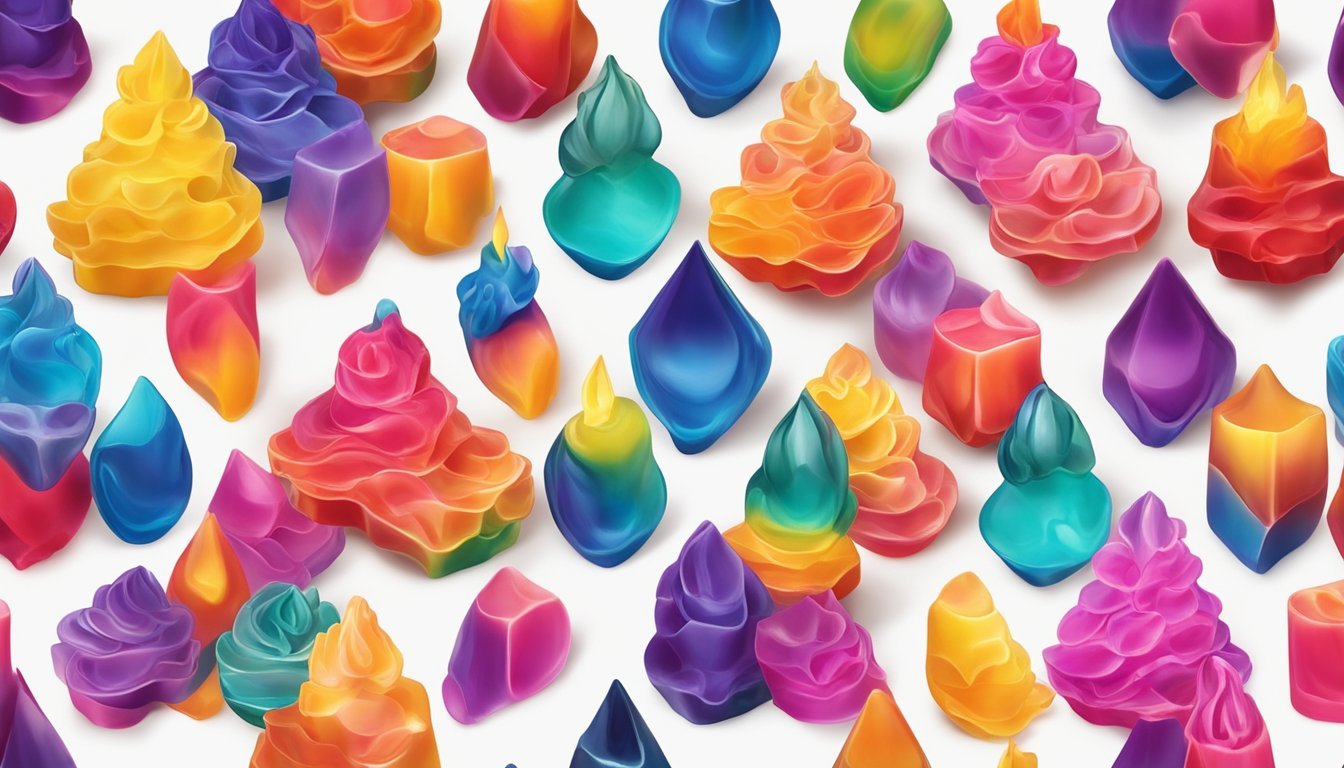
Rainbow dye chips are a fun way to add vibrant colors to your candles.
They come in a variety of hues, allowing you to mix and create beautiful, gradient effects.
To use them, simply break or cut the chips into smaller pieces.
This helps with even melting when you add them to your wax.
Start by melting your base wax, then introduce the dye chips as the wax heats up.
You can layer colors for a rainbow effect.
Pour a layer of melted wax, let it set slightly, then add a different color on top.
This method keeps the colors distinct while creating a stunning visual.
Experiment with different combinations, and don’t be afraid to get creative! Each batch can look different, which adds a personal touch to your candle-making projects.
Enjoy the process and have fun with your designs!
3) Diamond Candle Mold
Using a diamond candle mold can bring a unique touch to your candle-making projects.
The intricate facets of the mold create a stunning geometric design that catches the light beautifully.
To start, choose your favorite wax and wick.
You can use a silicone mold for easy release once the candle sets.
When pouring, make sure to do it slowly to prevent air bubbles from forming.
Feel free to experiment with colors and scents to suit your style.
You can mix dyes into the wax before pouring or layer different colors for a more dynamic effect.
Once you’ve poured the wax, let it cool completely.
After demolding, you’ll have a fashionable diamond-shaped candle that’s perfect for any decor.
Happy crafting!
Lavender Essential Oil
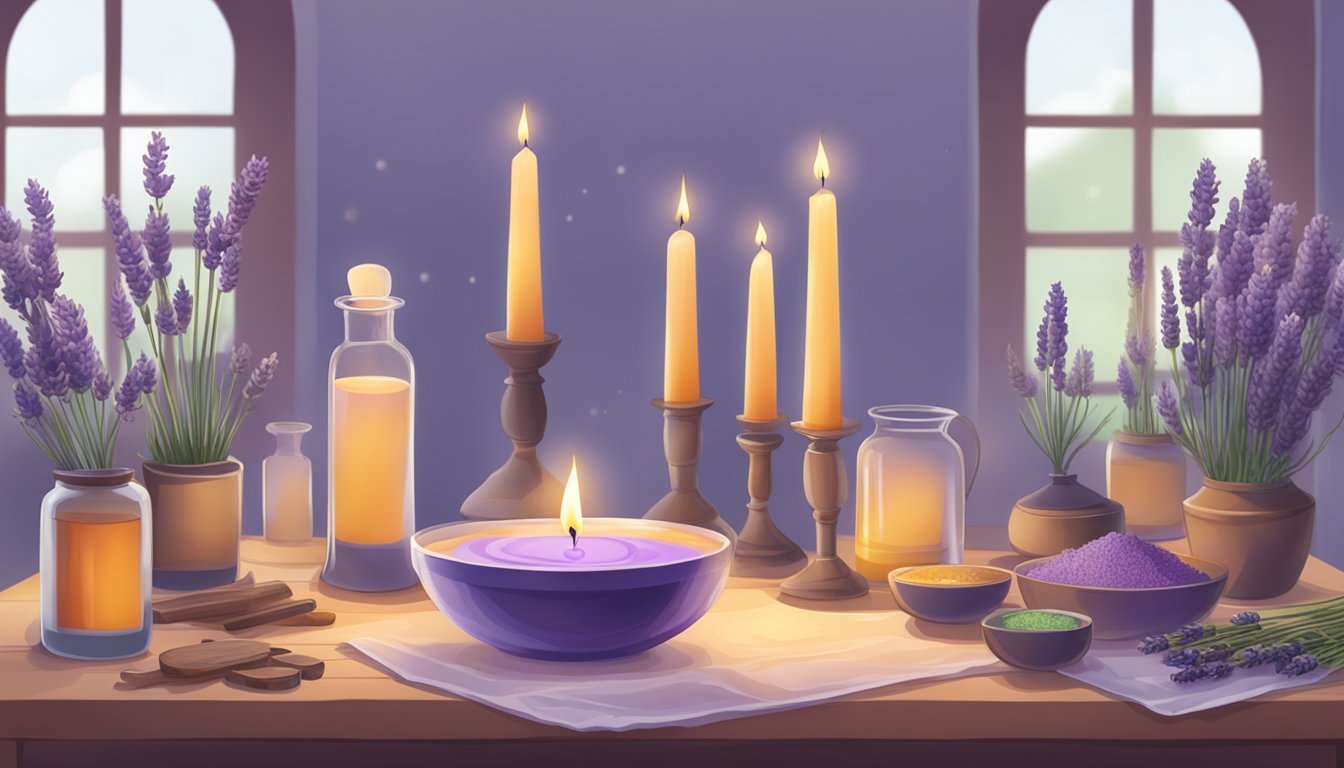
Using lavender essential oil can elevate your candle-making experience.
Its calming scent is perfect for creating a relaxing ambiance in your space.
You can experiment by blending lavender with other oils like vanilla or chamomile.
This opens up a world of unique fragrance combinations that appeal to different moods.
When making candles, add 5-10 drops of lavender oil to your melted wax.
This amount allows the scent to spread evenly throughout your candle.
If you want to incorporate real lavender into your design, harvest and press fresh lavender flowers.
Mixing them with the wax adds a lovely visual element along with the soothing scent.
Remember to choose high-quality lavender essential oil.
This ensures that your candles not only smell great but also burn cleanly and evenly.
Enjoy the process and have fun creating your unique lavender candles!
5) Glitter Add-ons
Adding glitter to your candles can instantly elevate their appeal.
It’s a simple way to create a touch of glam and sparkle.
To apply, use a spray adhesive designed for candles.
Lightly spray the surface where you want the glitter to stick.
After spraying, sprinkle the glitter evenly.
Make sure to allow the adhesive to dry completely.
This step is crucial for ensuring that the glitter stays in place.
Another technique is to apply glitter with a stencil.
Position the stencil over your candle and spray the adhesive.
Then add the glitter for a more controlled design.
For a shimmering effect, consider using fine glitter.
It catches the light while giving your candle a beautiful finish.
Remember to let your candles sit in a cool, dry place for at least 24 hours.
Proper drying helps secure the glitter and maintains the look.
Geometric Mold Kit
Using a geometric mold kit is a fun way to create modern candle designs.
These kits typically include various shapes that can cater to different styles, from minimalistic to more intricate designs.
When working with a geometric mold, you’ll first want to prepare your wax.
Melt it down according to your instructions and consider adding dye for some color.
Once your wax is ready, fill the mold carefully.
After pouring, allow the wax to cool completely.
The unique shapes of geometric molds often make them easy to unmold once set.
This means you can quickly bring your design to life without much hassle.
Don’t forget to add wicks.
After unmolding, use a wick pin to create a hole and secure the wick at the bottom.
Trim it to your desired length, and you’re all set to enjoy your new candles.
With a little creativity, your geometric candles can become striking centerpieces for any setting.
7) Ocean Breeze Fragrance
Creating candles with an ocean breeze fragrance brings a fresh, calming vibe to any space.
This scent captures the essence of the sea, providing a relaxing atmosphere reminiscent of coastal walks.
To achieve this, use fragrance oils specifically designed for ocean scents.
Look for options labeled as “sea breeze” or “tropical” for authentic results.
These oils often blend notes of salt, jasmine, and citrus.
When working with molds, consider using lighter colors to reflect the serene aquatic theme.
Shades like soft blues and greens evoke the ocean, enhancing the overall aesthetic of your candle.
You might also want to add elements like seashells or sand embeds on top.
This not only elevates the design but also ties into the oceanic theme.
Ensure you choose the right wax for your project.
Soy wax is a great option, as it holds fragrance well and burns cleanly.
With the right combinations of colors, molds, and an ocean breeze fragrance, your candles can become stunning decorative pieces while filling your space with a refreshing scent.
8) Glow-in-the-Dark Pigments
Using glow-in-the-dark pigments can add a unique twist to your candle designs.
These pigments absorb light and emit a glow in dark conditions, creating a stunning visual effect.
When mixing glow-in-the-dark powder with your candle wax, aim for a ratio of about 2 parts powder to 1 part wax.
This helps ensure the pigment shows its full brightness once the candles are done.
Be sure to mix the powder well into the melted wax.
You might want to test it out on a small candle before committing fully to a batch.
Keep in mind that glow-in-the-dark pigments perform best in darker environments, so they’re great for evening use.
Consider layering different colors or creating patterns to enhance the glow effect.
Experimenting with these pigments can lead to some eye-catching results.
Just make sure to follow safety precautions, especially when working with hot wax.
Using molds can further elevate your designs, making them even more fun and interesting.
Silicone Rose Mold
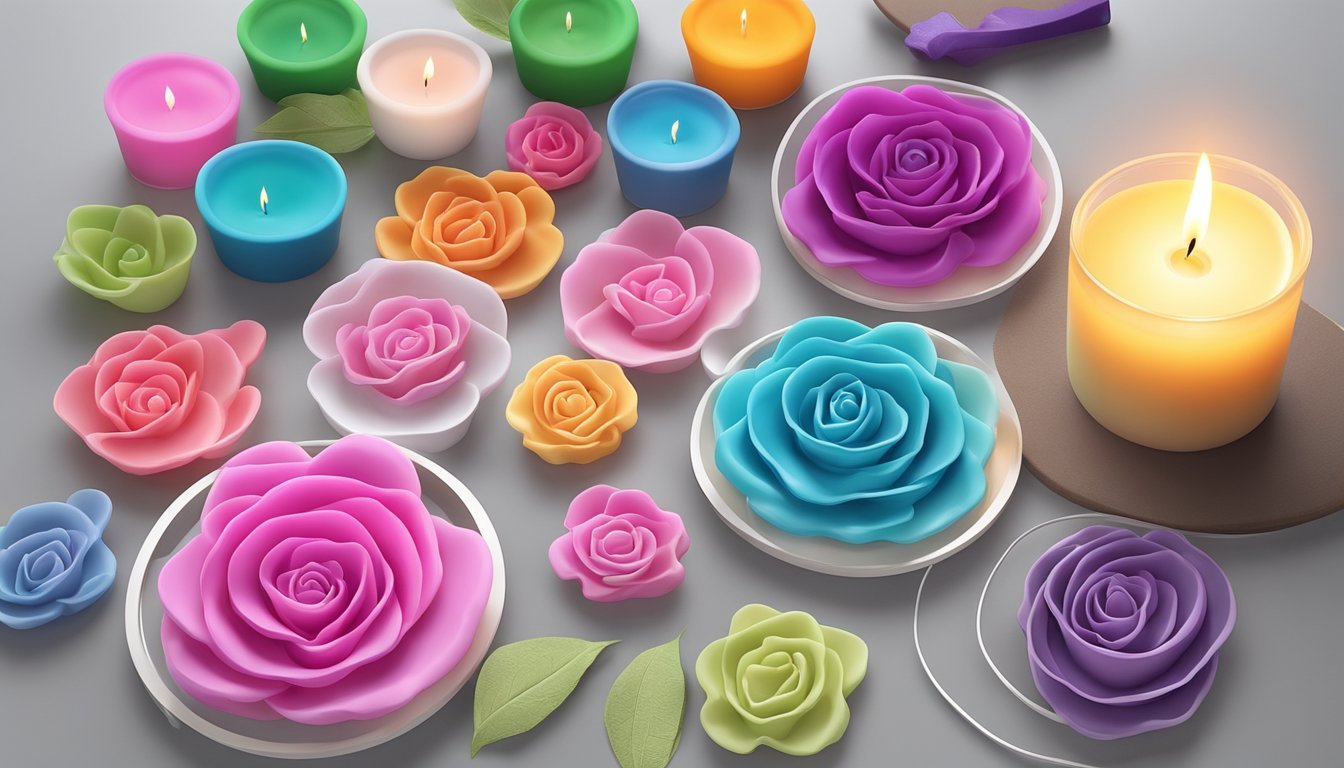
Creating stunning candle designs with a silicone rose mold is a fun and rewarding project.
These molds come in various sizes and designs, making it easy for you to choose the perfect one for your needs.
Before starting, make sure to prepare your mold.
A quick spray of a release agent helps in removing the candle smoothly once it’s set.
You want to avoid any sticking issues that can ruin your beautiful rose design.
When you’re ready to pour, carefully heat your wax to the appropriate temperature.
This ensures an even pour and helps reduce bubbles.
Pour slowly to allow the wax to settle into all the details of the rose mold.
Adding color and fragrance is where the real fun begins.
You can choose your favorite dye to create vibrant roses or go for softer pastels for a more delicate look.
Remember to mix in fragrance oils for a lovely scent.
Once your candle has cooled and set, gently remove it from the mold.
The flexibility of silicone makes this part easy, letting you reveal your stunning creation without hassle.
Enjoy your beautiful rose-shaped candle, or share it as a thoughtful gift!
Metallic Dye Pack
Metallic dyes can add a stunning touch to your candle creations.
These dyes come in various shades, allowing you to create unique designs that stand out.
To use a metallic dye pack, you need to start by melting your candle wax.
Aim for a temperature between 150 and 180 degrees Fahrenheit.
This ensures the dye blends well with the wax.
Once your wax is melted, add the metallic dye according to the package instructions.
A little goes a long way, so start small and increase if needed.
Stir thoroughly to achieve a uniform color.
After mixing, pour the wax into your chosen mold.
The metallic finish will catch the light beautifully once the candle cools and hardens.
This creates an eye-catching effect that’s perfect for any occasion.
Experiment with mixing different metallic colors to create custom shades.
Don’t be afraid to get creative; layering dyes can also add depth to your candles.
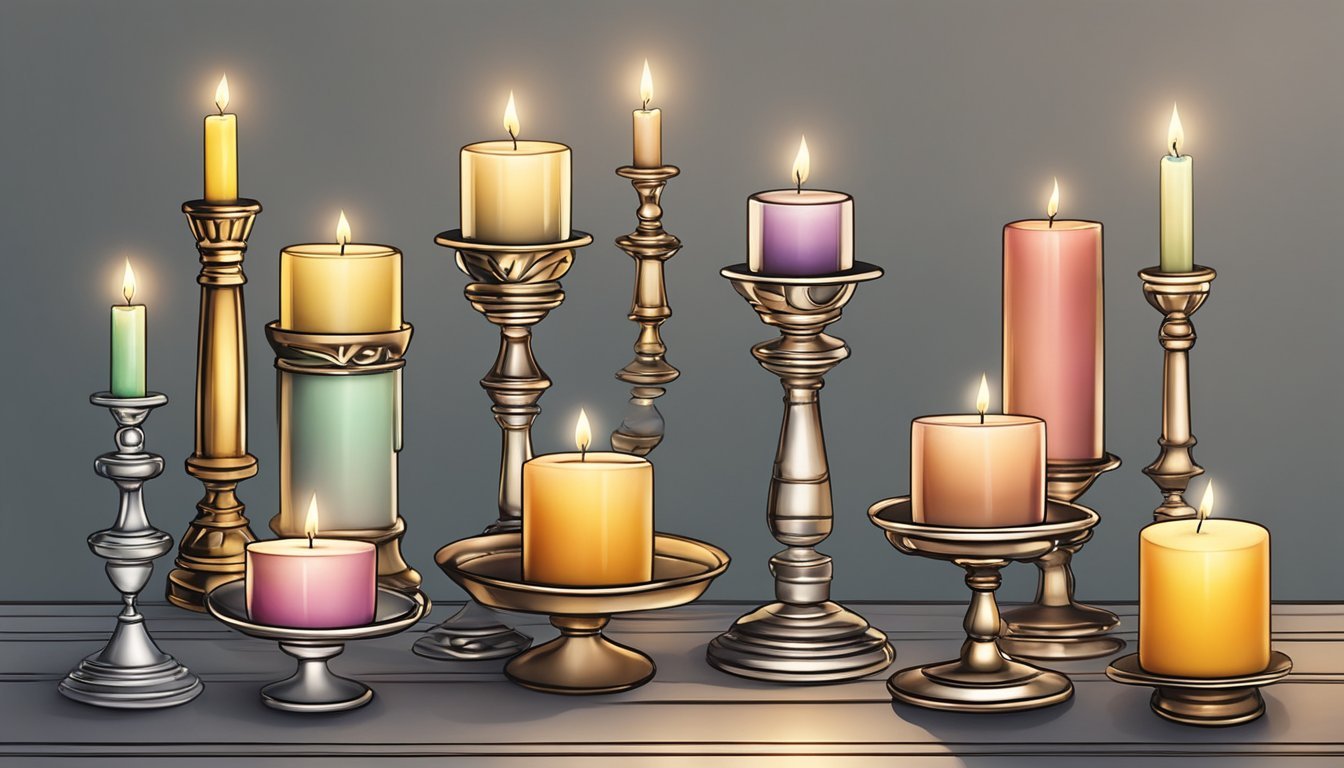
Getting Started with Candle Molding
Getting into candle molding can be a fun and creative experience.
To achieve stunning designs, you’ll need to select the right materials and prepare your mold properly.
Each step is crucial for making candles that stand out.
Choosing the Right Materials
Selecting quality materials is key to a successful candle-making experience.
Start with wax—paraffin, soy, and beeswax are popular choices.
| Material | Pros | Cons |
|---|---|---|
| Paraffin | Easy to work with, great scent throw | Not eco-friendly |
| Soy | Renewable, clean burn | Softer, can be harder to mold |
| Beeswax | Natural, long-lasting scent | More expensive, harder to find |
Next, choose fragrance oils to add scent to your candles, and dyes for color.
Make sure the dyes are specifically meant for candle making to ensure they melt and integrate well.
Don’t forget about wicks; the size and type depend on your mold and wax choice.
Preparing Your Mold
Once you have your materials, focus on preparing your mold.
If you’re using a commercial mold, clean it thoroughly with warm, soapy water to remove any residues from previous uses.
For custom molds, opt for silicone or polycarbonate.
These materials offer flexibility, making it easier to remove your candles once they’re set.
Apply a release agent or vaseline inside the mold to prevent sticking.
Before pouring in the wax, ensure your mold is dry.
Consider setting your mold on a tray or stable surface to catch any spills.
Be cautious with the pouring temperature; let your melted wax cool slightly before filling the mold to prevent cracks.
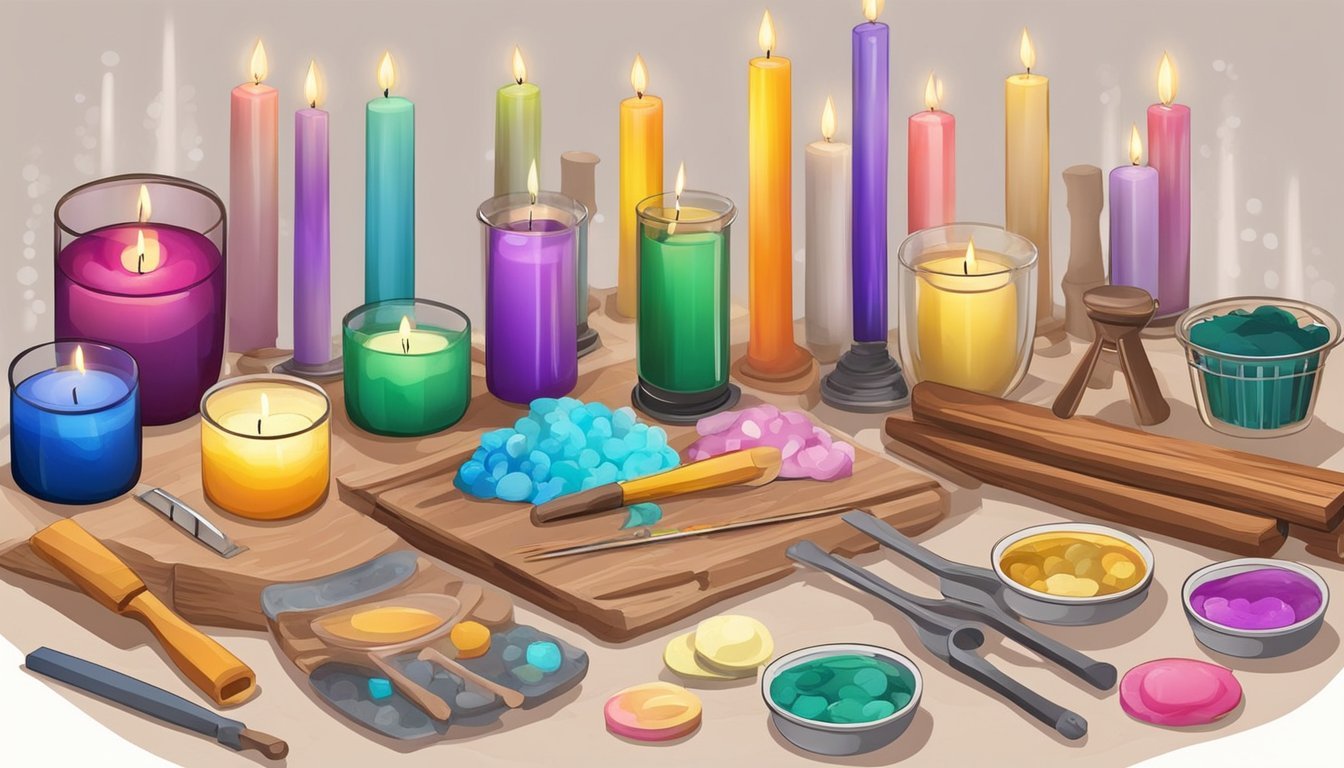
Mastering Candle Dye Techniques
Getting the perfect color for your candles can transform your creations.
Understanding how to blend colors and apply dyes correctly is essential for achieving stunning results.
Understanding Color Blending
Color blending in candle making allows you to create dynamic shades and effects.
Start by choosing your dye type, such as liquid dyes or color blocks.
Each type has its unique properties and melting points.
When mixing colors, remember the basic color theory. Primary colors (red, blue, yellow) can be combined to create secondary colors (green, orange, purple).
Use small amounts of dye to prevent overpowering your base wax.
To test blends, make small batch samples.
This way, you can adjust as needed before committing to larger pours.
If you want a lighter shade, add white dye.
For deeper hues, consider adding more dye gradually.
Applying Dyes Effectively
Applying dyes correctly is crucial for a smooth finish.
Melt your wax to the recommended temperature, usually between 170°F and 180°F. This will help the dye incorporate evenly.
Add dyes to the wax and stir continuously for at least 2-3 minutes.
This ensures even dispersion.
Avoid adding too much dye at once; you can always add more if necessary.
You can also experiment with layering colors to create unique effects.
Pour one layer and let it cool slightly before adding another.
This technique allows for stunning multi-colored candles.
Remember that the temperature of your wax during pouring can affect color vibrancy.
Ensure that it’s not too hot to prevent color bleeding, especially with layered designs.