
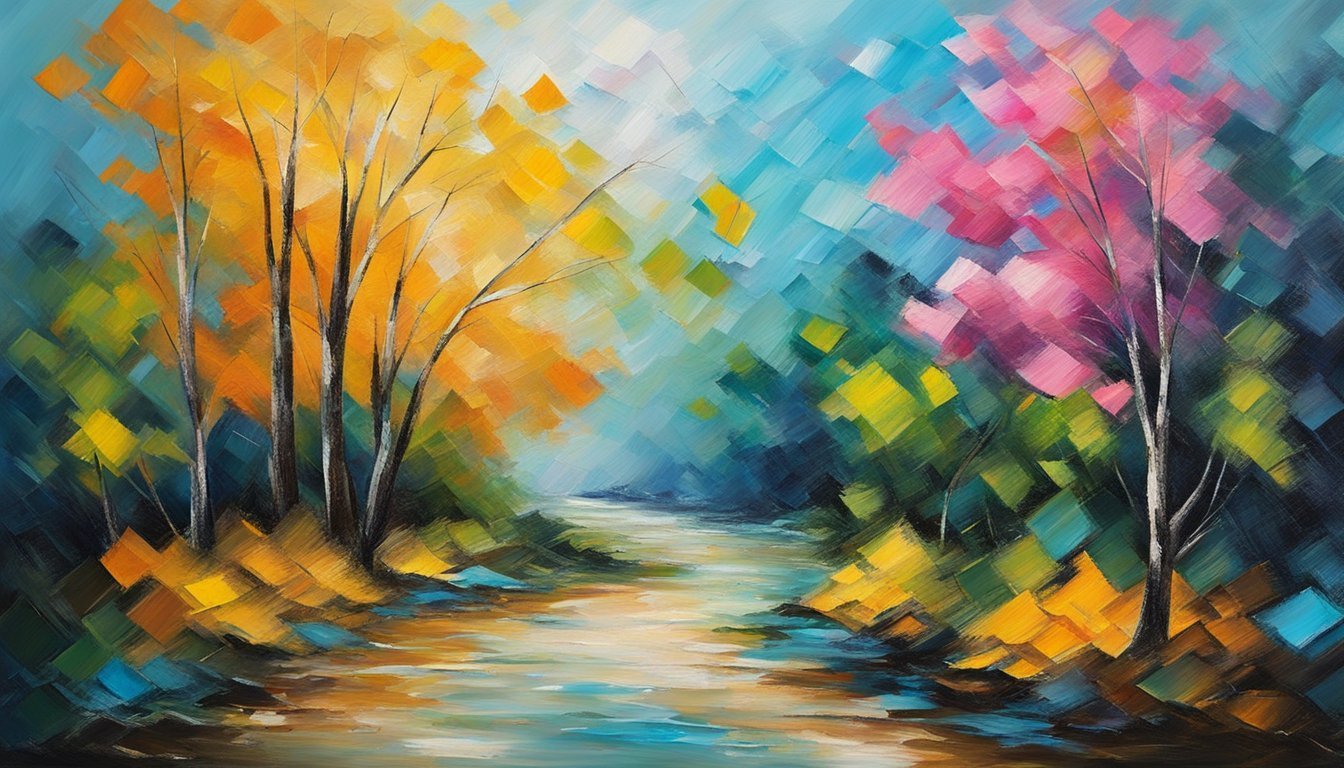
Creating layered paintings with oil and acrylics can elevate your artistic expression and depth.
Understanding the techniques for layering these mediums allows you to achieve a visually rich and complex artwork.
Whether you’re a beginner or have some experience, exploring layering can unlock new possibilities for your creative projects.

Incorporating layers not only adds dimension but also unique textures to your work.
As you experiment with different application methods, you’ll discover how layering can transform a simple idea into a stunning piece of art.
Embrace the journey of learning and enjoy the process of experimenting with color and technique.
Canvas Preparation
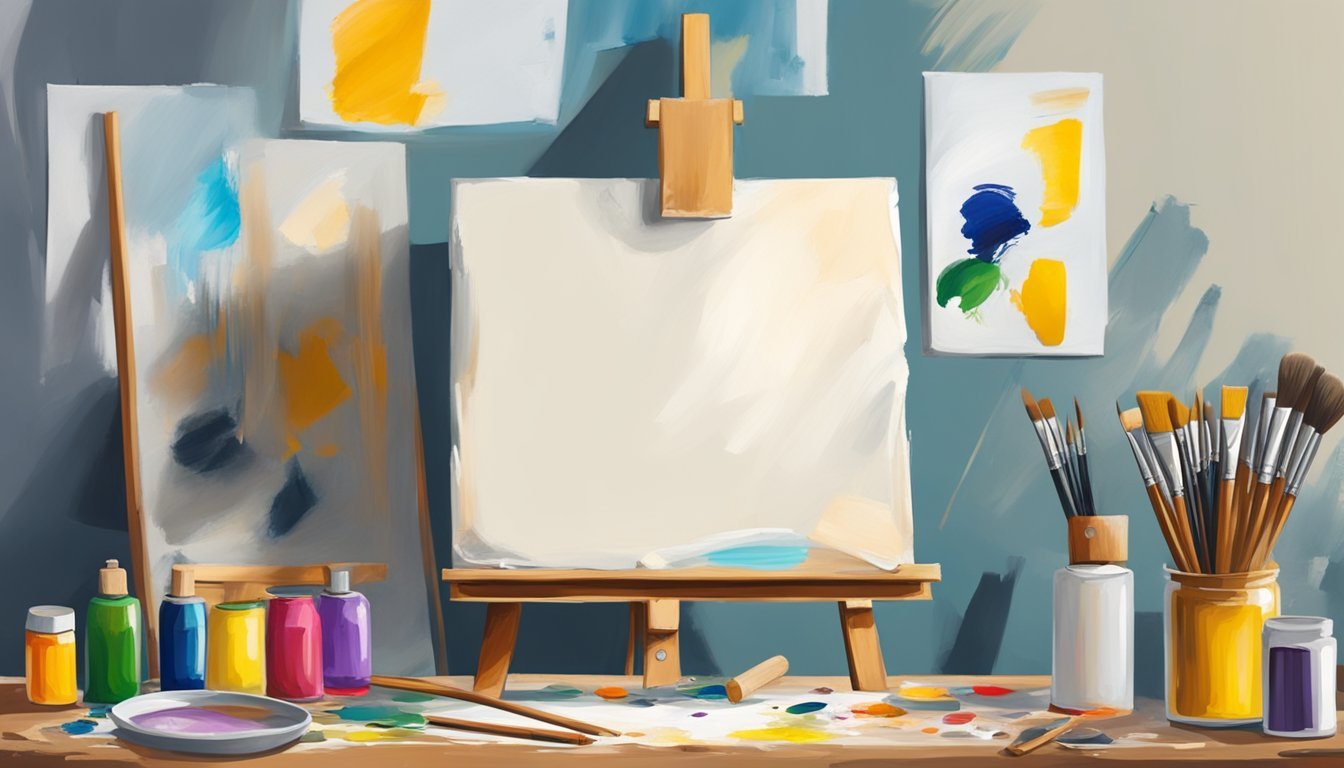
Preparing your canvas is a key first step for any painting project.
It ensures that your paint adheres well and lasts.
Start by selecting a suitable canvas, either stretched or unprimed.
If it’s unprimed, you’ll need to gesso it to create a smooth surface.
Use a clean, wide brush or a roller to apply gesso directly.
Work from the top to the bottom in even strokes, making sure to cover the edges.
Let the first layer dry for a few hours.
This step is crucial as it prevents the paint from soaking into the canvas.
If you want to build more texture, you can apply multiple layers of gesso.
Just remember to sand in between layers for the smoothest finish.
After your last layer has dried completely, you’re ready to start painting.
Enjoy the process and let your creativity flow!
Choosing Gesso Primer
Picking the right gesso primer is crucial for your painting.
It sets the foundation for both oil and acrylic layers, ensuring they adhere well.
You want to start with artist-grade gesso.
It’s designed to provide a smooth, even surface.
Make sure to shake it well before use to mix any settled components.
When applying gesso, use a good brush.
Dip it into the gesso and apply it with even strokes.
Start from the edges of your canvas and work your way inward.
Remember to let the first layer dry completely before adding more.
This usually takes about 30 minutes.
If you want an ultra-smooth finish, consider lightly sanding between layers.
Just use fine-grained sanding paper and wipe away any dust afterward.
Cover the sides of your canvas for a neat appearance.
You can apply multiple layers for added texture and durability.
Two to three layers of gesso should do the trick, especially for oils.
Choosing the right gesso helps ensure your artwork shines, so take your time with this step!
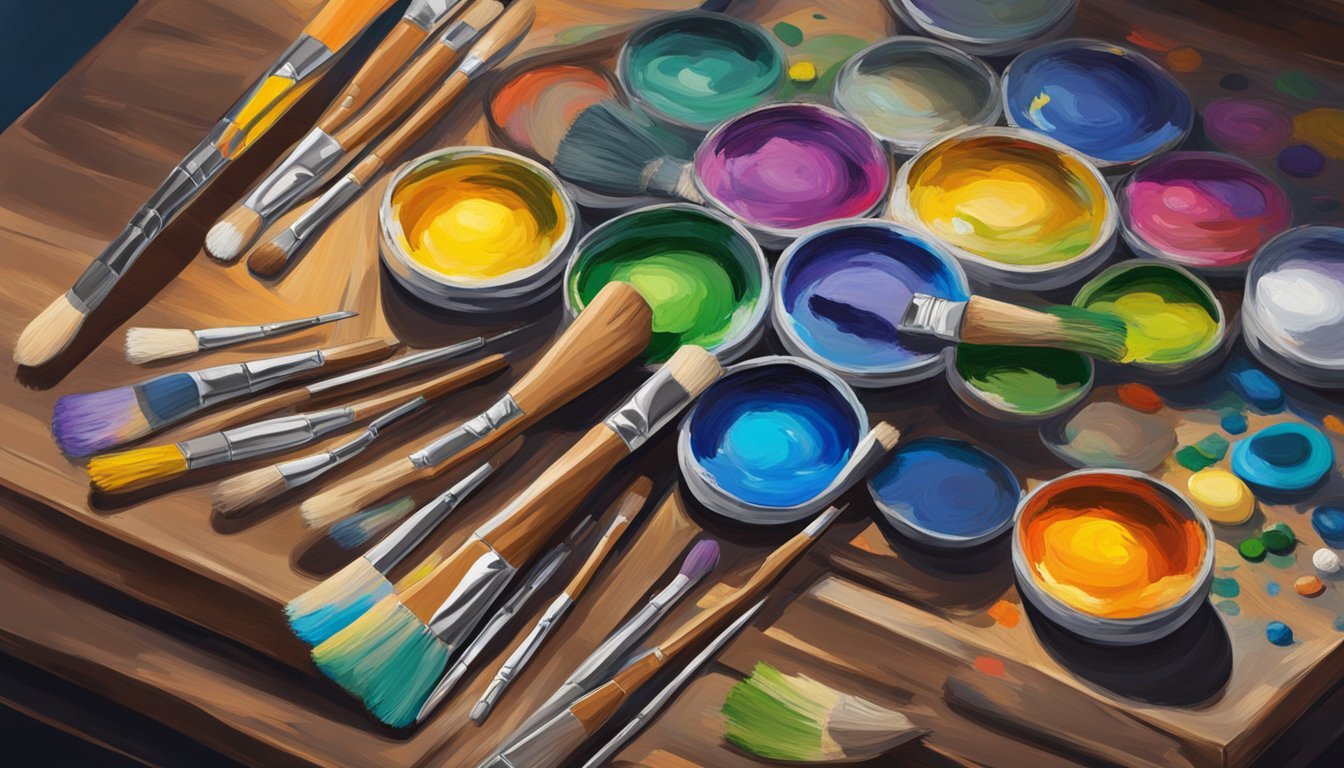
3) Pick Quality Oil Paints
Choosing quality oil paints makes a noticeable difference in your artwork.
Higher-quality paints typically contain more pigment and less filler.
This leads to better color saturation and vibrancy.
When selecting oil paints, look for brands that are known for their consistency and reliability.
Premium paints often have a greater range of colors available and improved lightfastness.
This means your artwork will maintain its color over time without fading.
Consider trying professional-grade paints if you aim for rich colors and smooth application.
While these might be more expensive, the payoff in your art is often worth it.
Don’t forget to read reviews and ask for recommendations.
Your local art supply store can be a great resource.
They may even have testers available, allowing you to see how the paint behaves on the canvas.
Each artist has their preferences, so experiment with a few brands to find what works best for you.
Quality oil paints can elevate your layering technique, making your artwork truly stand out.
Selecting Acrylic Mediums
Choosing the right acrylic mediums can enhance your painting experience significantly.
Mediums help modify the texture, finish, and drying time of your paint.
Start with a basic medium like a gel or acrylic gloss.
These can give your paint a more transparent quality, making layering easier.
Gels also offer various viscosities, so you can pick one that suits your style.
If you prefer a matte finish, opt for a matte medium.
It can create a softer look and reduce glare on your artwork.
For faster drying times, look for an acrylic retarder.
This slows down the drying process, allowing you to work longer with your paint.
Don’t forget about texture mediums! These can create three-dimensional effects on your canvas, adding depth to your work.
You can experiment with different textures to see what best fits your vision.
Remember to test mediums on a scrap piece first.
This way, you’ll know exactly how they interact with your colors and techniques.
5) Layer with a Palette Knife
Using a palette knife for layering can add unique textures to your paintings.
Start by preparing your canvas and applying a base layer of paint.
Let it dry completely before you get to work with the knife.
When you’re ready, pick up a small amount of paint on the edge of the palette knife.
Hold it at a slight angle and scrape the paint across the surface.
This technique works best on smooth canvases.
You can create different effects by adjusting how you apply the paint.
Pressing down harder will give you thicker, more textured layers.
For finer details, use the tip of the knife to draw small lines or dots.
Experiment with mixing colors on your palette knife as you go.
This way, you can achieve a more dynamic look in your artwork.
Remember to wipe the knife clean between colors to maintain clarity in your layers.
Palette knife layering is a fun way to explore depth and texture in your paintings.
Embrace the spontaneity it brings to your creative process.
6) Underpainting Techniques
Underpainting is a foundational step in building layered paintings.
It serves as the first layer, setting the stage for subsequent color applications.
You can choose from several techniques, with the monochromatic method being quite popular.
This involves using one color, usually in shades of gray or brown, to establish values and shadows.
Another technique is the Grisaille method, where you layer various tones of gray or neutral colors.
This helps define light and volume before adding color on top.
When using acrylics, you’ll benefit from their quick drying time.
This allows you to proceed to the next layers sooner.
If you prefer oils, remember the “fat over lean” rule.
Start with thinner, more fluid paints and gradually add heavier, oil-rich layers.
Each technique contributes to depth and richness in your painting.
Experiment with these methods to find what resonates with your style.
7) Explore Glazing Effects
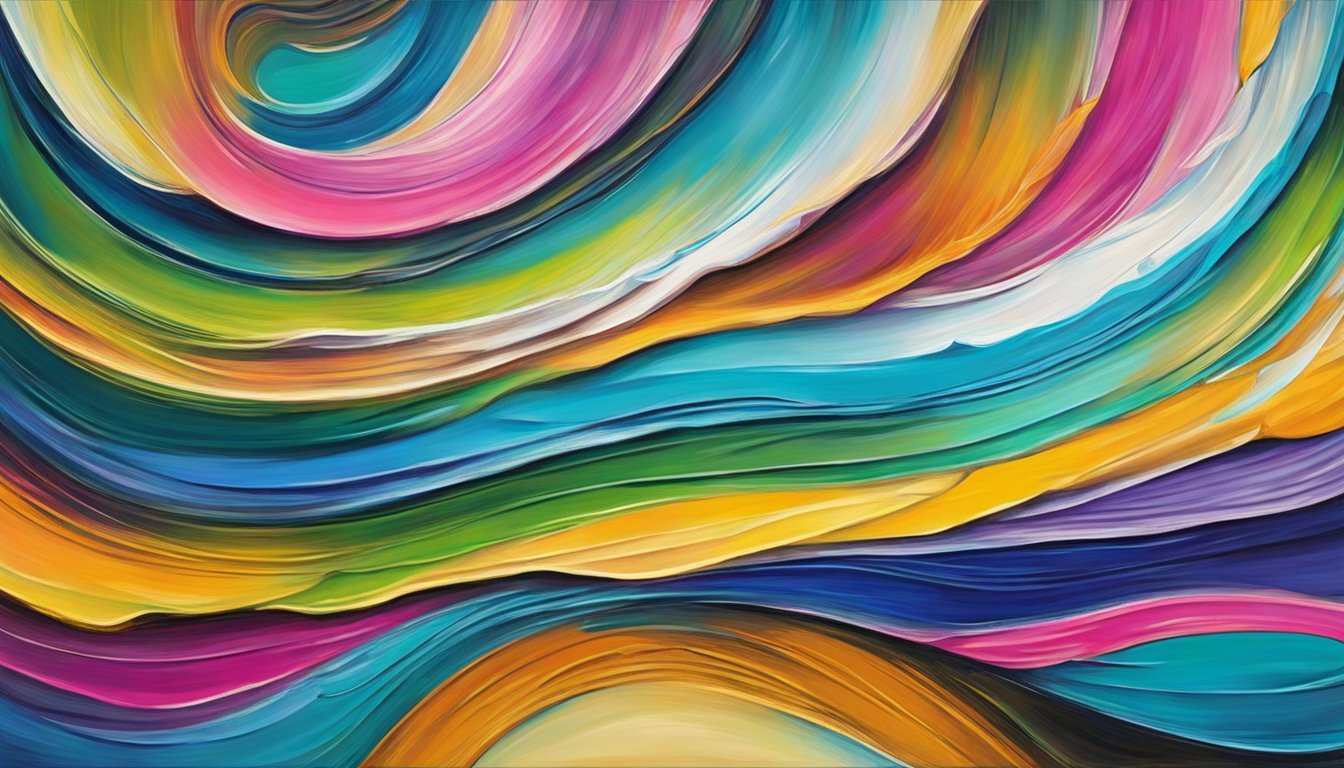
Glazing can add depth and luminosity to your layered paintings.
This technique works well with both oil and acrylic paints.
To start, mix a glazing medium with your paint.
This creates a transparent layer that can transform the look of your artwork.
Apply the glaze over a dry base layer using smooth brushstrokes.
You don’t need to rush; take your time to spread the paint evenly.
Building up multiple layers of glaze is where the magic happens.
Each new layer enhances the depth and richness of your colors.
Just remember to let each coat dry completely before adding the next.
Experiment with different colors and sheens in your glazes.
You might find yourself blending unexpected hues that elevate your piece.
Glazing can also soften harsh lines and create subtle transitions between colors.
It’s a versatile technique that can really enhance your artistic expression.
So grab your brushes and start experimenting with glazes to see how they can transform your paintings.
8) Create Texture with Impasto
Using impasto is a great way to add depth and dimension to your paintings.
This technique involves applying thick layers of paint, creating a rich texture that really stands out on the canvas.
Start with heavy body acrylics or oil paints.
These types have a buttery consistency that holds shape well.
Avoid thin or watered-down paints, as they won’t create the desired texture.
To apply, use a palette knife or a stiff brush.
Load your tool with plenty of paint and gently lay it onto the canvas.
Think of it like frosting a cake.
You want those bold swipes and peaks to show.
Layers are key in impasto.
Begin by painting the lighter areas first.
This gives you a base to add darker shades, enhancing shadows and creases.
Remember to let each layer dry before adding more to maintain vibrancy.
Impasto can create a sense of movement and energy in your artwork.
Experiment with different tools and techniques to find what works best for your style.
Enjoy the process of making your paintings pop with texture!
Use a Fan Brush for Blending
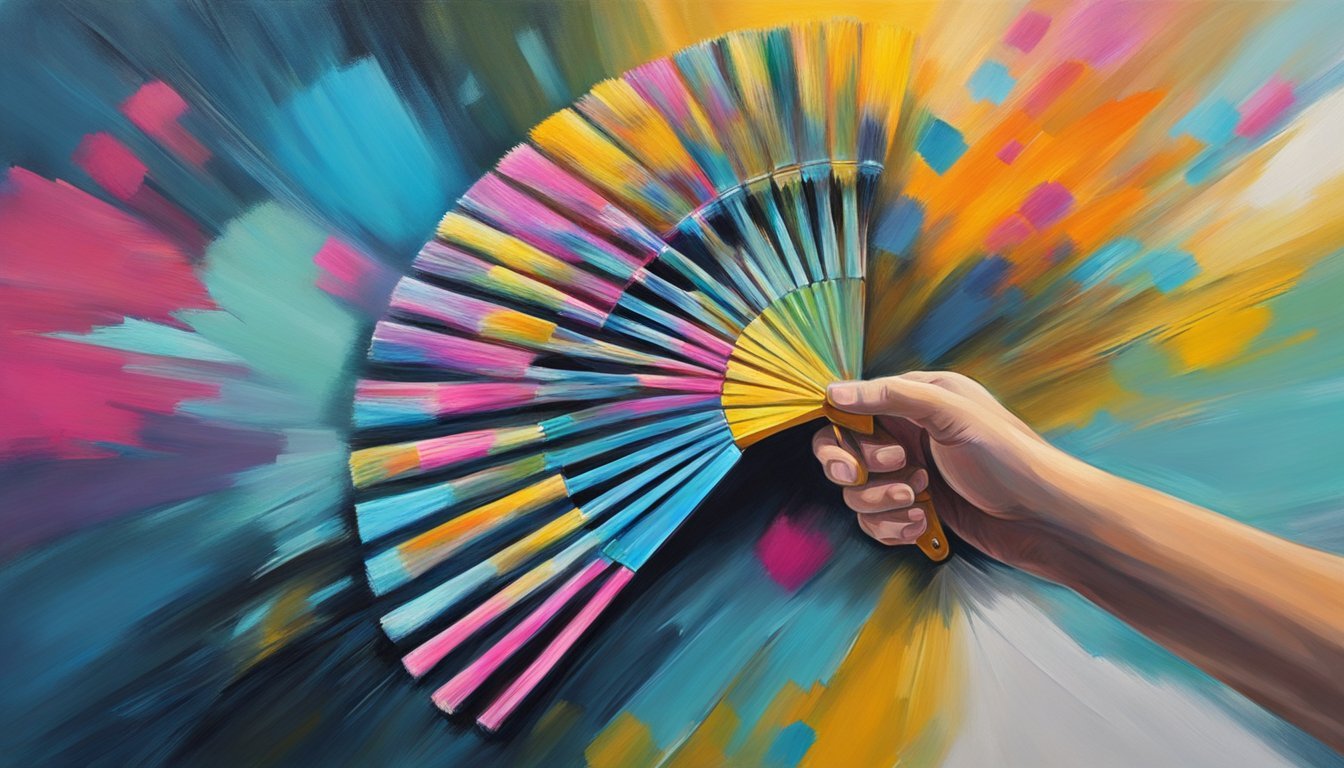
A fan brush is a versatile tool in your painting kit.
It can work wonders when blending colors, whether you’re using acrylics or oils.
Start by loading your fan brush with two colors.
Make sure both colors are well-covered on the bristles.
This technique is called double-loading.
Next, gently work the brush across the areas where the colors meet.
The unique shape of the fan brush helps create soft transitions.
Use light pressure to avoid disturbing the underlying layers too much.
You can also use the fan brush for blending edges.
Simply flick the tips of the bristles where the colors meet.
This can create a feathered effect that adds depth to your painting.
For a seamless blend, keep your brush clean.
Wipe it frequently to prevent muddy colors.
Experiment with the amount of pressure and angle to see what works best for your style.
Using a fan brush can elevate your blending game and add a unique touch to your layered paintings.
Enjoy the exploration!
Color Blocking Tips
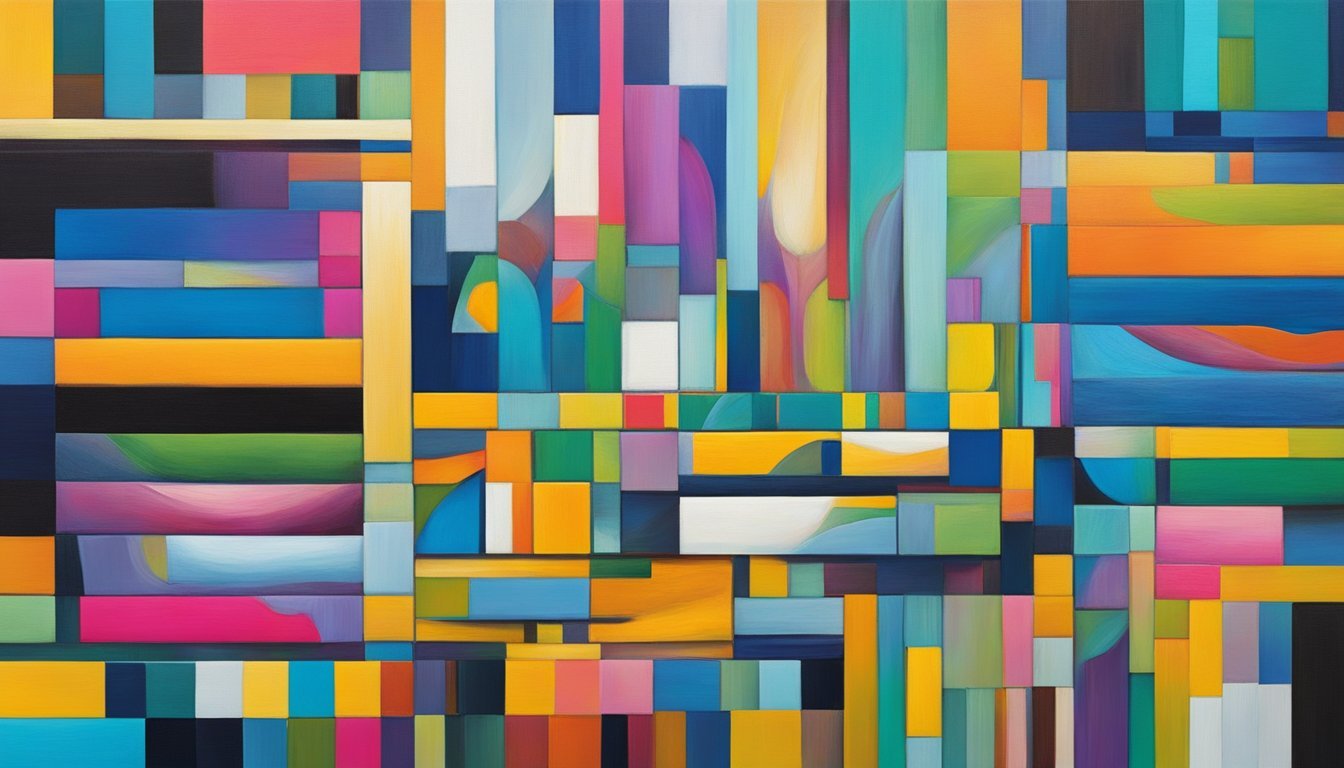
Color blocking is a key technique that can elevate your paintings.
Start by filling in basic shapes with solid colors.
This creates a strong foundation for your artwork.
When working with acrylics, thin the paint with water to allow for better coverage.
Use a stiff brush for a smoother application.
Don’t overthink your color choices at this stage.
Go for bold, vibrant hues that will stand out under subsequent layers.
Limit the time spent on blocking in.
Aim for around 20 minutes for a smaller canvas, so you don’t miss key details later on.
If you’re using oils, remember that they will cover acrylics.
Ensure your block-in layer is completely dry before applying oils.
Experiment with different brush techniques.
Each stroke can contribute to the texture and style of your piece.
Keep your workspace organized.
This will help you stay focused and make the process smoother.
Lastly, have fun with it! Color blocking is about exploring your creativity and setting the stage for what’s to come.
Enjoy the process as you build your painting.
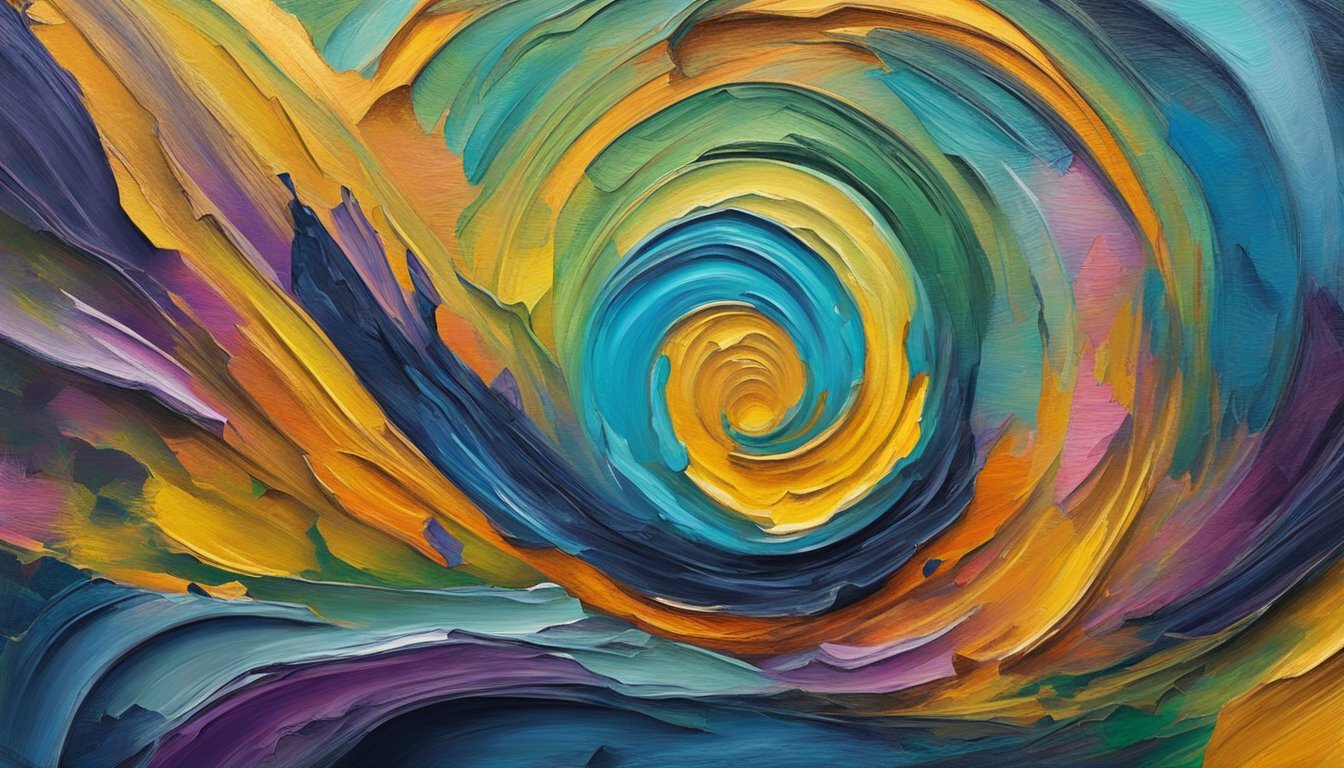
Understanding Layered Paintings
Layered paintings involve building depth and richness through the careful application of multiple paint layers.
Each layer adds its own unique quality, influencing colors, textures, and overall composition.
What Makes Layering Unique
Layering in painting is all about creating visual depth.
The technique allows for variations in color, tone, and texture that give your artwork dimension.
As you apply different layers, consider how they interact.
- Transparency: Thinner layers can allow underlying colors to show through.
- Texture: Using various techniques, like glazing or impasto, provides an engaging quality.
- Color Interaction: Colors can change visually when layered; this can be a powerful tool to create mood.
The process requires patience and practice, but you’ll find that the depth achieved through layering adds significant interest to your work.
Choosing Between Oil and Acrylic
When deciding between oil and acrylic paints for layering, consider the characteristics of each medium.
- Drying Time: Oils take longer to dry, allowing for more blending and adjustments. Acrylics dry quickly, which can be useful for rapid building of layers.
- Finish: Oil paints tend to have a glossy finish, while acrylics can be matte or glossy, depending on the medium used.
- Techniques: Each medium offers unique layering techniques. For example, oil painters can use glazing for depth, while acrylic painters often utilize wet-on-wet techniques.
Choose a medium that suits your style and desired outcome.
Your personal preference will greatly impact your layering approach and the final result.
Techniques for Layering Paint
Layering paint effectively enhances the depth and richness of your artwork.
Two primary methods you can use to achieve this are glazing and impasto techniques.
Glazing Methods
Glazing involves applying thin, transparent layers of paint over dried paint.
This technique allows the colors underneath to shine through, creating a luminous effect.
-
Choose Your Colors Wisely: Start with a base layer of dried paint. Select your glazing colors to either enhance or alter the underlying colors.
-
Use a Medium: Mix your paint with a glazing medium to achieve transparency. This helps in achieving the desired consistency.
-
Application: Use a soft brush to apply the glaze. Work in long, smooth strokes for an even application. Be patient; let each layer dry completely before adding another.
This method is perfect for creating shadows, highlights, or depth without altering the entire composition.
Impasto Technique Basics
The impasto technique involves applying thick layers of paint to create texture and dimension.
When you use impasto, the paint stands out from the canvas, adding a tactile quality to your work.
-
Select Your Tools: A palette knife works well to achieve thick applications. You can also use a brush, but ensure it can handle the paint thickness.
-
Apply Thickly: Load your brush or knife with paint and spread it directly onto the canvas. Focus on areas where you want to create emphasis or contrast.
-
Experiment with Texture: Don’t be afraid to experiment. You can build up textures or even carve designs into the wet paint for unique effects.
Using impasto allows your artwork to have a striking visual presence.
It can also add a dramatic flair to your compositions.