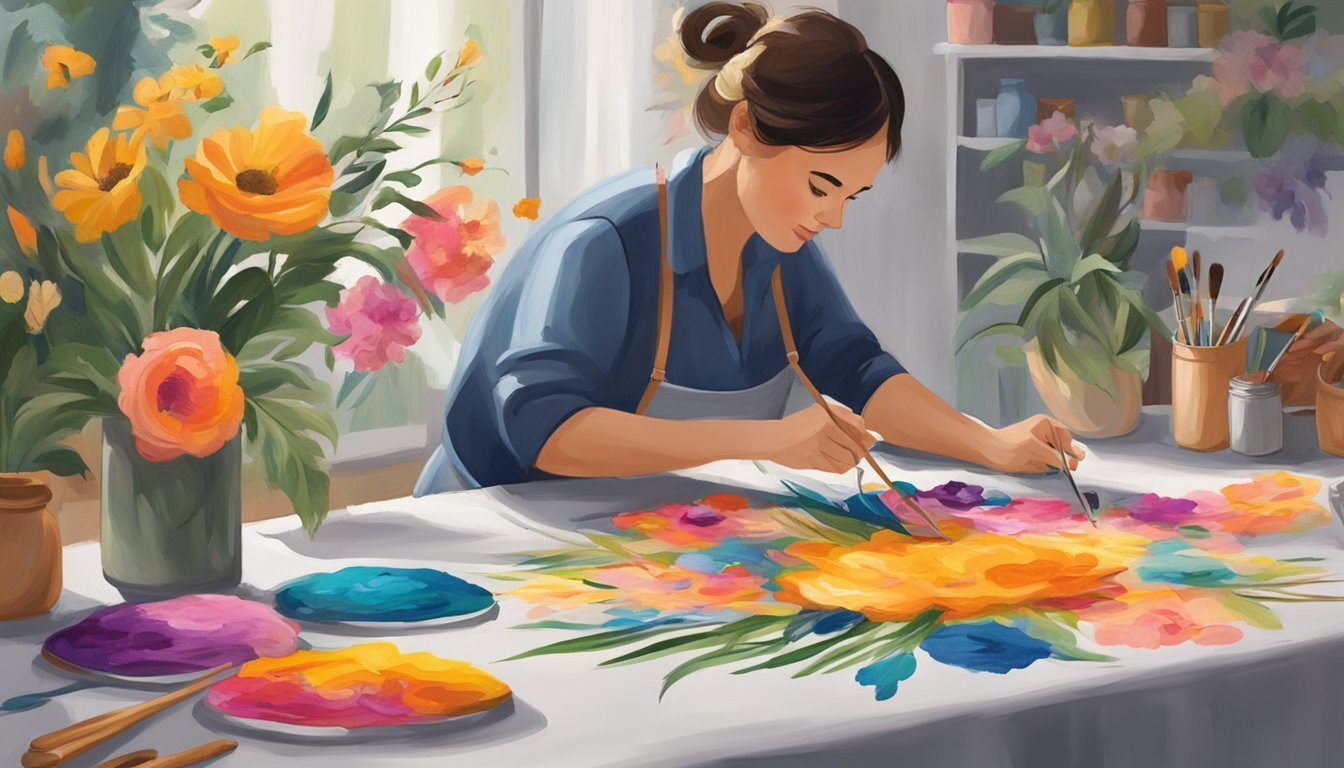
Creating hand-painted fabric for custom clothing is an enjoyable way to express your personal style.
When you learn to paint on fabric, you open up a world of possibilities for designing unique and vibrant pieces.
Using different techniques, you can transform basic garments into stunning works of art that stand out from the crowd.
The process allows you to experiment with colors, patterns, and textures, making your clothing truly one-of-a-kind.
Whether you’re a seasoned artist or just starting out, this fun and creative endeavor can add a personal touch to your wardrobe while showcasing your artistic flair.
Select fabric type: Cotton or silk
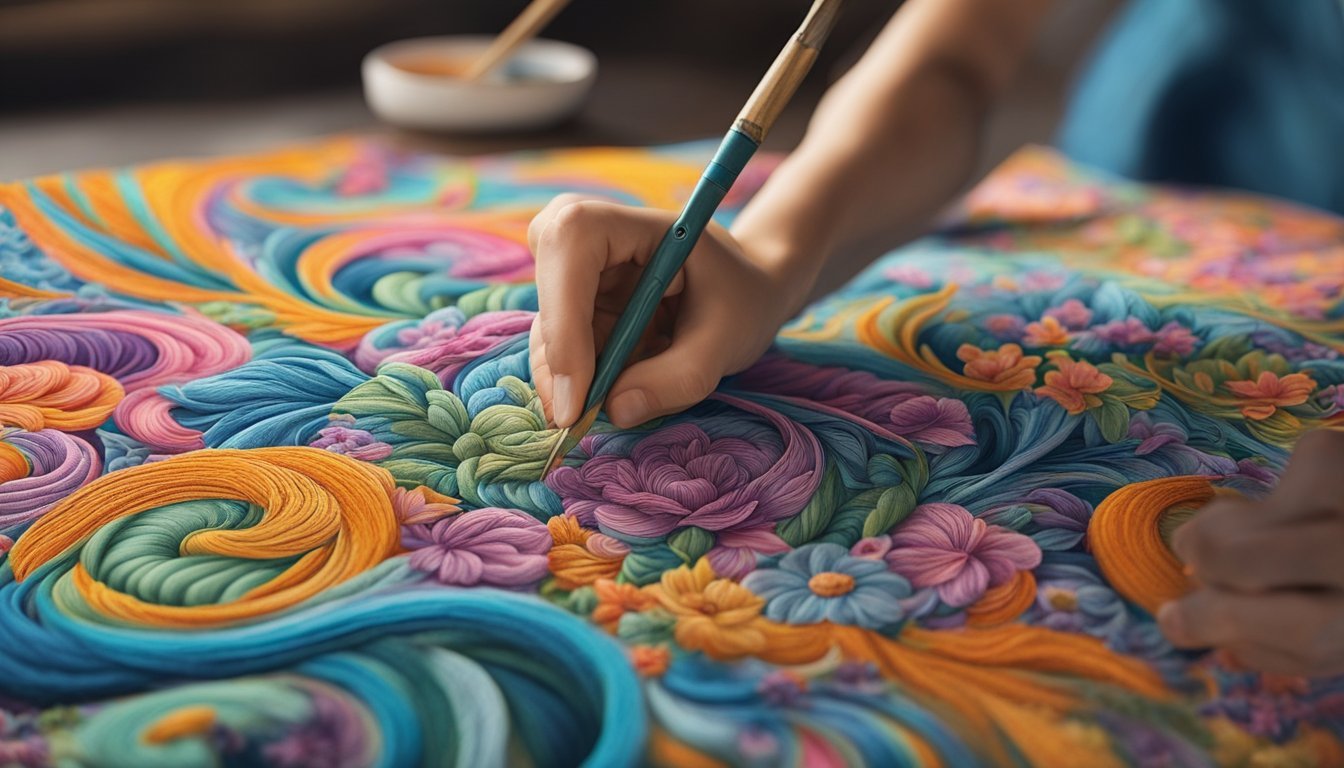
When choosing fabric for your hand-painted clothing, cotton and silk are top contenders.
Each has unique qualities that can affect your project.
Cotton is versatile and easy to work with.
It holds paint well and provides a nice, matte finish.
Plus, it’s durable and can withstand frequent washing, making it a practical choice for everyday wear.
Silk, on the other hand, offers a luxurious feel with a natural sheen.
The colors on silk can appear vibrant and have a beautiful, flowing effect.
However, be cautious; silk may require more careful handling and special paints designed for fabric.
Consider the end use of your clothing.
If you’re creating something casual, cotton is a solid option.
For a dressier look or special occasion attire, silk could be the way to go.
Both cotton and silk can yield stunning results, so think about your vision and how each fabric can bring it to life.
Choose fabric paint: Acrylics or fabric dyes
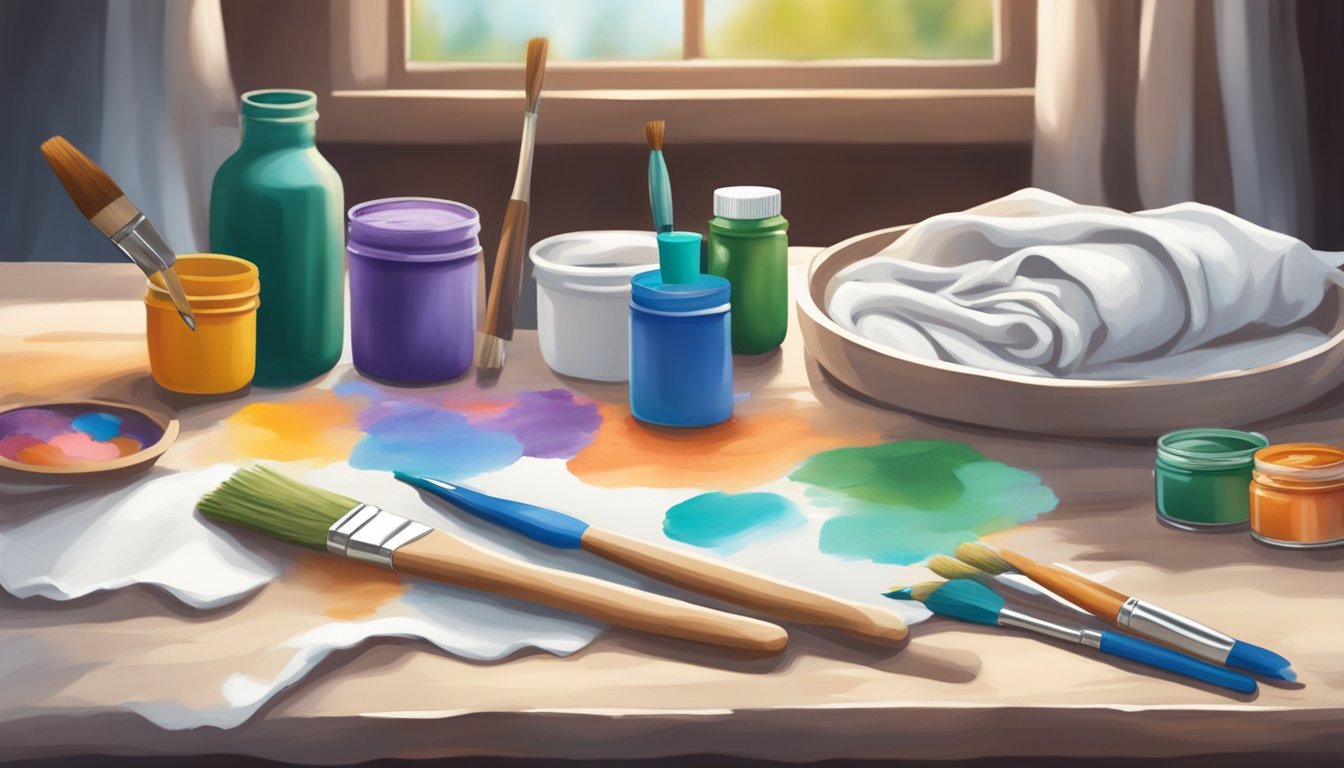
When it comes to painting fabric, you have two main options: acrylic paint and fabric dyes.
Each has unique characteristics that make them suitable for different projects.
Acrylic paint is versatile and easy to use.
It’s great for creating detailed designs on smaller fabric items and comes in many colors and finishes.
Just remember to mix in a fabric medium to ensure it adheres well to the fabric and remains flexible.
Fabric dyes, on the other hand, are ideal for covering larger surfaces.
They require water to activate and penetrate the fibers, making them perfect for techniques like tie-dye.
Dyes provide a long-lasting color that won’t bleed, but the process can be more complex than using paint.
Think about your project and the look you want to achieve.
If you’re going for intricate designs, acrylics might be your best bet.
For bold colors across larger areas, fabric dyes could be the way to go.
Choose wisely based on your artistic vision and the fabric type.
Gather brushes: Different sizes for detail

When painting fabric, gathering a variety of brushes is key.
Each size serves a unique purpose in your painting process.
For broad strokes or filling in larger areas, use wider brushes.
These help you cover more ground efficiently.
Flat or bristle brushes work well for this.
For intricate designs and details, smaller brushes are essential.
Detail brushes with fine tips allow for precision work, letting you create delicate patterns and outlines.
Consider round brushes for adding curves and fine lines.
These are great for both outlining and shading, giving your artwork depth.
Make sure to have a few different shapes and sizes in your brush collection.
This way, you’ll be ready for any design element that comes to mind as you paint.
Finally, don’t forget to clean your brushes thoroughly after each use.
This keeps the bristles in good shape for your next creative project.
Pre-wash fabric: Prevents paint bleeding
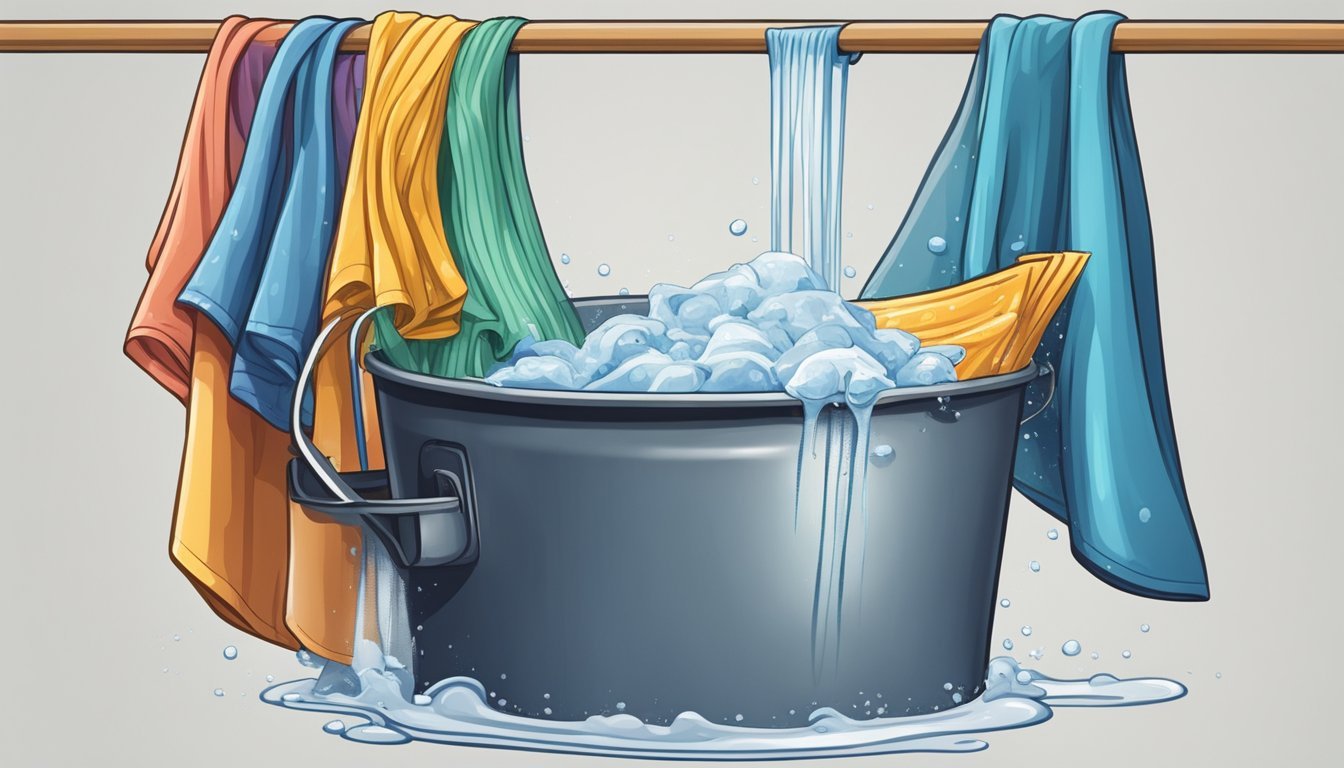
Pre-washing your fabric is an essential step in creating hand-painted clothing.
It helps remove any finishing agents or chemicals that may interfere with paint adhesion.
Once you’ve chosen your fabric, toss it in the wash.
Use a gentle cycle and a mild detergent to avoid damaging the fibers.
This process ensures that the paint will absorb better and adhere properly.
After washing, make sure to dry the fabric completely.
You can air dry it or use a dryer, depending on the fabric type.
Dampen the fabric lightly before painting.
This helps the paint to spread more evenly and reduces the risk of bleeding.
By taking the time to pre-wash, you’ll set yourself up for success in your painting project.
It helps to ensure that your final design is vibrant and stays in place, giving you the best results for your custom clothing.
Dry fabric: Use a dryer or air dry
When it comes to drying your painted fabric, air drying is often the best option.
This method helps prevent any potential damage to the paint.
Lay your fabric flat on a clean surface or hang it up to dry.
If you need to use a dryer, choose the lowest heat setting.
High temperatures can cause the paint to crack or fade, leading to less vibrant designs.
Allow your painted items to dry for a minimum of 24 hours.
This gives the paint ample time to set without smudging.
Once the fabric is dry, you can prepare it for ironing if needed.
Be patient, as taking the time to properly dry your fabric will help maintain the quality of your artwork.
Iron fabric: Smooth out any wrinkles
Before you start painting, make sure your fabric is smooth and wrinkle-free.
This step is crucial for an even application of paint.
First, set your iron to the right temperature based on the fabric type.
Delicate fabrics require a lower heat setting, while sturdier materials can handle higher heat.
Lay your fabric on an ironing board.
Use your hands to smooth out larger wrinkles before you begin ironing.
Move the iron in a back-and-forth motion along the grain of the fabric to avoid distortion.
If you encounter stubborn wrinkles, consider using steam or a little spray of water.
It can help loosen those pesky creases and make your work easier.
Don’t press down hard; just the weight of the iron should be enough.
Work in sections, starting from one end and moving to the other for best results.
Once your fabric is wrinkle-free, you’re all set to create your custom designs!
7) Set up workspace: Cover surfaces

Before you start painting, it’s smart to prepare your workspace.
Lay down a protective covering on the table or floor to catch any spills or splatters.
An old tablecloth, plastic sheet, or newspaper works well.
This keeps your work area clean and prevents any unwanted mess.
Make sure the surface is stable and can handle your project.
A solid table lets you paint without worrying about everything shifting around.
If you’re using fabric paint, remember it can stain.
So, don’t skip this step—it’ll save you cleanup time later.
Keep your materials organized within reach to create a smooth workflow.
Having everything set up makes the painting process more enjoyable.
Stencil designs: Use stencils for consistency
Using stencils is a great way to maintain consistency in your fabric designs.
They help you create uniform patterns across different pieces of clothing.
Start by choosing a design that fits your project’s theme.
Ensure the stencil material is durable, like mylar or cardstock, and cut it neatly for clean edges.
Prepare your fabric by washing and ironing it.
A smooth surface is essential for the best results.
When you apply paint, use a dabbing technique.
This light application minimizes the risk of paint bleeding underneath the stencil.
You can use a sponge or brush, but be gentle to keep your design crisp.
Secure your stencil on the fabric with painter’s tape to avoid shifting.
This ensures that your pattern aligns accurately every time you paint.
Stenciling isn’t just for beginners; it’s a handy tool for any level of artist wanting to replicate designs efficiently.
With a little practice, you’ll see how stenciling elevates your custom clothing projects.
Freehand designs: Sketch directly on fabric
Freehand designs allow you to express your creativity directly on fabric.
Start with a clean, pre-washed surface to ensure the fabric is ready for painting.
Use a light pencil to sketch your design.
This gives you a chance to adjust before committing with color.
Keep your lines light so they won’t show through the paint.
Once you’re satisfied with your sketch, choose your paint.
Fabric paint works best, as it’s designed to adhere well to fabric.
Work slowly and apply the paint in layers.
This helps you achieve depth and detail in your design.
Remember to let your artwork dry completely before moving on.
This prevents smudging and ensures your design lasts.
Freehand painting can be a fun and rewarding way to personalize your clothing.
With practice, you’ll develop your own unique style!
10) Layer colors: Build depth with layers

Layering colors is essential for creating depth in your hand-painted fabric.
Start with a base layer of paint.
This first coat will set the foundation for your design.
Once the base is dry, add additional layers gradually.
Use thin applications of paint to prevent stiffness in the fabric.
Each layer should enhance the richness of your colors.
Experiment with different strokes to create interesting textures.
Long, smooth strokes can offer an even finish, while techniques like stippling or cross-hatching can bring more character to your work.
Don’t hesitate to mix colors directly on the fabric or your palette.
This can produce beautiful transitions and blends.
You’ll find that adding layers helps make your fabric art visually striking.
Be patient and allow each layer to dry fully before proceeding.
This technique also helps maintain the flexibility of your fabric, ensuring it feels good to wear.
Enjoy the process and watch your design transform with each layer you add!
Materials Needed for Hand-Painted Fabric
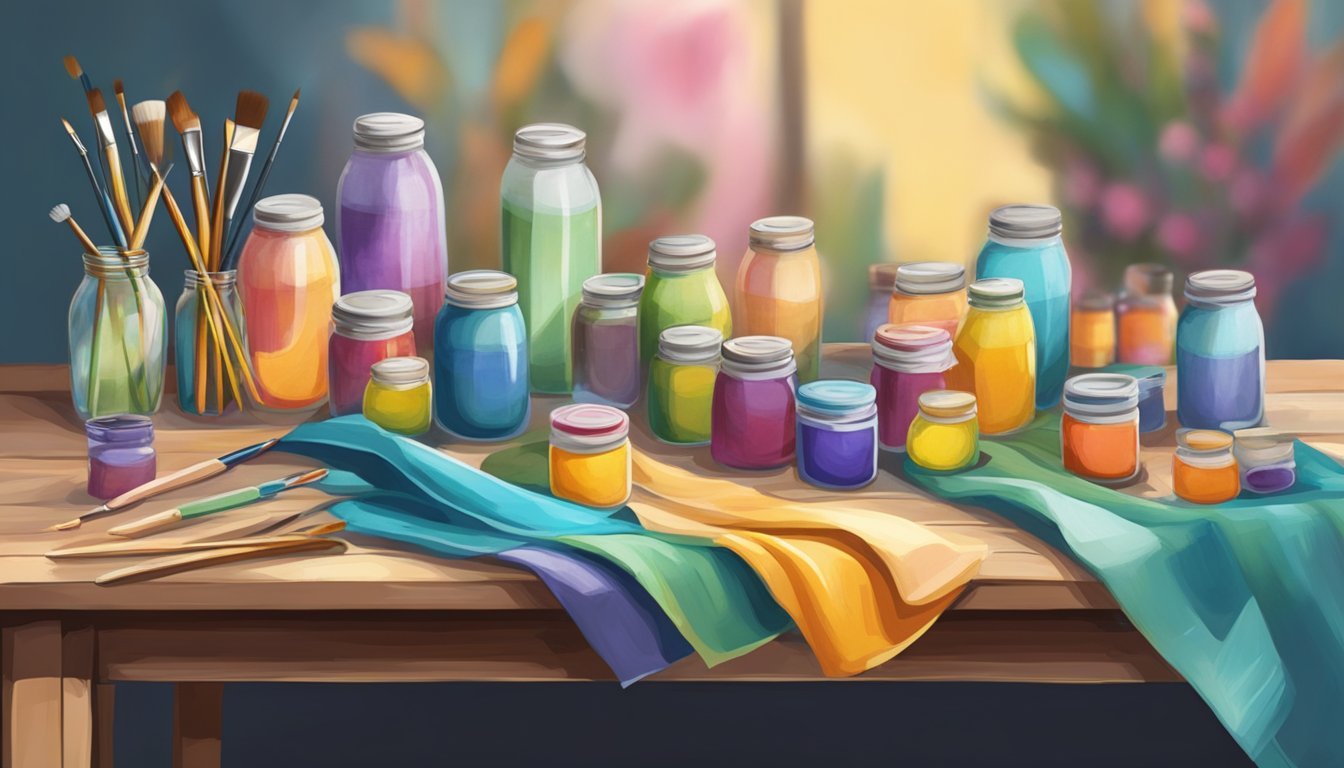
Creating custom hand-painted fabric requires specific materials to achieve the best results.
Understanding your fabric choices and the types of paint to use is essential for your project.
Below are key considerations for each aspect.
Types of Fabric Choices
When selecting fabric for painting, you should consider the texture and absorbency.
Some popular options include:
- Cotton: This is a versatile choice that absorbs paint well and has a smooth surface.
- Denim: Ideal for sturdy apparel, it holds paint effectively, giving a unique look.
- Silk: Offers a luxurious feel, but requires special paints meant for delicate fabrics.
Make sure to pre-wash your fabric, as this removes any chemicals and ensures better paint adhesion.
If needed, iron it to eliminate wrinkles.
Experimenting on scrap pieces can help you gauge how paint interacts with different fabrics.
Selecting the Right Paints
Choosing the right paint is crucial for durability.
Here are some options:
- Acrylic Fabric Paint: This is available in various colors and is highly recommended for its flexibility and washability.
- Textile Medium: Mixing this with acrylic paint can enhance the paint’s adherence to fabric and make it softer once dry.
Always look for paints labeled as fabric-safe, as these will prevent fading or peeling.
If you want to create textures, consider using different techniques like stenciling or wax resist.
Testing paint on a small fabric piece before starting your project can help you avoid any unwanted surprises.
Techniques for Hand-Painting Fabric

Hand-painting fabric is a fun way to express your creativity and personalize clothing.
By mastering a few key techniques, you can bring your visions to life on fabric.
Preparing Your Fabric
Start with clean fabric to ensure the paint adheres well.
Wash your fabric to remove any sizing or dirt.
After drying, iron it to create a smooth surface.
You can also pre-treat the fabric with a fabric medium if you’re using regular acrylic paints.
This helps the paint bond with the fibers, making it more flexible and less likely to crack.
To protect your workspace, place a cardboard or thick paper underneath the fabric.
This prevents paint from seeping through, keeping your surfaces clean.
Basic Brush Techniques
Choosing the right brushes can significantly impact your painting.
Flat brushes are great for broad strokes, while round brushes are excellent for detailed work.
Experiment with different brush sizes to see which you prefer.
Practice basic strokes and techniques, such as dabbing, swirling, or creating fine lines.
You might also try sponging or using stencils to add interesting textures and patterns to your designs.
Each method offers unique results, so have fun with it!
Setting the Paint
Once you complete your artwork, it’s time to set the paint.
Allow the fabric to dry completely in a flat position.
This helps avoid smudges.
For most fabric paints, you need to iron the painted area to set the color.
Use a pressing cloth to protect your design from direct heat.
Follow the manufacturer’s instructions regarding heat and curing time.
This step is crucial if you want your fabric art to last after washing.
Properly set paint will resist fading and maintain its vibrancy.


