Creating custom gifts using sewing techniques can be a rewarding way to express your creativity and thoughtfulness.
With just a few basic skills and materials, you can craft something unique that reflects your loved ones’ personalities and needs. Discovering how to sew personalized gifts allows you to infuse your creations with a personal touch that store-bought items simply can’t match.
From simple projects to more intricate designs, sewing offers endless possibilities for gift-making.
Each stitch can be a reflection of the care and effort you put into your gift, making it truly special.
Dive into the world of sewing and unleash your imagination to make memorable gifts that will be cherished for years to come.
Personalized Embroidered Handkerchiefs
Creating personalized embroidered handkerchiefs is a thoughtful way to show someone you care.
You can start by choosing a lightweight fabric that works well for embroidery.
Next, consider adding a monogram or initials.
You can trace the design onto the handkerchief using tracing paper and a carbon sheet, making it easy to follow.
For a unique touch, you might even use someone’s handwriting.
Many services can turn your written notes into beautiful embroidery, making the gift even more special.
These handkerchiefs can serve various occasions, from weddings to birthdays.
They can be a charming keepsake or a practical item infused with personal meaning.
With just a bit of creativity, you can craft a handmade gift that will be cherished for years.
Making personalized embroidered handkerchiefs can be enjoyable and fulfilling, allowing you to express your artistic side while giving a heartfelt present.
Quilted Memory Blankets
Creating a quilted memory blanket is a wonderful way to cherish memories through fabric.
You can use old clothes, such as T-shirts or denim, that hold special significance for you or your loved ones.
Start by gathering the fabrics that tell your story.
Each piece can represent a moment or person, making your quilt truly unique.
Cut the fabric into squares or rectangles, depending on your design.
You might find it helpful to plan a layout before sewing to visualize how the blanket will look.
Next, layer your fabric pieces, using a sturdy backing material for support.
Fleece is a popular choice for the backing, as it adds warmth and a cozy feel.
Once your layers are ready, sew them together, creating a quilt sandwich.
This step is crucial, as it secures each piece and gives your quilt structure.
Don’t forget to bind your quilt for a polished finish.
This is where you can get creative by choosing a fabric that complements the rest of the quilt.
A quilted memory blanket not only serves as a functional item but also as a heartfelt keepsake that can be passed down through generations.
Handcrafted Stuffed Animals
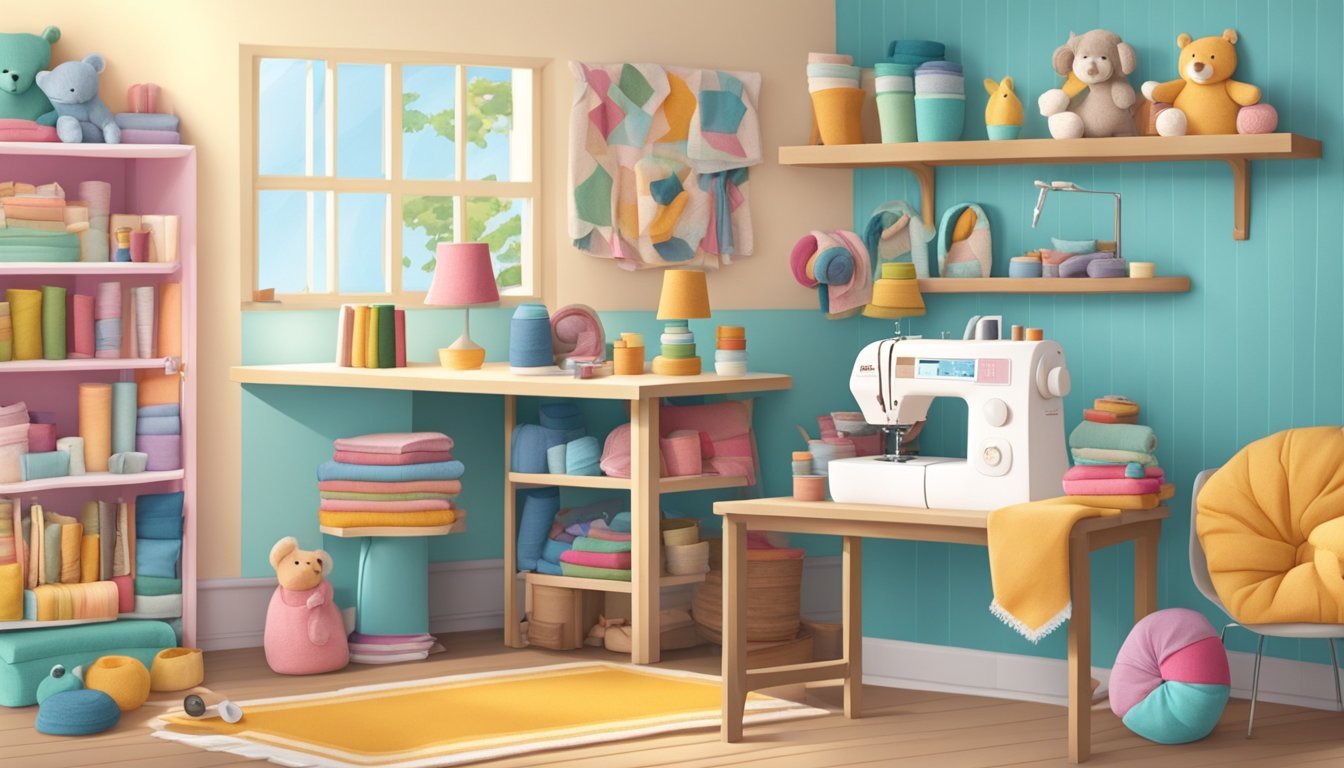
Creating handcrafted stuffed animals is a delightful way to give a personal gift.
These custom creations often carry sentimental value and can become cherished keepsakes.
Start by choosing a simple pattern that matches your skill level.
Plenty of free resources are available online, offering designs for various animals.
This makes it easy for you to find something that speaks to your creativity.
Select fabrics that resonate with the recipient’s personality.
You can use soft fleece, cotton, or even fabric scraps you already have.
The more unique the fabric, the more special the stuffed animal will feel.
When you sew your plush, be attentive to the details.
Personal touches, like unique stitches or adding embroidery, can make the animal truly one-of-a-kind.
Stuff your creation with a soft filling to ensure it’s cuddly and inviting.
Once finished, you’ll have a handmade gift that carries your love and effort.
You’ll likely find this process not just fulfilling, but also a wonderful way to express your creativity.
Custom Monogrammed Tote Bags
Creating custom monogrammed tote bags is a fun and useful sewing project.
These bags make great gifts for friends or family.
A personalized touch can turn a simple tote into something special.
You can use various techniques to add a monogram.
Consider embroidery, heat transfer vinyl (HTV), or iron-on transfers.
Each method has its charm and can suit different skill levels.
Start by selecting a plain canvas tote bag.
Look for bags in your favorite colors or patterns.
Once you have your base, choose a font or design for the monogram.
Simple initials work well and are classic.
If you’re using HTV, cut your design using a Cricut machine.
Make sure to follow the instructions for applying it to the bag.
Iron-on options are also a great choice if you prefer a no-sew method.
Finally, present your custom tote bag as a gift, and watch the recipient smile.
Personalized tote bags are practical and can be used for shopping, beach days, or everyday outings.
They’re sure to become cherished items in anyone’s collection.
5) Bespoke Sewing Kits
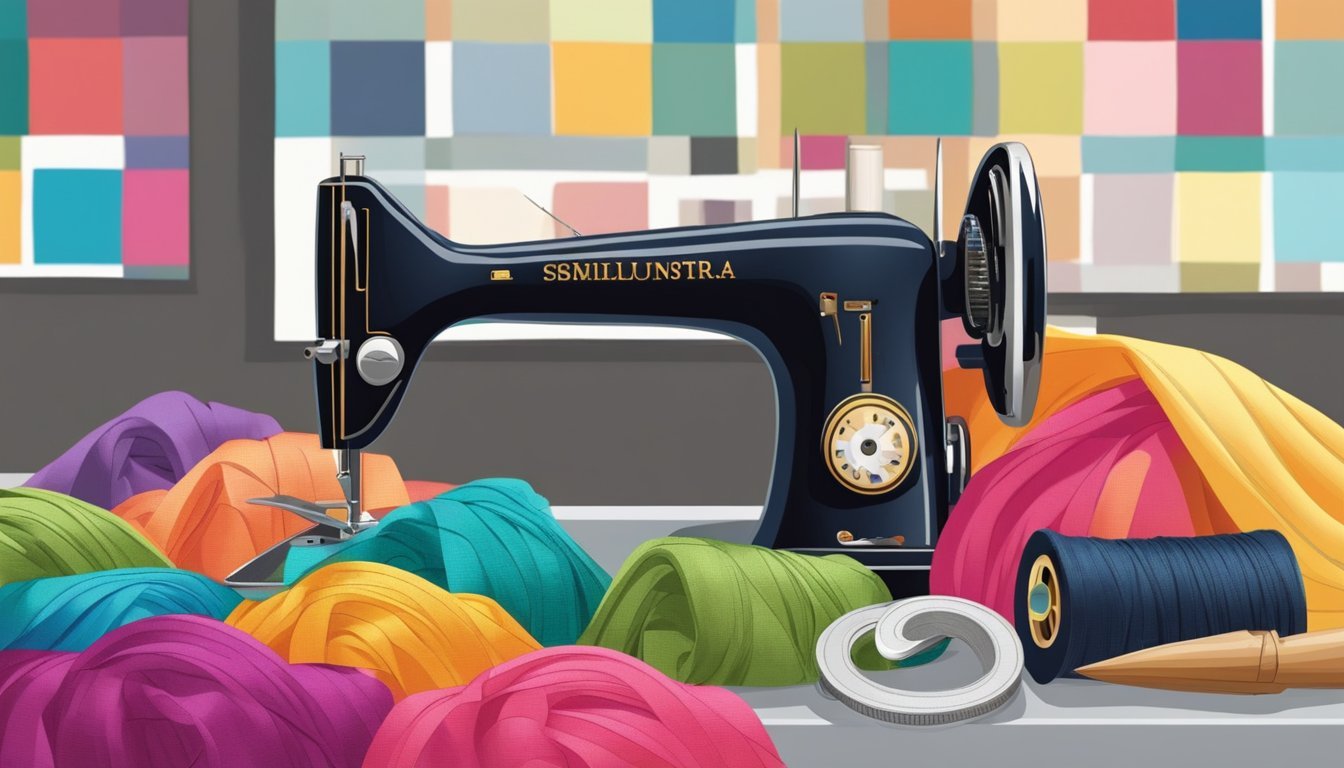
Creating a bespoke sewing kit can be a thoughtful, personalized gift.
Start by choosing a theme or project that aligns with the recipient’s interests.
Gather all necessary supplies like fabric, thread, needles, and any patterns they might need.
You can include extras like buttons or embellishments to make it even more special.
Personalize the kit further by including a handwritten note with project ideas or care instructions for the fabrics.
Consider using a unique container, such as a basket or decorative box, to hold the items.
This adds a charming touch and makes it easy for them to store their supplies.
You might even ask them for their favorite colors or patterns to include in the kit.
This way, you ensure it’s tailored just for them.
Bespoke sewing kits not only provide a fun activity but also show that you put time and thought into creating something unique.
6) Unique Decorative Pillows
Making unique decorative pillows is a great way to add a personal touch to any space.
You can easily customize pillows to match your home décor or make a heartfelt gift.
Start by selecting fabrics that reflect your style.
Consider using bold patterns or soft textures for visual interest.
Personalization can elevate your pillow project.
Try adding names, quotes, or fun designs using fabric paint or embroidery.
If you’re up for a challenge, explore advanced designs like the Dresden Plate pillow.
This involves intricate quilting techniques that create a beautiful visual on the pillowfront.
You can also create simple, yet charming, lip-shaped pouches as decorative accents.
These can serve as practical storage or a whimsical addition to your décor.
Custom pillows are not only functional but also serve as delightful conversation starters.
Enjoy the process, and let your creativity shine through your designs.
Tailor-Made Sewing Machine Covers
Creating a custom sewing machine cover is a fun way to personalize your workspace.
Start by measuring your sewing machine to ensure the cover fits perfectly.
You’ll need to note its length, depth, and height.
Once you have your measurements, choose fabric that matches your style.
Consider using cotton for easy cleaning and durability.
Adding pockets can be a practical touch, giving you space for accessories.
For assembly, cut your fabric according to your measurements.
Use a simple pattern or create your own design.
If you want to add some flair, consider quilting the fabric for a unique look.
Finally, sew the pieces together using a sewing machine.
If you’re not confident in your sewing skills, there are plenty of free patterns available online.
This project is manageable for all skill levels and can really enhance your sewing area.
8) Embroidery Hoop Wall Art

Creating embroidery hoop wall art is a fun and simple way to personalize your space.
You can start with various fabric patterns and colors that match your decor.
Choose an embroidery hoop that suits your design.
The size can vary from small to large, depending on your vision.
Once you have your fabric, stretch it tightly within the hoop.
This keeps your work looking neat and professional.
Next, you can embellish the fabric with embroidery.
Simple stitches or motifs can add charm.
Consider using felt shapes, as they can create beautiful flowers and designs.
Adding a few faux succulents can also bring a fresh touch.
Mix these with fabric backgrounds for some interesting visuals.
Hang your finished piece on the wall, and enjoy your unique creation.
It makes a great custom gift for friends or family, showcasing your sewing skills and personal touch.
Handmade Felt Coasters
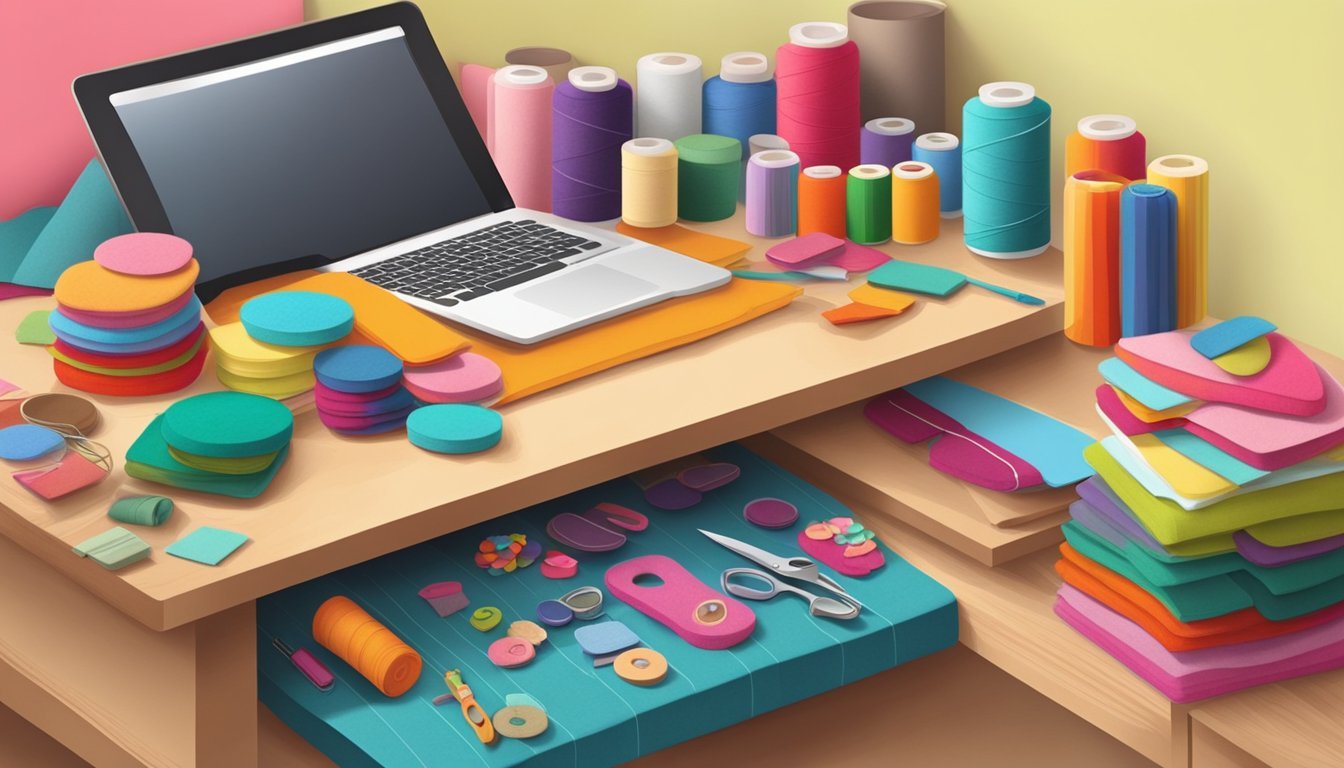
Creating handmade felt coasters is a fun and straightforward sewing project.
You can customize them to match any décor or theme, making them perfect gifts.
Start by choosing your felt colors.
You can mix and match hues to create unique patterns.
A simple design involves cutting felt into squares, circles, or other shapes.
For a textured look, try using felt balls.
Cut a hexagon and glue pom-poms onto it.
This adds a playful touch to your coasters.
When you’re ready to sew, stack your layers of felt.
A basic sewing machine will do the job, or you can hand-stitch if you prefer.
Remember to sew from the center out for a clean finish.
These coasters are not only functional but also add a bit of personality to your space.
They make great gifts for friends or family members who appreciate handmade items.
Let your creativity flow and enjoy the process!
10) Custom Patchwork Journals
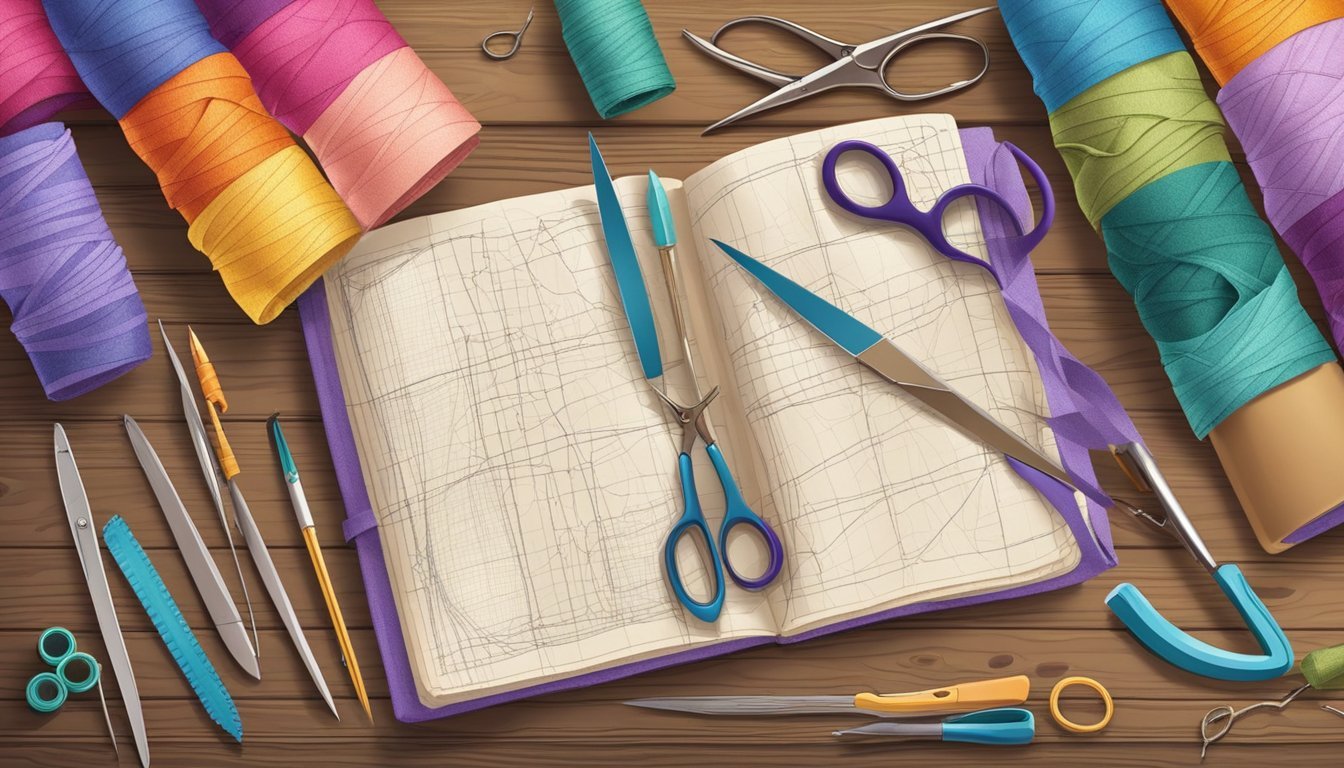
Creating a custom patchwork journal is a fun way to blend your sewing skills with personalization.
Use scrap fabric you already have to create a unique cover.
Start by measuring your journal size.
Cut your fabric pieces accordingly, then arrange them in a layout you like.
You can choose various colors and patterns for a playful look.
Sew the fabric squares together to form the cover.
If you’re feeling creative, add embroidery or embellishments for extra flair.
This gives your journal a personal touch.
Finish by adding a ribbon tie to keep the journal closed.
Just stitch along the binding edge to secure it, making your journal functional and stylish.
A patchwork journal serves as a beautiful gift and encourages creativity.
It’s perfect for jotting down thoughts, sketches, or sewing project ideas.
Enjoy the process and let your imagination shine!
Getting Started with Custom Gift Sewing
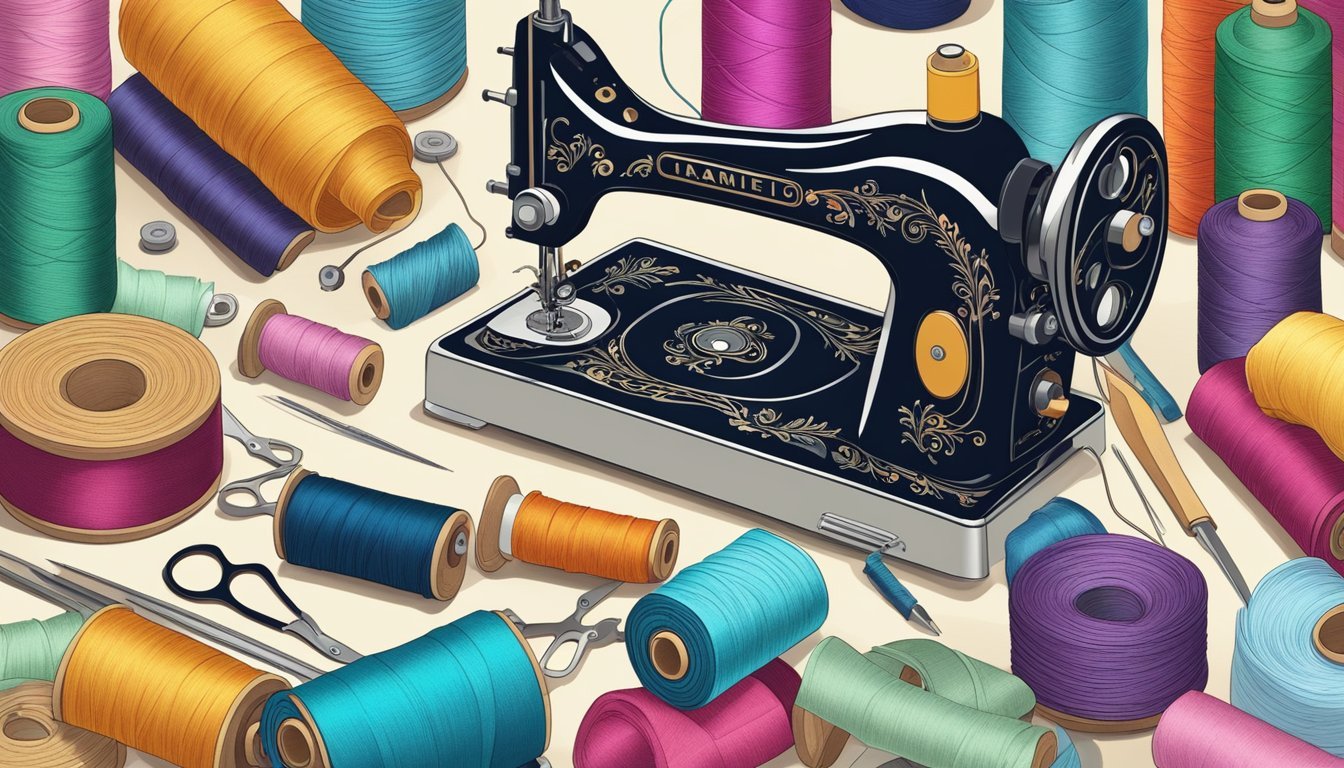
Embarking on the journey of custom gift sewing involves selecting appropriate materials and gathering essential tools.
These foundational steps will set you up for success as you create unique, personalized items.
Choosing the Right Materials
When it comes to materials, the choice is vast.
Start by considering the recipient’s preferences and the type of gift you want to create.
Here are some popular fabric options:
- Cotton: This is versatile and easy to sew, making it a great choice for beginners.
- Fleece: Perfect for cozy gifts like blankets and stuffed animals.
- Canvas: Great for durable items such as bags and totes.
Don’t forget about thread! Match your thread to your fabric for a polished look.
You can also think about adding embellishments like buttons, ribbons, or patches to make your gift even more special.
Essential Sewing Tools
To get started, you’ll need a few key tools.
A basic sewing toolkit includes:
- Sewing Machine: This speeds up your projects and gives you better control.
- Fabric Scissors: Sharp scissors will make cutting fabric easier and more precise.
- Measuring Tools: A measuring tape and rulers are essential for accurate dimensions.
Other helpful items include pins, a seam ripper, and an iron.
These tools will help you achieve clean lines and professional finishes.
Investing in good-quality tools can make your sewing experience much smoother and more enjoyable.
Techniques for Personalized Sewing Projects
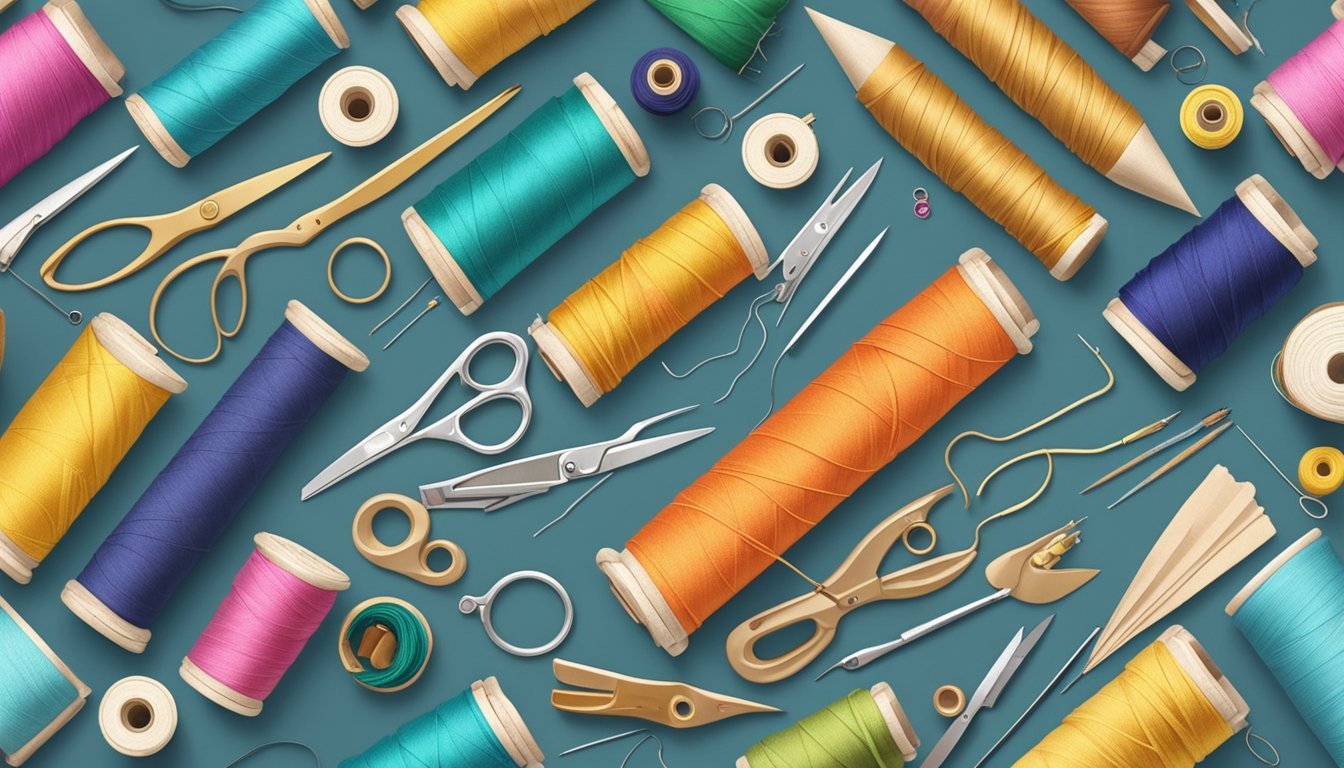
Creating custom gifts through sewing allows you to add a personal touch that store-bought items can’t match.
Here are a couple of techniques that can elevate your projects.
Appliqué and Embroidery
Appliqué is a fantastic way to add vibrant designs to your gifts.
You can easily cut shapes from fabric and sew them onto a base piece, like a tote bag or pillow.
This technique can create playful designs or heartfelt messages, making your gift truly unique.
Embroidery complements appliqué by adding details.
You can stitch names, dates, or designs by hand or with a machine.
This makes your gift memorable and personal.
Utilize various stitches, colors, and threads to make the embroidery pop.
Tips for success:
- Start with simple shapes.
- Choose contrasting thread colors for visibility.
- Practice on scrap fabric first.
Creating Unique Patterns
You can personalize gifts by designing your own patterns.
Start by sketching ideas that resonate with the recipient.
It could be a fun print or a meaningful message.
Use online design tools or graph paper to create templates.
Next, transfer your pattern to fabric.
For this step, you can use fabric markers or pencils.
Then, cut out your pieces carefully and assemble them according to your design.
Helpful hints:
- Consider the fabric type and its drape.
- Test different layouts before cutting.
- Experiment with colors that best reflect the recipient’s style.


