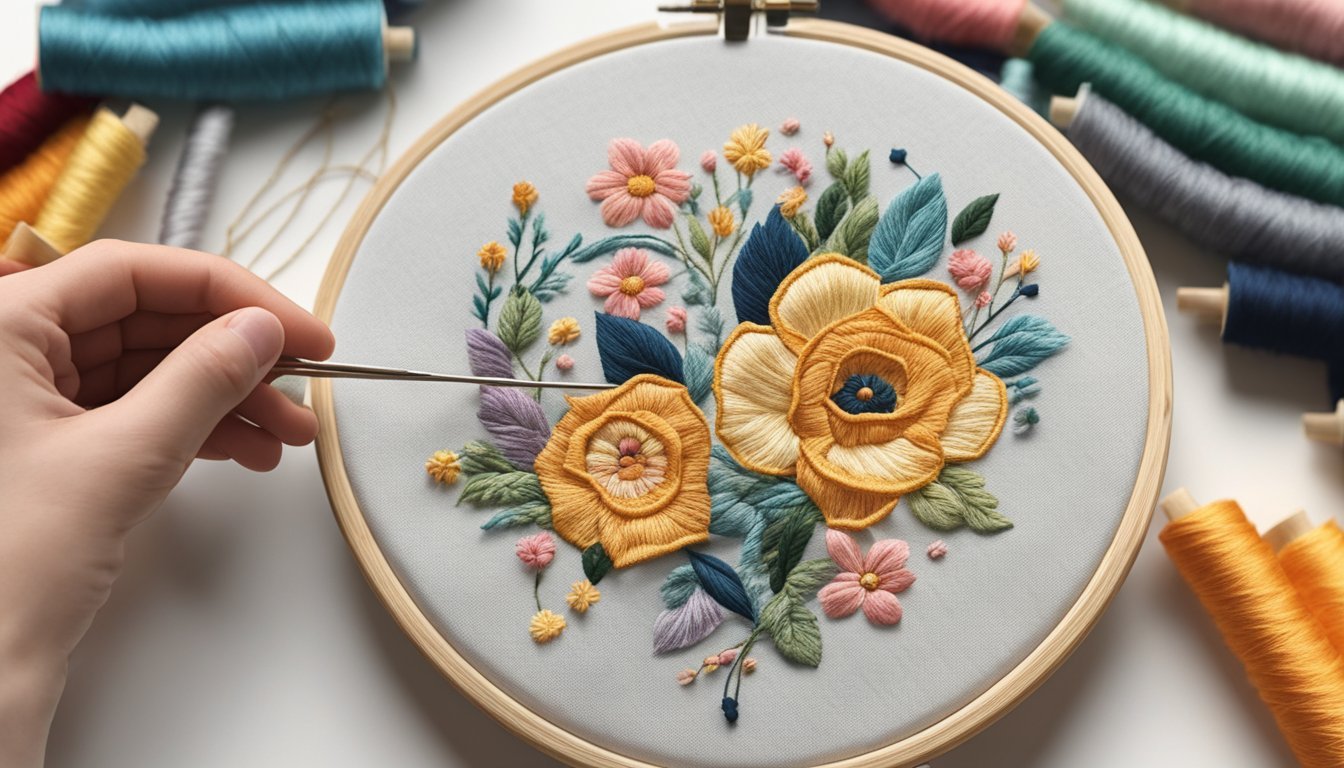
Creating custom embroidery designs from scratch is a fun and rewarding way to express your creativity.
Whether you want to bring a personal touch to a gift or simply enjoy the art of stitching, knowing how to create your own patterns opens up a world of possibilities. You can transform your ideas into unique designs that reflect your personality and style.

With just a few tools and techniques, you can start the process of designing your embroidery patterns.
From sketching on paper to using digital tools, there are multiple ways to bring your vision to life.
By understanding the basics, you’ll be ready to dive into this satisfying craft and create pieces that truly resonate with you.
Choose Your Canvas

Choosing the right canvas is a crucial first step in creating custom embroidery designs.
Your fabric can affect the overall look and feel of your project.
Consider the type of fabric you want to work with.
Common options include cotton, linen, and canvas.
Each has its own texture and durability.
Next, think about the color of the fabric.
Light backgrounds work well for detailed designs, while darker fabrics can add drama.
Choose a color that complements your design palette.
Make sure the fabric is suitable for embroidery.
Look for a fabric that can withstand the tension of stitching.
You don’t want it to warp or become damaged during the process.
Also, consider the size of your canvas.
Larger pieces allow for more intricate designs, while smaller ones are great for quick projects.
Make sure it fits in your embroidery hoop if you’re using one.
Lastly, feel the fabric.
It should be comfortable to work with and pleasing to the touch.
Your choice of canvas sets the stage for your entire embroidery journey.
2) Select a Color Palette
Choosing a color palette is a crucial step in creating custom embroidery designs.
Start with one base color that you love.
It sets the tone for your entire project.
Once you have your base color, find its complementary color, which is directly opposite on the color wheel.
This will create a striking contrast in your design.
Look at the colors next to the complementary color for additional options.
These can serve as secondary or tertiary shades, adding depth and interest to your work.
If you’re feeling stuck, consider using online tools like color palette generators.
They help you create appealing combinations by suggesting colors based on your preferences.
Don’t hesitate to experiment with four to five colors.
A well-planned palette can enhance the cohesiveness of your project and make it visually appealing.
Remember, there’s no hard rule for colors—trust your instincts and have fun with it!
3) Sketch the Initial Design
Start by gathering your ideas.
Think about the elements you want in your embroidery design.
Using tracing paper can be helpful.
Place it over your reference image and lightly sketch the outlines of the shapes.
This method allows you to piece together different elements smoothly.
If you’re feeling creative, try freehanding your design.
Just let your pencil flow and see where it takes you.
Remember, it doesn’t have to be perfect at this stage.
Choosing the right size is important.
If you plan to use an embroidery hoop, make your sketch about an inch larger than your hoop size.
Once your initial sketch is in place, refine it.
Adjust any details or shapes that need improvement.
This step can save you time later in the digitizing process.
Your sketch serves as a foundation.
It will guide you as you move into the more technical aspects of creating your custom embroidery design.
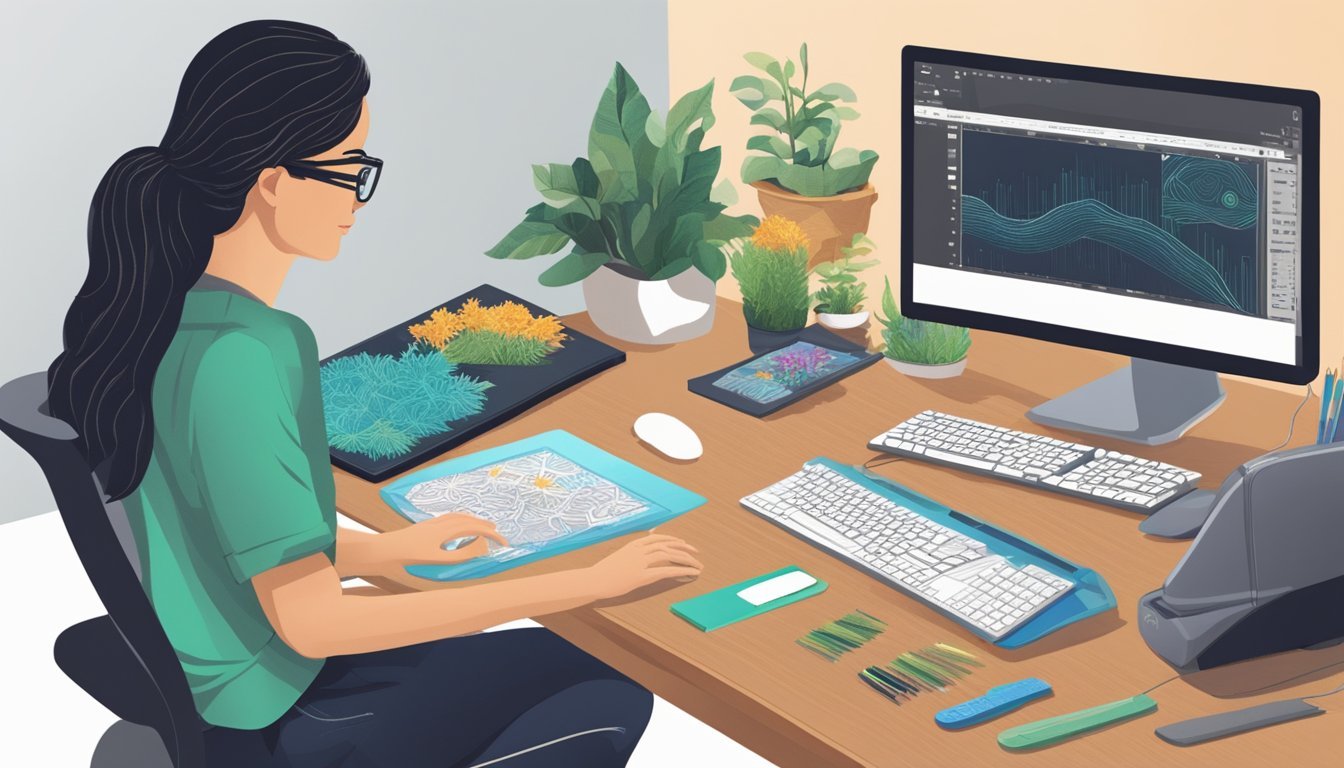
4) Digitize Your Design
Now that you have your design ready, it’s time to digitize it.
This is where you convert your creative idea into a digital format your embroidery machine can understand.
Start by opening your embroidery software.
Popular options include Wilcom and Pulse Ambassador.
Import your artwork using the ‘Insert Artwork’ feature.
This will give you a blank canvas to start working on.
Next, adjust the size of your design.
Make sure it fits within your machine’s embroidery area.
Resizing is important, as it can influence stitch density.
After setting the size, begin digitizing your design.
Outline the shapes and add stitching details, focusing on how the fabric will respond.
You can modify stitch direction to give your design more depth.
Don’t forget to add textures and details! Using different stitch types helps your design stand out.
Once everything looks good, save your file in a format compatible with your embroidery machine.
Now you’re ready to bring your custom design to life!
Choose the Right Threads
Selecting the right thread is key to a successful embroidery project.
It impacts both the look and durability of your design.
First, consider the material.
Popular choices include cotton, polyester, and rayon.
Cotton is soft and easy to work with, while polyester is more durable and resistant to fading.
Thread weight also matters.
Lighter threads like 40-weight work well for fine details, while heavier threads are better for bold designs.
Always check your machine’s specifications to ensure compatibility.
Next, think about color.
The right shades can make your design pop.
Look for threads that match or complement the fabric you’re using.
Don’t forget about tension and density.
The thread you choose can affect how your stitches sit on the fabric.
Adjust your machine settings based on your thread choice to avoid puckering or gaps.
Testing your thread on a scrap piece can also be helpful.
This way, you can see how it looks with your design before committing.
Taking these factors into account will help you create beautiful, long-lasting embroidery pieces.
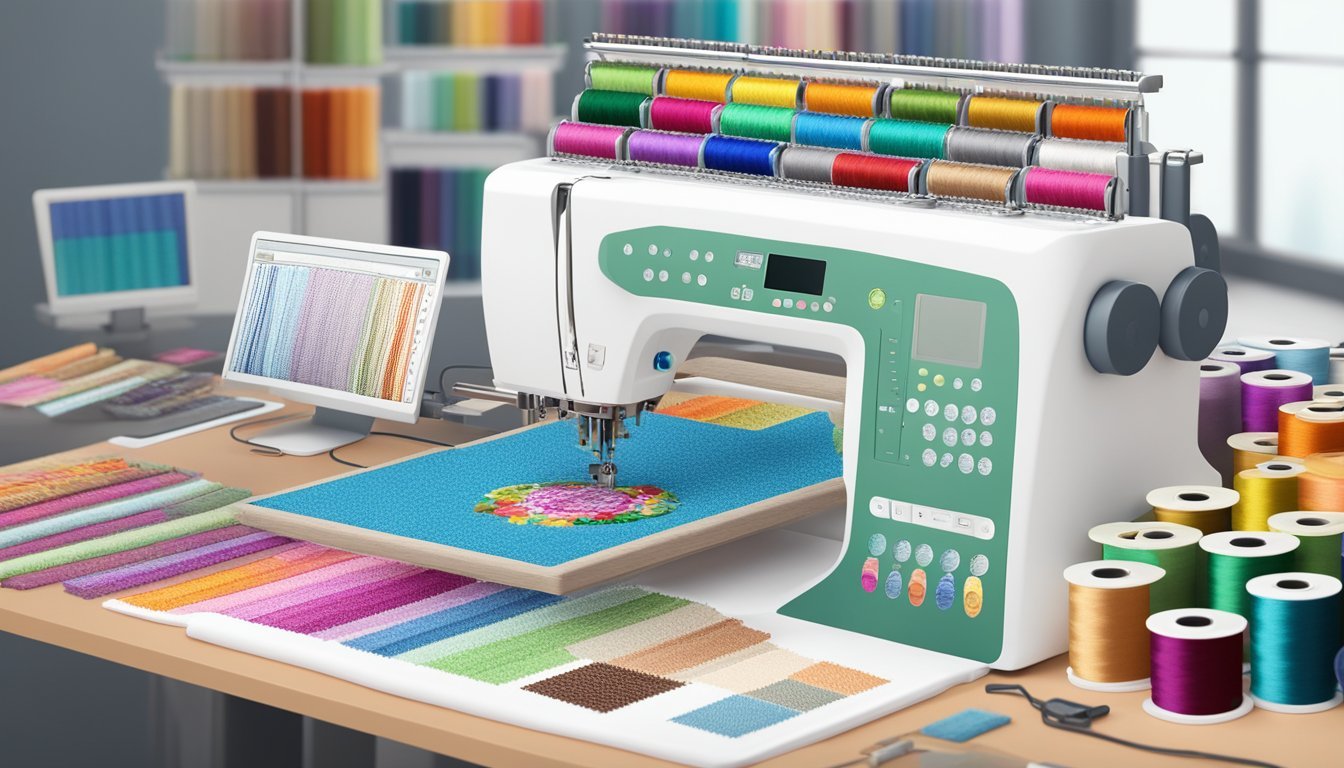
6) Set Up Your Embroidery Machine

Before you start stitching, ensure your embroidery machine is properly set up.
Gather all necessary supplies, including your embroidery thread, stabilizer, and the design you’ve created.
Thread your machine according to the manufacturer’s instructions.
Make sure the needle is appropriate for the fabric you’ll be using.
Typically, a sharp needle works best for woven fabrics, while a ballpoint needle is ideal for knits.
Next, prepare your fabric by adding stabilizer.
This will keep your fabric from puckering during stitching.
Choose a stabilizer based on the fabric weight and the complexity of your design.
Load your design into the embroidery machine.
If your machine connects to a computer, transfer the design file using a USB or direct connection.
For standalone machines, you may need to use a memory card.
Finally, perform a test stitch on a scrap piece of fabric.
This will help you check the design’s placement and ensure everything is functioning correctly before you begin the final project.
Adjust as necessary and get ready to bring your custom embroidery design to life!
7) Test Run on Scrap Fabric

Before you commit to your final fabric, always do a test run on some scrap material.
This step can save you from potential mishaps and improve your final design.
Using fabric similar to your main project allows you to see how your design behaves.
You’ll get insight into how the stitches interact with the material and how colors appear.
Pay attention to the stitch density—too tight can lead to puckering, while too loose might leave gaps.
Adjusting this in your design software can help prevent issues.
A test sew-out can reveal how different fabric types react.
Note how the design holds up and whether the stitches sink properly into the fabric.
This process isn’t just about checking for mistakes; it’s also an opportunity to refine your design.
You might discover new elements you want to modify or enhance before the final run.
8) Adjust for Final Details

Now that you’ve laid the groundwork for your design, it’s time to fine-tune those details.
Look at how your colors interact and make any necessary adjustments to ensure they complement each other.
Watch out for small elements.
If you’ve included text or intricate patterns, ensure they’re legible and visually balanced.
Avoid any text smaller than 5mm, as that can often get lost in the stitching.
Review the stitching order.
Changing the sequence can enhance the overall look and feel of your design.
It might help reduce thread breaks or improve details in complex areas.
Experiment with stitch types for smaller areas.
For example, use satin stitches for delicate lines or letters.
This will help maintain clarity without losing the design’s integrity.
Finally, take a step back and view your design as a whole.
It’s not just about the individual parts, but how they come together.
A few small tweaks can elevate your work and get it ready for the embroidery machine.
9) Embroider with Precision

Precision in embroidery is key to achieving a clean, professional look.
Start by ensuring your design is clearly patterned.
Using thicker lines and avoiding tiny details will help maintain clarity.
Make sure to adjust your hoop tension properly.
If it’s too tight or too loose, you might get puckering or distortion in your design.
Experiment until you find the right balance.
When you embroider, go slow.
Rushing can lead to mistakes and uneven stitches.
Focus on following the design carefully, and don’t hesitate to pause if something doesn’t look right.
Finally, check your materials.
Using high-quality threads and stabilizers can make a big difference in the precision of your work.
They help keep your fabric stable and support detailed stitching, ensuring your design stands out beautifully.
Finishing Touches

Once your embroidery machine has finished stitching, it’s time to add those final touches that make your project shine.
Start by carefully removing stabilizer from the back of your design.
This step helps create a cleaner look.
Next, take a moment to clip any jump threads.
These small threads can detract from your overall design.
Snipping them neatly ensures a polished finish.
Washing your piece is also important.
Hand wash your embroidery in cool, soapy water rather than using a machine.
This gentle treatment helps preserve the fabric and the stitches.
After washing, lay your work flat to dry.
Avoid wringing or twisting the fabric, as this can distort your design.
Once dry, a light press with an iron can smooth out any creases, enhancing your project’s appearance.
Don’t forget to display your work! Framing or placing your embroidery in a hoop adds a nice touch.
This way, you can showcase your creativity and skill in a beautiful way.
Understanding Embroidery Design Basics

When starting your custom embroidery journey, it’s crucial to choose the right fabric and thread.
These elements not only affect the final appearance but also the ease of stitching.
Let’s break down what you need to know.
Fabric Selection
Selecting the right fabric is fundamental for successful embroidery.
Consider the type of embroidery you plan to create.
Common choices include:
- Cotton: Soft and easy to work with, ideal for beginners.
- Linen: Offers a classic look and holds stitches well.
- Canvas: Durable and great for larger designs.
Be mindful of the fabric’s weight.
Heavier fabrics may require thicker threads for adequate visibility.
Also, avoid stretchy materials like knits unless you have experience, as they can distort your design.
Pre-washing fabrics can prevent future shrinkage and ensure your design holds up over time.
Choosing the Right Thread
The thread is just as crucial as your fabric.
Here are a few pointers for selecting the right one:
- Material: Cotton, polyester, or rayon threads are popular. Cotton is versatile, while polyester offers strength and durability.
- Thickness: Thread comes in various weights. A weight of 40 is a standard choice for most designs, but you may opt for 30 for bolder, thicker lines.
- Color: Think about contrast against your fabric. Use color charts for inspiration and to help visualize the final product.
Make sure your thread is compatible with your needle and the fabric selected.
This compatibility ensures smoother stitching and a better outcome for your design.
Tools and Software for Creating Designs

When creating custom embroidery designs, selecting the right tools and software is essential.
You have a variety of options, from advanced digital software to design templates that simplify the process.
Digital Embroidery Software Options
There are several fantastic digital embroidery software options available.
Each caters to different skill levels and needs.
Popular choices include:
-
Inkscape with Ink/Stitch: A powerful open-source vector graphics program. With the Ink/Stitch extension, you can digitize designs for embroidery, giving you creative control over your projects.
-
Wilcom Embroidery Studio: This software allows you to import artwork in various formats and transform it into embroidery designs. It’s user-friendly for both beginners and professionals.
-
BitFontMaker2: If you want to incorporate lettering into your designs, this online tool allows you to create pixel-based fonts. You can use these fonts as patterns, enhancing your custom designs.
These tools combine design creativity with digitizing capabilities, making them invaluable for modern embroiderers.
Using Design Templates
Design templates offer a straightforward way to kickstart your custom embroidery projects.
They can save you time and provide inspiration.
Here’s how you can effectively use them:
-
Search for Free Templates: Various online platforms offer free embroidery templates. Browse libraries to find something that matches your vision.
-
Modify Existing Designs: Once you have a template, customize it using embroidery software. Add your personal touches, such as colors, text, or additional motifs.
-
Layering Techniques: Experiment with layering different templates to create unique combinations. This can enhance the complexity and visual appeal of your final design.
Utilizing templates streamlines the design process and can boost your confidence as you create custom pieces.


