

Adding unique patterns to your paintings can transform a simple art piece into a stunning focal point. With stencils, you have the power to create intricate designs effortlessly, making your artwork stand out in any room.
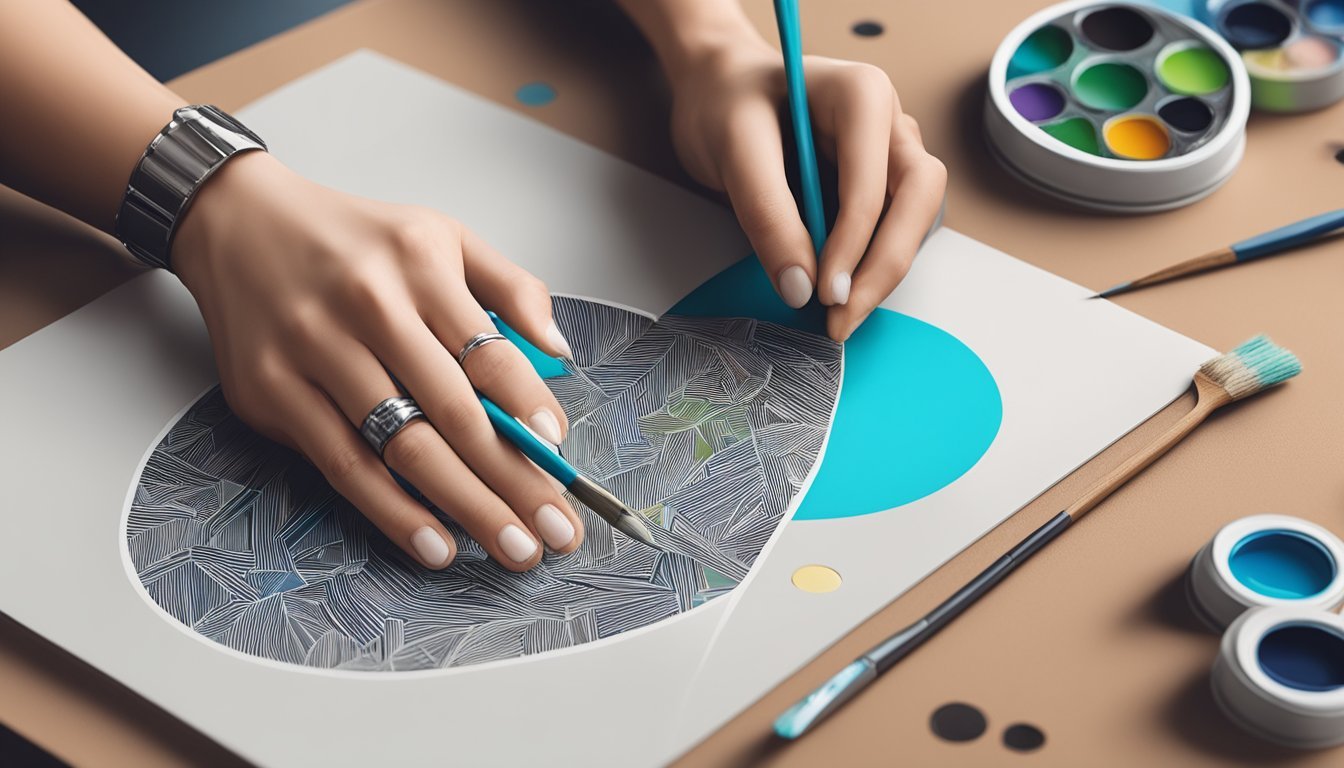
Whether you’re a beginner or an experienced painter, stencils offer endless possibilities for creativity.
You can easily customize your work, adding personal touches that reflect your style.
Explore Geometric Shapes
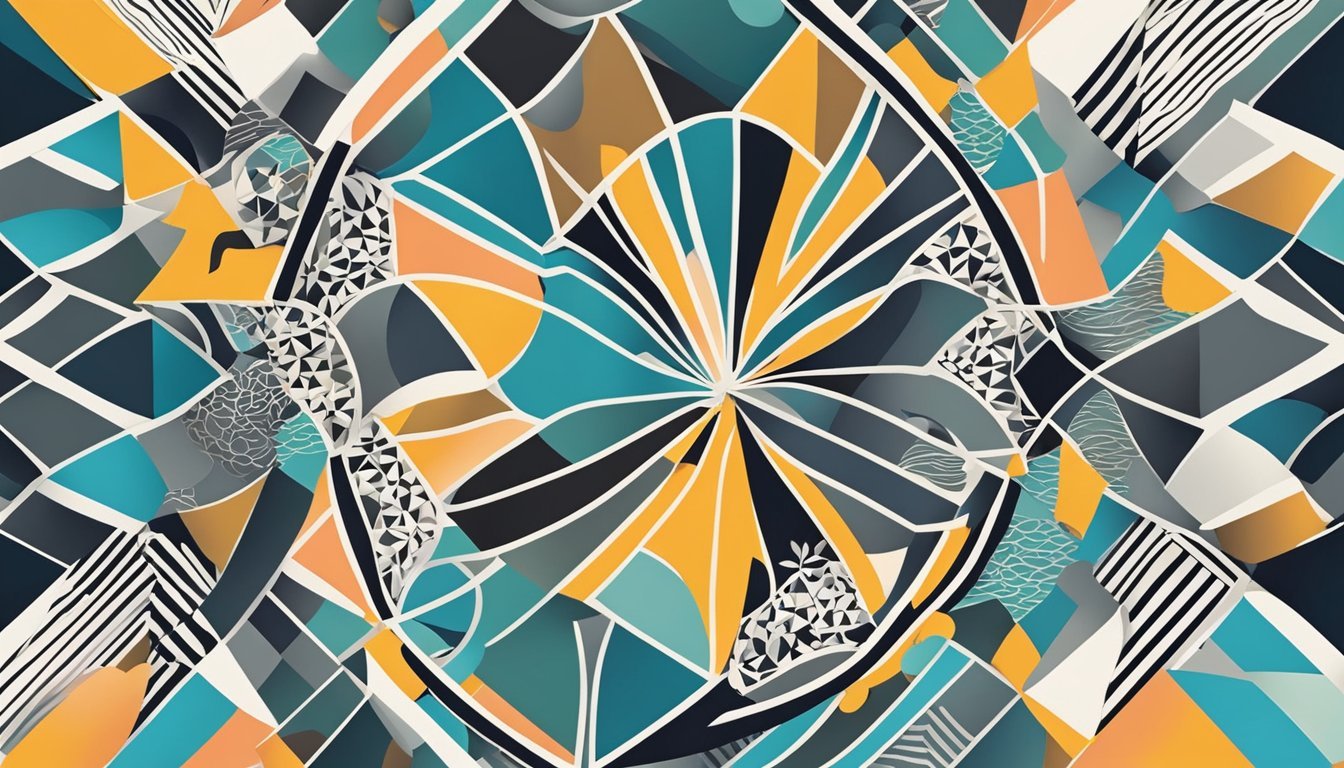
Geometric shapes can add a clean, modern edge to your paintings.
They are versatile and easy to work with, making them perfect for stenciling.
Start by considering basic shapes like circles, triangles, and squares.
You can create a strong visual impact by repeating these elements throughout your piece.
Try layering different shapes to build complexity.
Use various colors and sizes to make your work more dynamic and interesting.
Experiment with patterns that mimic nature or architecture.
You might find inspiration in the lines of a building or the curves of a leaf.
To keep things exciting, play with symmetry and asymmetry.
Both can evoke different feelings and guide the viewer’s eye across your artwork.
Using contrasting colors can help your geometric shapes stand out even more.
This enhances the visual impact and draws attention to specific areas of your painting.
Try Botanical Designs
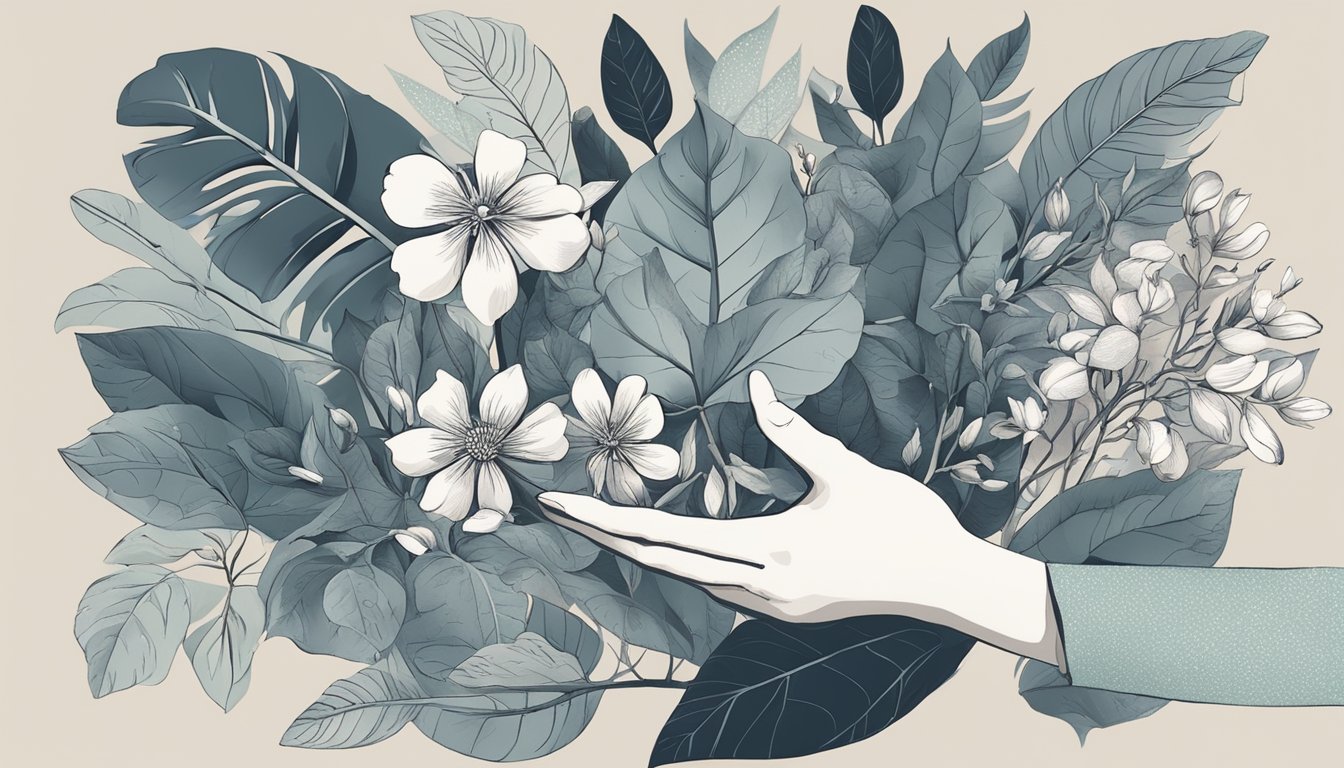
Using botanical designs can elevate your paintings in a fresh way.
Stencils featuring leaves, flowers, and other plant forms add a natural touch to your artwork.
You can buy ready-made botanical stencils or even create your own.
Look for patterns that inspire you, like tropical leaves or delicate petals.
This way, you can customize your work to fit your style.
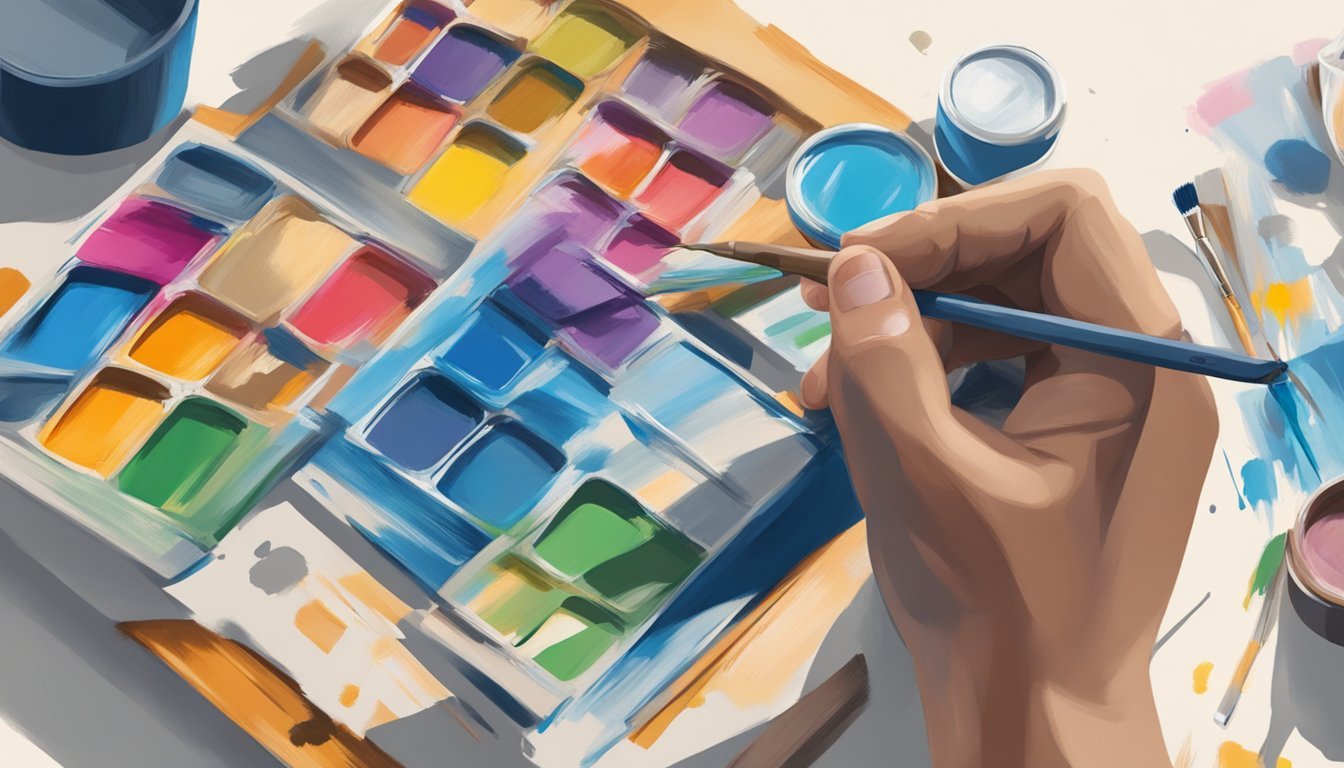
When applying the stencils, choose colors that complement your painting.
A mix of greens and earthy tones often works well, but don’t shy away from bold contrasts.
You can even experiment with layering different designs for a unique effect.
Take your time when using stencils.
Position them carefully to avoid smudges.
Using a fine brush or sponge can help you achieve clean lines, ensuring that the details of the botanical designs shine through.
Adding these elements creates a beautiful connection between your painting and nature.
So grab some stencils and let your creativity bloom!
Incorporate Vintage Patterns
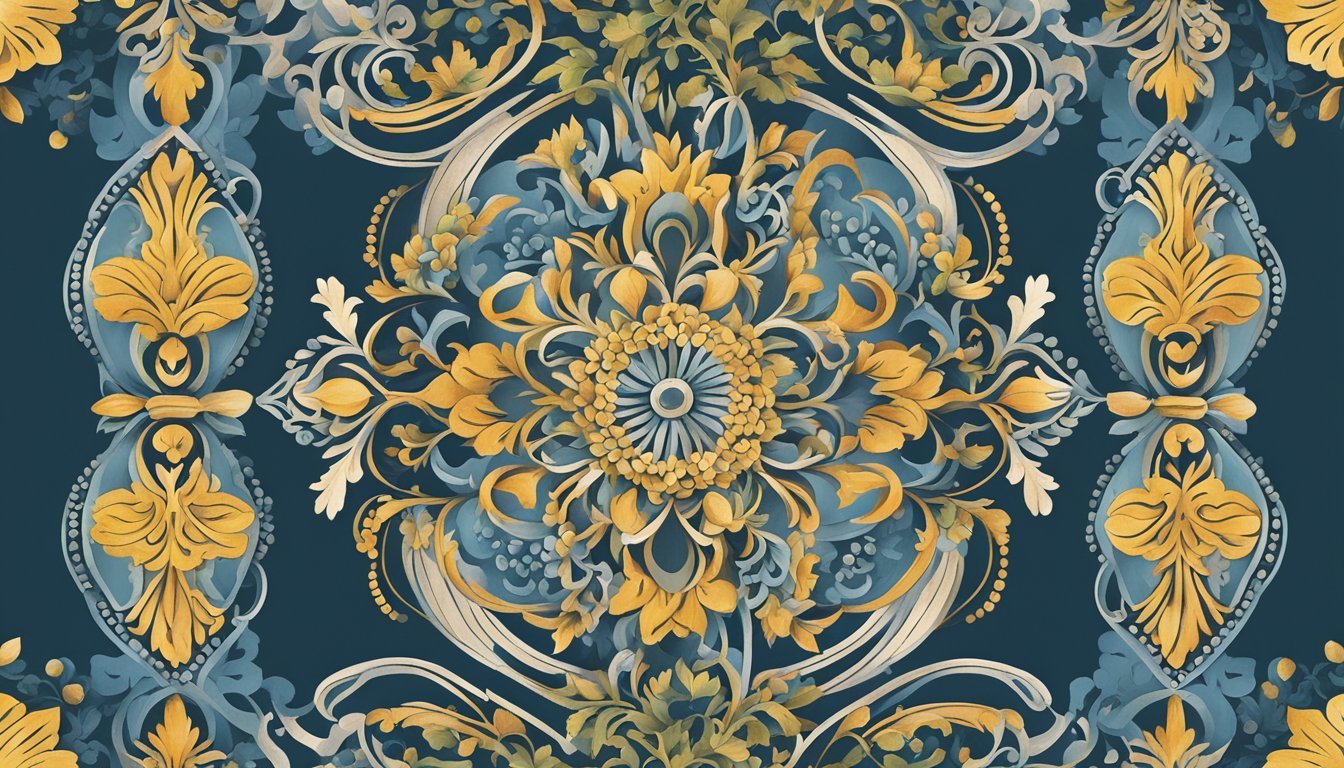
Adding vintage patterns to your paintings can really elevate your artwork.
These patterns bring charm and character, making your pieces stand out.
To start, look for stencils that feature classic vintage designs.
Think floral motifs, damasks, or geometric shapes inspired by past eras.
You can easily find these stencils online or at local craft stores.
Use these stencils to create layers in your painting.
A light wash of color under the vintage pattern adds depth and visual interest.
Don’t hesitate to mix different patterns.
Combining various vintage stencils can give your artwork a unique and eclectic feel.
Just make sure that the colors complement each other.
Experiment with positioning too.
Placing a vintage pattern in a corner or along the edges can create a delightful frame for your main subject.
By incorporating vintage patterns, you invite a sense of history into your work, making each piece not just art, but a conversation starter.
Have fun with it, and let your creativity flow!
Use Intricate Mandalas
Incorporating mandalas into your paintings can elevate your artwork.
These intricate designs offer a lovely way to add depth and detail.
Start by choosing a stencil that features a mandala pattern.
You can find various designs online or create your own.
Ensure the stencil suits the style of your painting.
Position the stencil on your canvas and secure it to prevent movement.
Use a sponge or brush to apply paint over the stencil.
This technique helps create clean edges.
Consider layering different mandalas for a more complex look.
Use contrasting colors for each layer to make your art pop.
You can also experiment with different sizes of stencils to add visual interest.
Adding mandalas can enhance the overall feel of your artwork.
They can serve as a focal point or complement existing patterns.
With some practice, you’ll find exciting ways to integrate them into your creative projects.
Enjoy the process and let your creativity flow!
Experiment with Tribal Motifs
Exploring tribal motifs can add a unique flair to your paintings.
These designs often feature bold patterns and intricate details, reflecting rich cultural heritage.
Start by researching different tribal art forms, like African or Indigenous designs.
Understanding their meanings can inspire meaningful choices in your work.
Choose a few key motifs that resonate with you.
This might be geometric shapes or nature-inspired elements, often found in tribal art.
Use stencils to create these patterns on your canvas.
This technique allows you to replicate the intricate designs with precision, making it easier to incorporate them seamlessly into your artwork.
Don’t hesitate to mix and match different motifs.
Layering various patterns can create a visually dynamic effect, making your piece stand out.
As you work, pay attention to color.
Tribal art often uses vibrant, contrasting colors that can bring your stenciled motifs to life.
Experimentation is key; allow yourself the freedom to play with designs.
Let the beauty of tribal art enhance your unique style.
Stencil Abstract Art
Creating abstract art with stencils can be a fun and rewarding experience.
It allows you to incorporate unique shapes and patterns while maintaining your creative freedom.
Start by selecting your stencils.
You can use pre-made designs or create custom stencils that resonate with your style.
This choice can offer a distinctive flair to your artwork.
When applying stencils, try positioning them off-center.
This adds a dynamic touch and avoids a rigid look.
Layering different stencils can also create depth, allowing colors and patterns to interact in unexpected ways.
Experiment with various paint techniques.
Using multiple shades in a single stencil can produce rich, textured effects.
Don’t be afraid to blend colors or add splatter for an extra layer of interest.
Remember, stenciling is all about exploration.
There are no strict rules, so trust your instincts.
Have fun while adding your personal touch to each piece.
7) Mix Animal Prints

Mixing animal prints can add a fun and dynamic element to your paintings.
Think about incorporating patterns like leopard spots, zebra stripes, or snake scales.
Each of these prints has its own unique style
8) Include Urban Graffiti Patterns
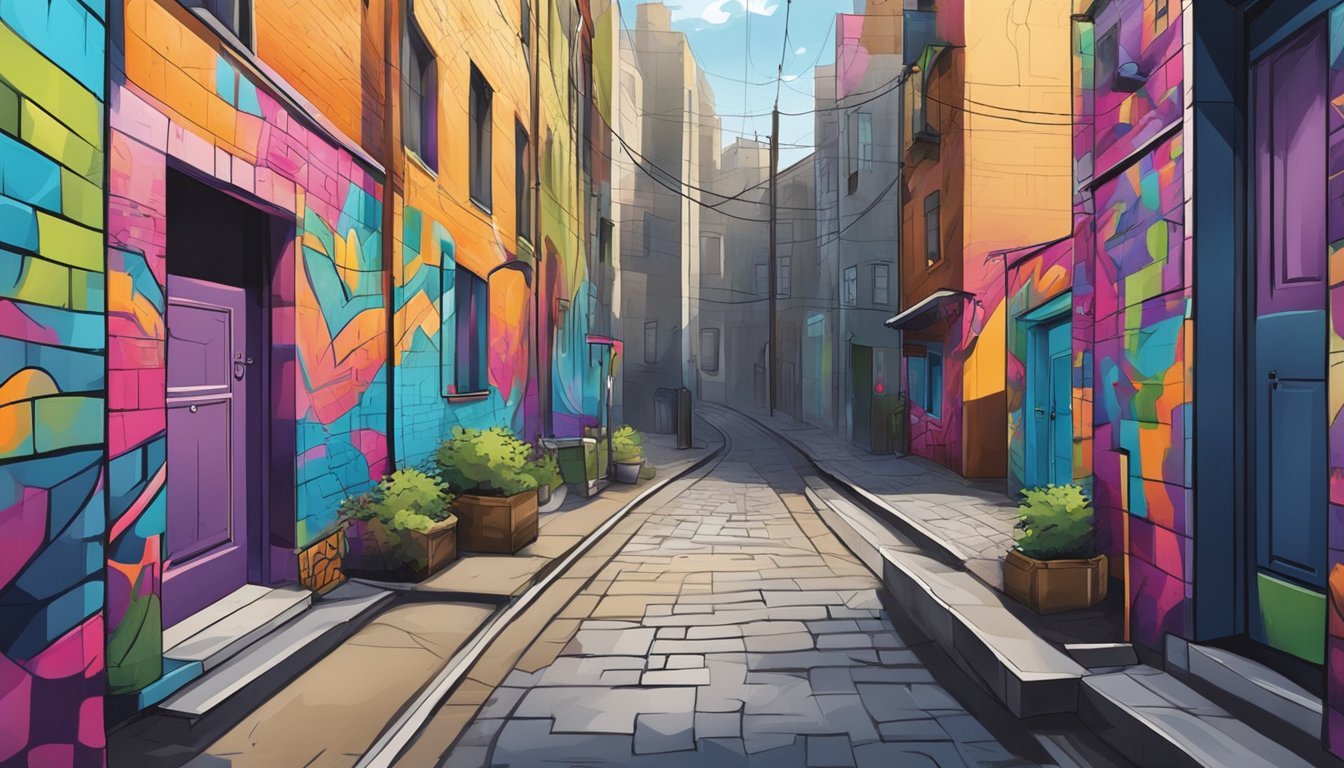
Incorporating urban graffiti patterns into your paintings can add a vibrant and edgy touch.
These patterns can help convey a sense of movement and energy, which is perfect for modern art.
Start by choosing stencil designs inspired by popular graffiti styles.
You can create geometric shapes, bold lines, or even abstract forms.
The key is to capture the essence of street art.
You might also mix different patterns to create depth and interest.
Layering stencils can lead to unique outcomes that aren’t easily replicated.
This technique allows your creativity to shine through.
Don’t forget to experiment with colors.
Bright and contrasting shades typical of graffiti can make your pieces pop.
Keep it playful and spontaneous, just like street art itself.
Once you’ve selected your patterns and colors, it’s time to apply them.
Ensure your surface is clean for the best results.
Following the steps for applying stencils can help you achieve a professional look.
Urban graffiti patterns can transform any painting into a lively expression of your artistic voice.
Enjoy the process, and let your art reflect your unique style.
9) Craft Whimsical Doodles
Doodling can add a playful touch to your paintings.
Start by picking a theme, such as flowers, animals, or abstract shapes.
Let your imagination run wild as you sketch simple designs.
Use stencils if you want more consistency in your patterns.
They can serve as a guide for your doodles, making it easier to repeat designs across your canvas.
You can integrate whimsical elements into your artwork by combining different doodles.
Layer various patterns to create interesting textures and visual dynamics.
This approach allows you to express your unique style while keeping it fun.
Don’t be afraid to experiment with colors as you doodle.
Adding vibrant hues can make your designs pop and enhance the overall look of your painting.
Remember, the goal is to enjoy the process.
Let your creativity flow without worrying about perfection; it’s all about having fun and exploring new ideas!
10) Layer Romantic Florals
Layering floral stencils can transform your paintings into beautiful and dynamic pieces.
Start by choosing a set of floral stencils that appeal to you.
Pick designs that complement each other.
Begin with a lighter color for the background.
This creates depth and makes the flowers pop.
Once that layer is dry, place your first stencil over the area where you want the flowers to appear.
Use a contrasting color to bring the flowers to life.
Be sure to align the stencil carefully.
This might take some practice, but it’s worth it for precision.
After applying the first layer, let it dry completely.
Then, add your second stencil on top, using a different shade to add dimension.
This can create visual interest and make your floral design stand out.
Feel free to experiment with varying colors and placements.
The beauty of layering is that you can create unique combinations that reflect your style.
Don’t hesitate to mix in some leaves or other elements to enhance the floral arrangement.
Selecting the Right Stencil
Finding the perfect stencil can greatly enhance your painting’s appeal.
Focus on the materials you choose and consider customizing designs to make them truly yours.
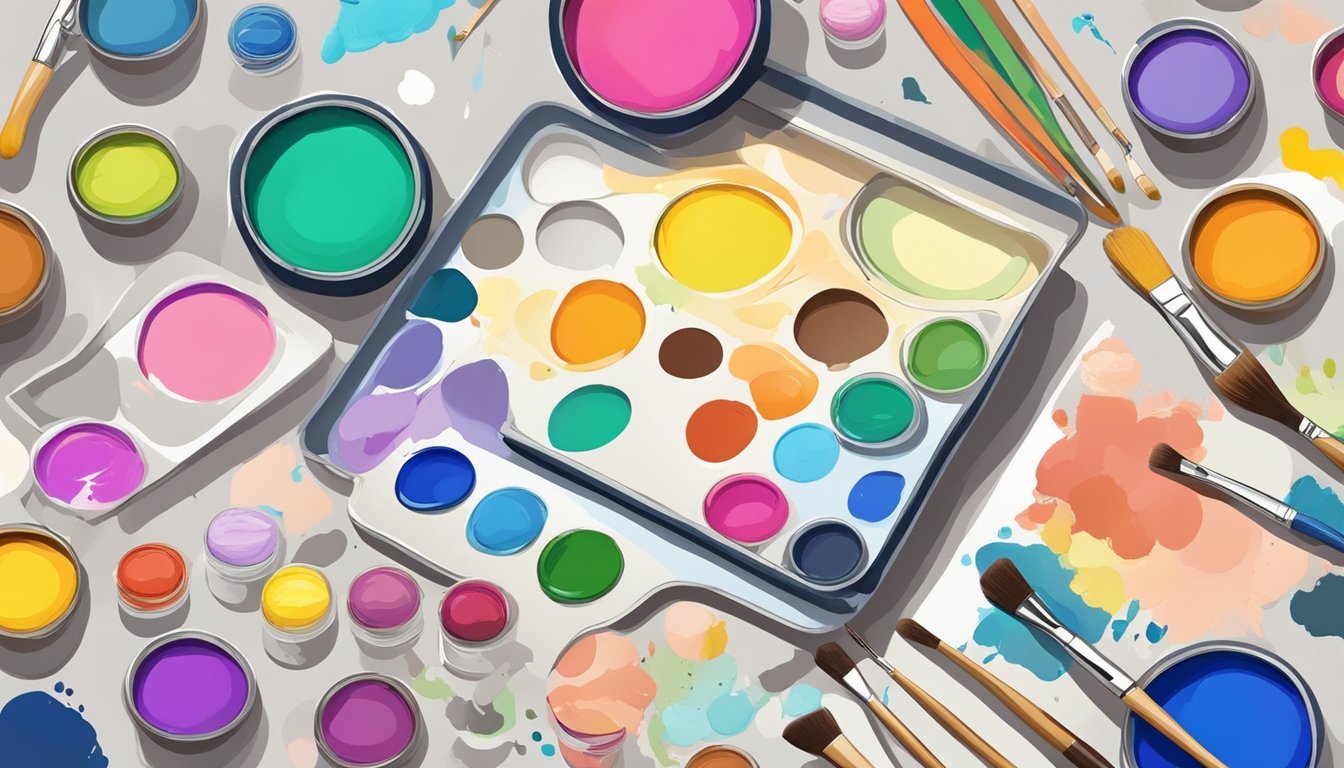
Choosing Materials
When choosing a stencil, consider the material.
Common options include mylar, plastic, and cardstock.
Mylar is durable and reusable, making it ideal for intricate designs.
Meanwhile, plastic stencils are also sturdy but can warp if mishandled.
On the other hand, cardstock, while affordable, may not hold up for extensive use.
Consider how often you’ll use the stencil and the level of detail you need.
For detailed work, mylar or plastic is recommended.
Also, ensure the material can handle your chosen paint type to avoid any issues during application.
Customizing Designs
Creating custom stencils allows you to bring a unique touch to your artwork.
You can either buy blank stencil sheets and craft your own designs or use design software to print personalized stencils.
When customizing, think about your preferred style.
For geometric shapes, keep lines sharp.
For organic patterns, such as florals, softer edges work better.
Be mindful of the scale; adjust sizes based on your canvas or project.
Also, experiment with layering designs.
This adds depth and interest.
Use multiple stencils to create complex patterns that reflect your artistic vision.
Preparing Your Canvas
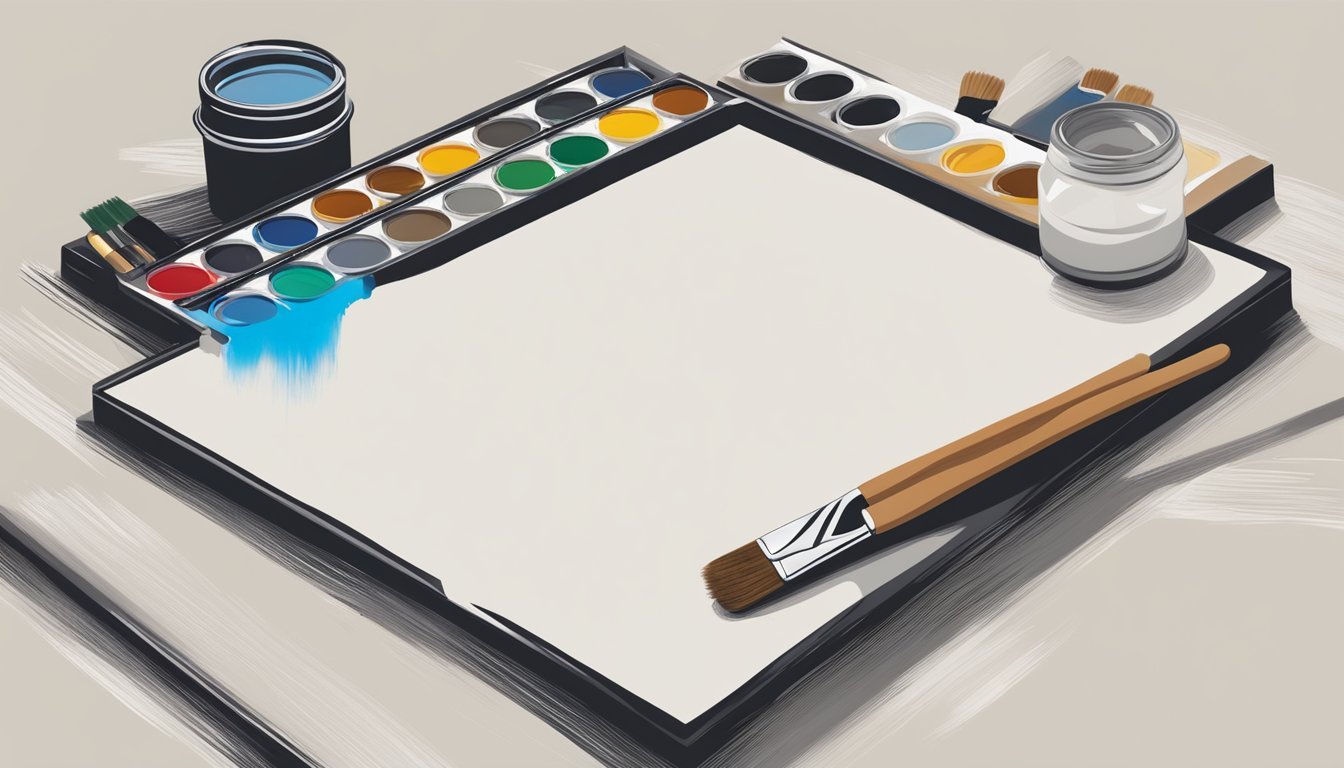
Preparing Your Workspace
Getting your canvas ready is a crucial first step for creating unique patterns with stencils.
This section covers priming techniques and tips for setting up your workspace, ensuring a smooth painting experience.
Priming Techniques
Before applying any paint, priming your canvas helps improve paint adherence and enhances color vibrancy.
Here are a few priming options:
- Gesso: A common primer for canvas, gesso provides a smooth texture. It can be applied with a brush or roller and usually requires two coats.
- DIY Mix: You can create a mixture of white paint and water for a less expensive alternative. This method is thinner, but effective for preparing the surface.
- Buffing: After priming, lightly sand the surface once dry to ensure it feels smooth. This process helps make your subsequent layers of paint even easier to work with.
Make sure to allow each layer to dry completely before proceeding.
This ensures proper adhesion for the next steps in your artwork.
Setting Up Workspace
A well-organized workspace can make all the difference.
Here are essential tips to create an efficient area for your canvas work:
-
Choose the Right Area: Find a spot with good lighting, preferably near windows. Natural light helps you see colors accurately.
-
Gather Your Tools: Keep your brushes, palette, and a palette knife within reach. This minimizes downtime between applying layers.
-
Lay Down a Drop Cloth: Protect your surfaces and keep your area tidy. This is especially important when using stencils, as paint can accidentally splatter.
-
Have Water and Rags on Hand: Make sure to clean your tools quickly to avoid paint drying on them. Rags are useful for wiping excess paint off your stencils, too.