

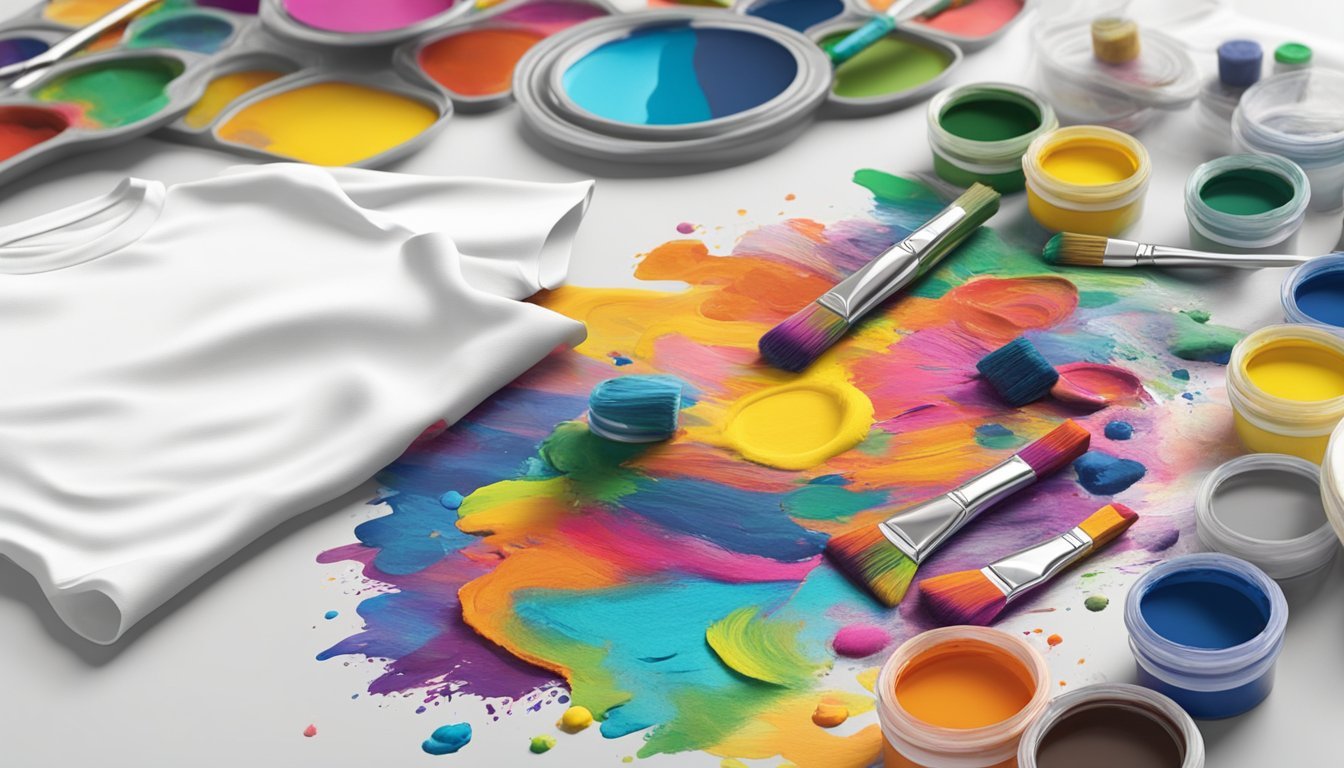
Customizing your clothing with fabric paints is a fun and creative way to express your personal style. Fabric paints offer endless possibilities for creativity.
Whether you want to refresh an old item or add a unique touch to new pieces, fabric paints can help you achieve your vision. You can create everything from intricate designs to simple patterns that reflect your personality.
Getting started with fabric paints is easier than you might think.
With a few supplies and some basic techniques, you can turn plain garments into eye-catching fashion statements.
The right approach can make all the difference, so prepare to unleash your creativity and transform your wardrobe!
Pick the Right Fabric Paint
Choosing the right fabric paint is key to your project.
Fabric paints come in various types, including acrylic, oil-based, and fabric dye.
Each type has its own properties, so it’s important to consider what you’re working on.
If you’re customizing clothing, acrylic fabric paint is often a solid choice.
It adheres well and offers vibrant colors.
Make sure to look for paints that are labeled as specifically designed for fabric.
Oil-based paints can work too, but they tend to be less flexible, which might not be ideal for clothing that will be washed or worn frequently.
When selecting paint, check if it’s machine washable.
This way, your designs stay intact even after several washes.
Finally, consider getting a set that includes different colors for more creativity.
2) Pre-Wash Your Clothes
Before you start painting, it’s a good idea to pre-wash your clothes.
This step removes any residues or finishes that could affect how the paint adheres.
Use a mild detergent to wash your fabric.
Avoid using fabric softeners, as they can create a barrier for the paint.
After washing, let your clothes dry completely.
This ensures the fibers are ready to absorb the paint well.
If you’re working with new clothes, pre-washing also helps prevent shrinkage later on.
You want your design to stay intact after the first wash.
Make sure to iron your fabric if it’s wrinkled.
Smooth fabric will make it easier to paint and get cleaner lines.
3) Test on Scrap Fabric First
Before you start painting your clothing, grab some scrap fabric.
Testing your fabric paint on a small piece is essential.
It helps you understand how the paint flows and dries.
Different fabrics absorb paint differently.
By using a scrap, you can see how the colors look once dried.
This step can save you from surprises later on.
If you’re working with darker fabrics, testing is even more crucial.
Some paints may not show up well on dark backgrounds.
Make sure your chosen paint is opaque if that’s the case.
You might even want to mix your colors.
Always try the mixed shades on a scrap piece before applying them to your clothing.
This way, you’ll know exactly how your final design will turn out.
4) Use Stencils for Precision
Using stencils can really level up your fabric painting game.
They help you create sharp, clean designs without the mess of freehand painting.
Start by choosing your stencil and positioning it on the fabric.
Make sure it’s flat to prevent paint from seeping underneath.
You can use tape to hold it in place if needed.
When you’re ready to paint, dip your brush or sponge into the fabric paint.
Remove any excess to avoid over-saturation.
It’s all about that light application for better control.
Dab or gently brush the paint onto the stencil, starting from the edges and working inward.
This technique helps to keep your lines neat and precise.
After applying the paint, carefully lift the stencil straight up.
Give the design some time to dry, and don’t forget to heat-set it if required.
Using stencils not only boosts your confidence but also gives your clothing a professional touch.
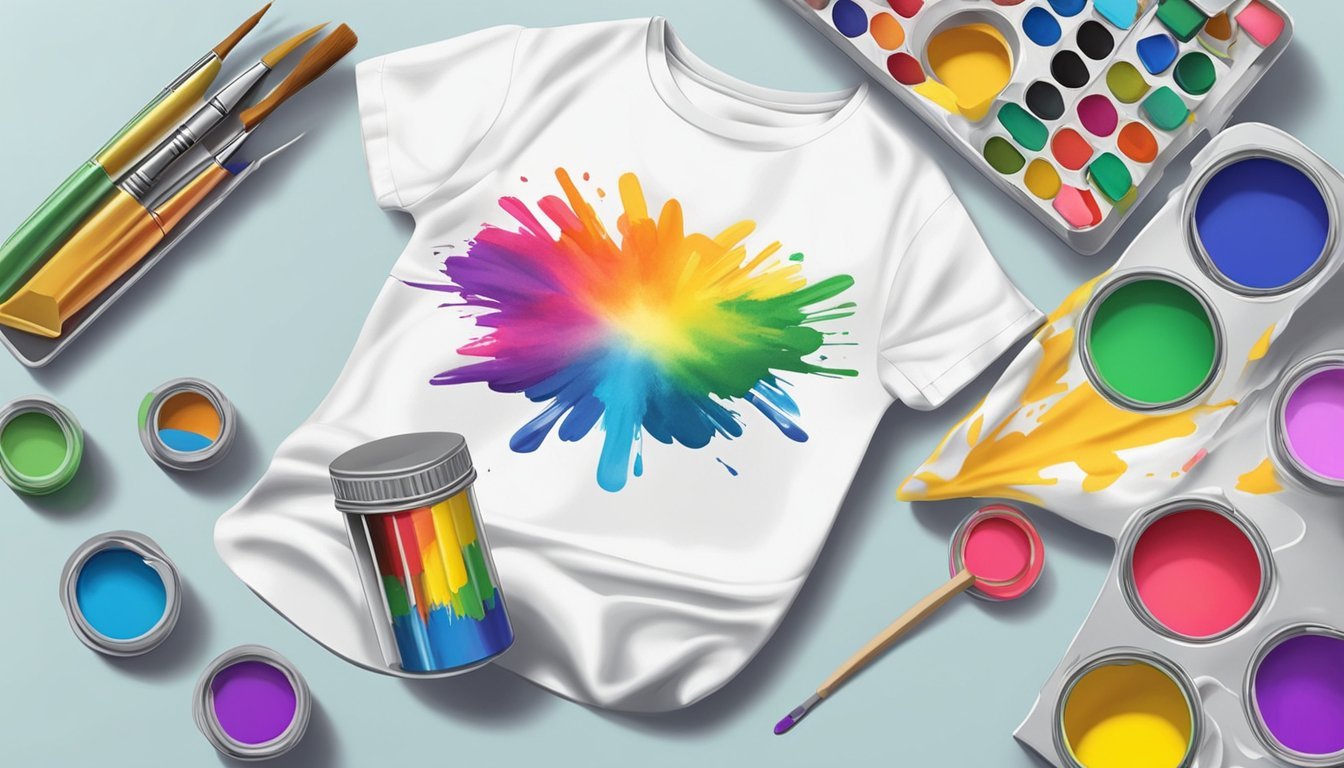
5) Combine Colors Creatively
Mixing colors can bring your fabric art to life.
Start by choosing a color palette that resonates with you.
Think about how different hues can complement or contrast with each other.
When blending paints, use a palette to experiment before applying them to your fabric.
You can create new shades by mixing two or more colors.
Just remember that the final shade may look different once it dries.
Don’t hesitate to layer colors.
Applying one color and letting it dry before adding another can give depth and dimension to your design.
This technique works well with transparent or semi-transparent paints.
Consider using fabric paint additives like Airfix to enhance your colors and make them permanent.
This is particularly useful when working with different types of fabric paints.
Try out techniques like ombre or tie-dye for a fun color transition effect.
These methods can make your clothing unique and visually appealing.
6) Try a Sponge Technique
Using a sponge is a fun way to apply fabric paint.
It creates a unique texture that’s hard to achieve with a brush.
Start by selecting a natural or synthetic sponge, depending on the effect you want.
Natural sponges tend to give a more organic look, while synthetic ones can create sharper lines.
Dip the sponge into your chosen paint color, making sure it’s evenly coated.
Lightly dab it onto the fabric, using a gentle pressing motion.
You can layer different colors for more depth.
If you want to create a gradient effect, blend colors while the paint is still wet.
This allows the hues to merge smoothly.
Keep a paper towel handy for any excess paint on the sponge.
It’s essential to test your technique on a scrap piece of fabric before committing to your design.
Once you’ve finished painting, let the fabric dry completely.
To make your design last, heat-set the paint according to the manufacturer’s instructions.
This technique is perfect for personalizing t-shirts, totes, or even home décor items.
Enjoy the creative process!
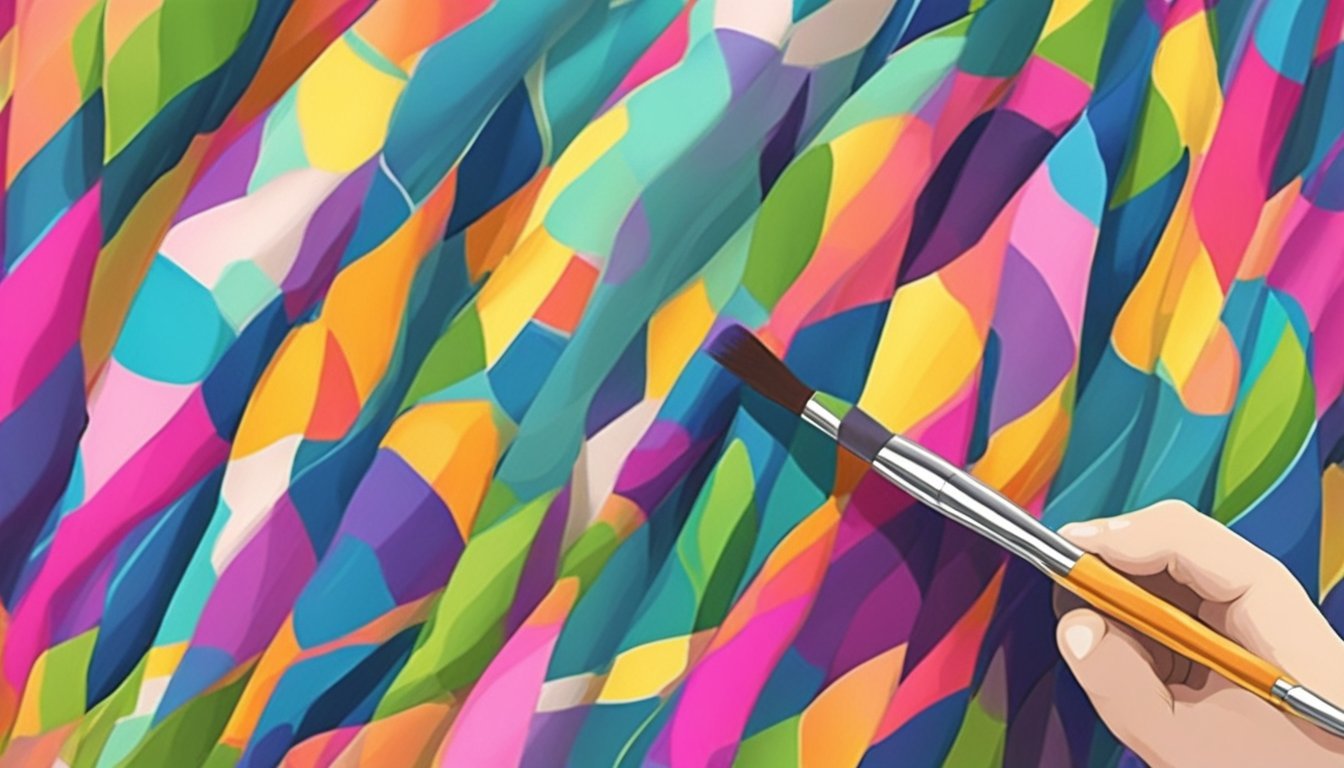
7) Employ Freehand Painting
Freehand painting gives you the freedom to express your creativity on fabric.
Grab your fabric paint and a brush, and let your imagination guide you.
Start by sketching your design lightly with a pencil on the fabric.
This will help you know where to paint and can make the process smoother.
Choose colors that appeal to you and think about layering techniques.
You can create shades or blend colors for a unique effect.
Take your time and enjoy each stroke.
If you make a mistake, don’t worry — fabric paint is forgiving.
You can go over areas to fix them or incorporate imperfections into your art.
Protect your working surface with newspapers or cardboard to avoid unwanted spills.
Once finished, allow the paint to dry before wearing or washing your item.
Freehand painting is all about having fun and making something that truly reflects your style.
So, relax, get inspired, and enjoy the process!
8) Use Masking Tape for Clean Lines
Using masking tape is a helpful trick to achieve sharp, clean lines when customizing your clothing with fabric paint.
Start by applying the tape along the edges where you want the color to end.
Press it down firmly to prevent any paint from seeping underneath.
Before you start painting, consider “bleeding” your base color along the edge of the tape.
This involves painting a thin line of the same color next to the tape.
This seals the edge and minimizes any unwanted bleeding.
Once you’ve applied the fabric paint, carefully remove the tape while the paint is still wet.
Pull it away at a 45-degree angle to avoid smearing.
If you’re looking for more intricate designs, you can create patterns using different types of tape.
This method not only keeps your lines tidy but also lets you experiment with various shapes.
Remember, patience is key.
Taking your time during the taping and painting process will result in a cleaner, more professional-looking finish.
Enjoy your crafting!
9) Seal Your Designs
After painting your clothing, sealing your designs is a must.
This step ensures your artwork stays vibrant and lasts longer through washes.
A popular method is using an iron.
Place a piece of parchment paper or a thin cloth over your painted area.
Set your iron to medium heat and press down for 3-5 minutes, moving the iron continuously to prevent scorching.
You can also use a clear acrylic varnish to seal your designs.
Once the paint dries completely, brush on a thin layer of varnish, allowing it to dry as instructed.
This adds an extra layer of protection against fading and wear.
Always check the care instructions for both the paint and sealant.
Following these guidelines helps maintain the quality of your custom clothing, so you can enjoy your creations for a long time.
Heat Set for Durability
Once you’ve finished painting your design, setting the fabric paint is a key step.
This process ensures your artwork remains vibrant and lasts longer.
Start by letting your painted item dry completely, which usually takes about 24 hours.
Check the paint’s instructions for specific drying times, as they can differ between brands.
After drying, it’s time to heat set the paint.
To do this, use an iron set to the temperature recommended by the fabric paint manufacturer.
Use a medium setting without steam for best results.
Place a piece of cloth over the painted area and gently press the iron down for about 3-5 minutes.
This helps the paint bond effectively with the fabric fibers.
Alternatively, a heat press machine can also be used for more professional results.
Just follow the manufacturer’s guidelines for settings and times, and you’re good to go!
Heat setting not only improves durability but also enhances the overall look of your customized clothing.
By taking this extra step, your designs can withstand regular wear and washing.
Choosing the Right Fabric Paints
Selecting the right fabric paint is essential for achieving the desired look and durability of your customizations.
With various types of fabric paints available, it’s important to understand their differences and how they can influence your project.
Understanding Different Types of Paints
Fabric paints come in a few common types, each suited for specific projects.
-
Acrylic Fabric Paint: This is one of the most popular options. It adheres well to fabric and is available in a range of vibrant colors. Once heat-set, it becomes durable and can withstand washing.
-
Oil-Based Paints: These offer a glossy finish and are great for detailing. However, they require more drying time and can be less flexible when applied on fabrics.
-
Fabric Dye: If you’re looking for a full fabric transformation, dyeing can be an excellent choice. It saturates the fabric fibers and provides vibrant long-lasting color.
Choosing the right type depends on your project needs, the fabric you’re using, and the finish you want to achieve.
Tips for Selecting Colors
When selecting colors, consider the following tips to enhance your design:
-
Color Theory: Think about complementary colors for a balanced design. Using a color wheel can help you see which colors look good together.
-
Fabric Color: Ensure your paint color contrasts well with the fabric’s base color. Light colors work well on dark fabrics, and darker colors can pop on light fabrics.
-
Test Swatches: Always do a test on a scrap piece of fabric. This helps you see how the colors appear once dried and heat-set.
-
Mixing Colors: Don’t hesitate to mix colors for unique shades. Just remember that not all paints mix well, so check compatibility first.
These tips will help you pick colors that not only look great but also last through many washes.
Preparing Your Clothing for Painting

Before you start painting, it’s essential to prepare your clothing to achieve the best results.
Proper preparation ensures that the paint adheres well and that the final design looks sharp and vibrant.
Here’s how to get your canvas ready.
Pre-Wash and Iron
Start by washing your clothing to remove any dirt, oils, or finishes that might interfere with paint adhesion.
Use a mild detergent and avoid fabric softeners.
Make sure to let your clothing dry completely.
Next, iron your fabric.
This step is crucial since it smooths out wrinkles, giving you a flat surface to work on.
Set your iron to the appropriate heat setting for the fabric type, and don’t forget to place a thin cloth over the fabric to protect it from direct heat.
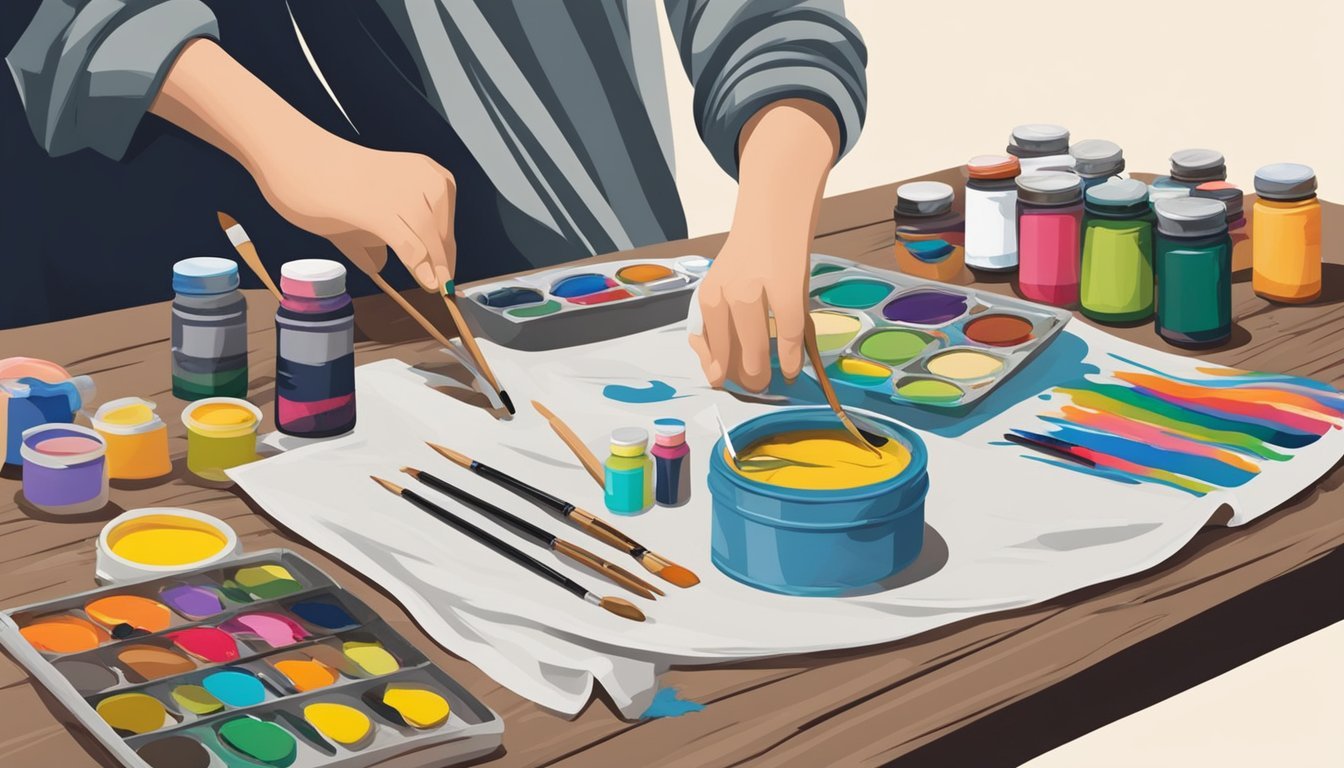
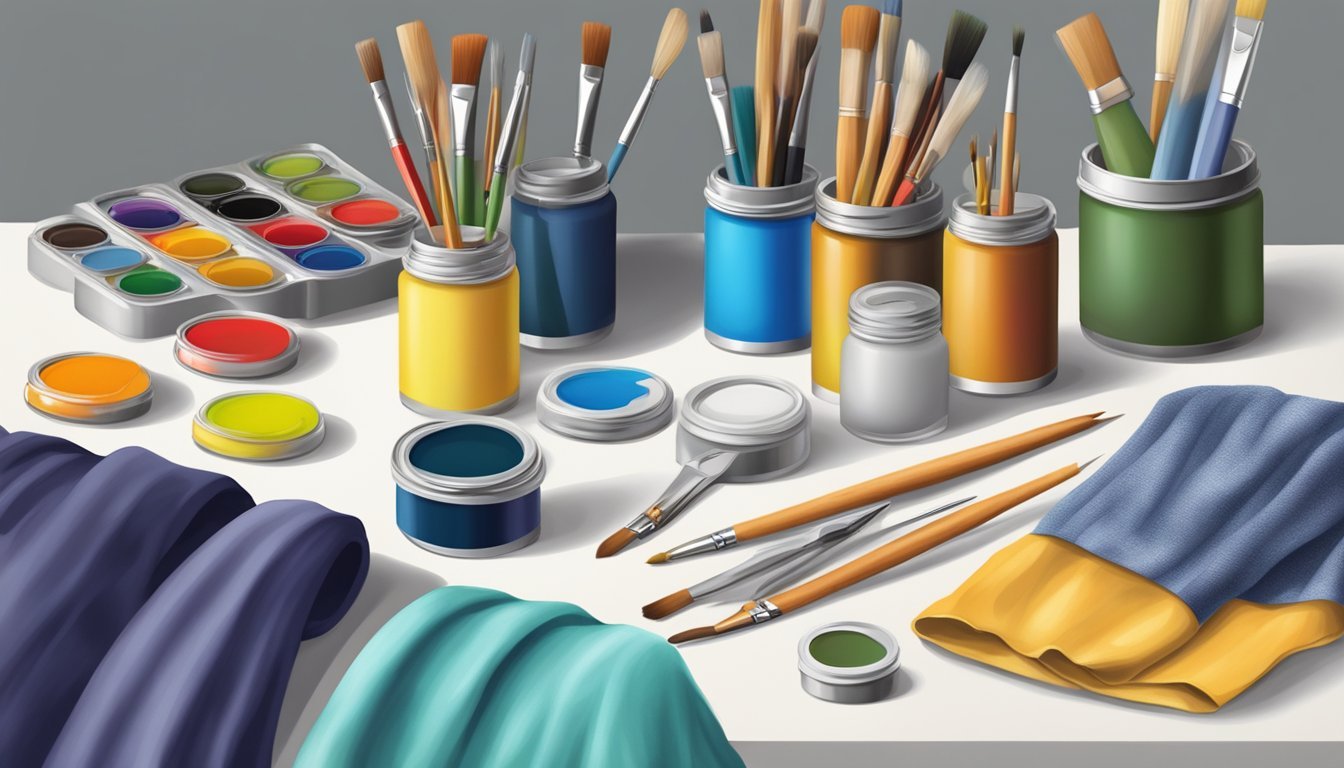
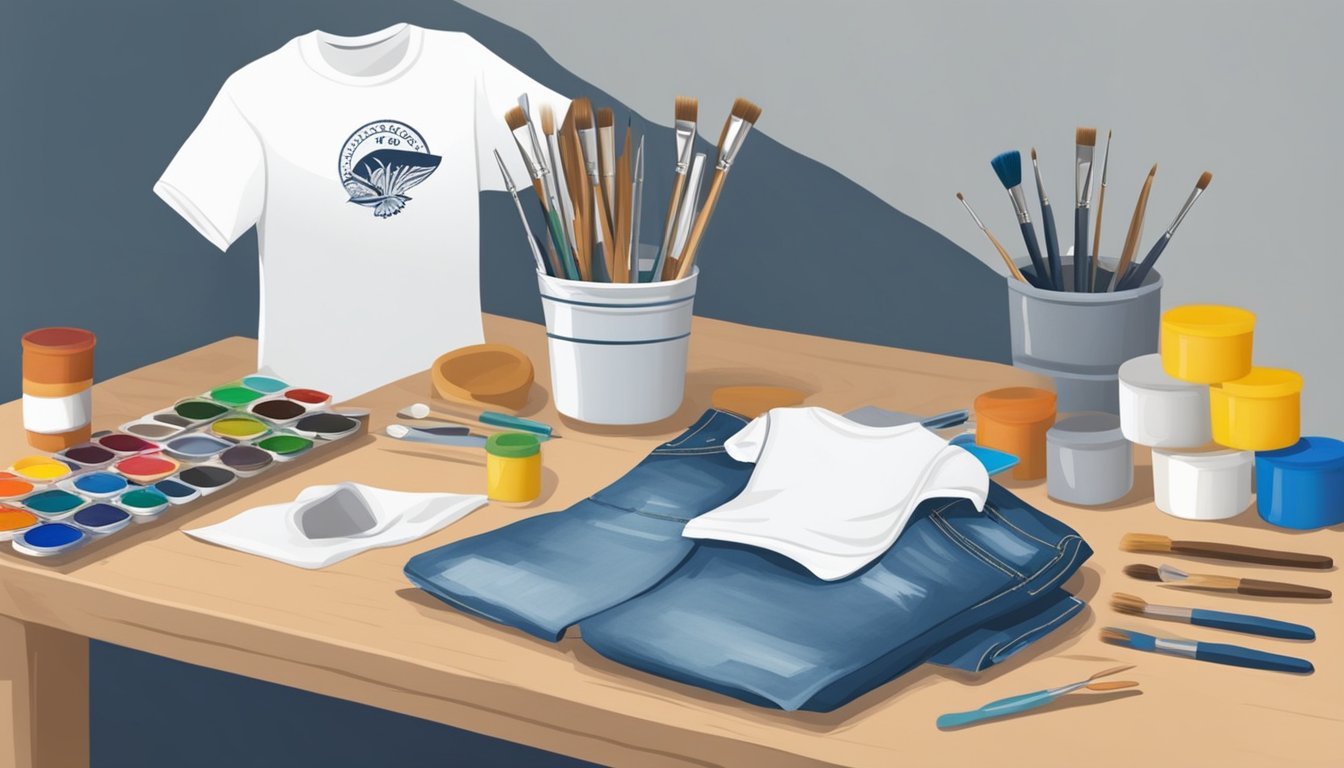
Setting Up Your Workspace
Select a clean, flat surface for your project.
You want a workspace that’s well-lit and free from clutter to maximize focus and convenience.
Protect your surface with a plastic sheet or old newspaper to catch any paint spills.
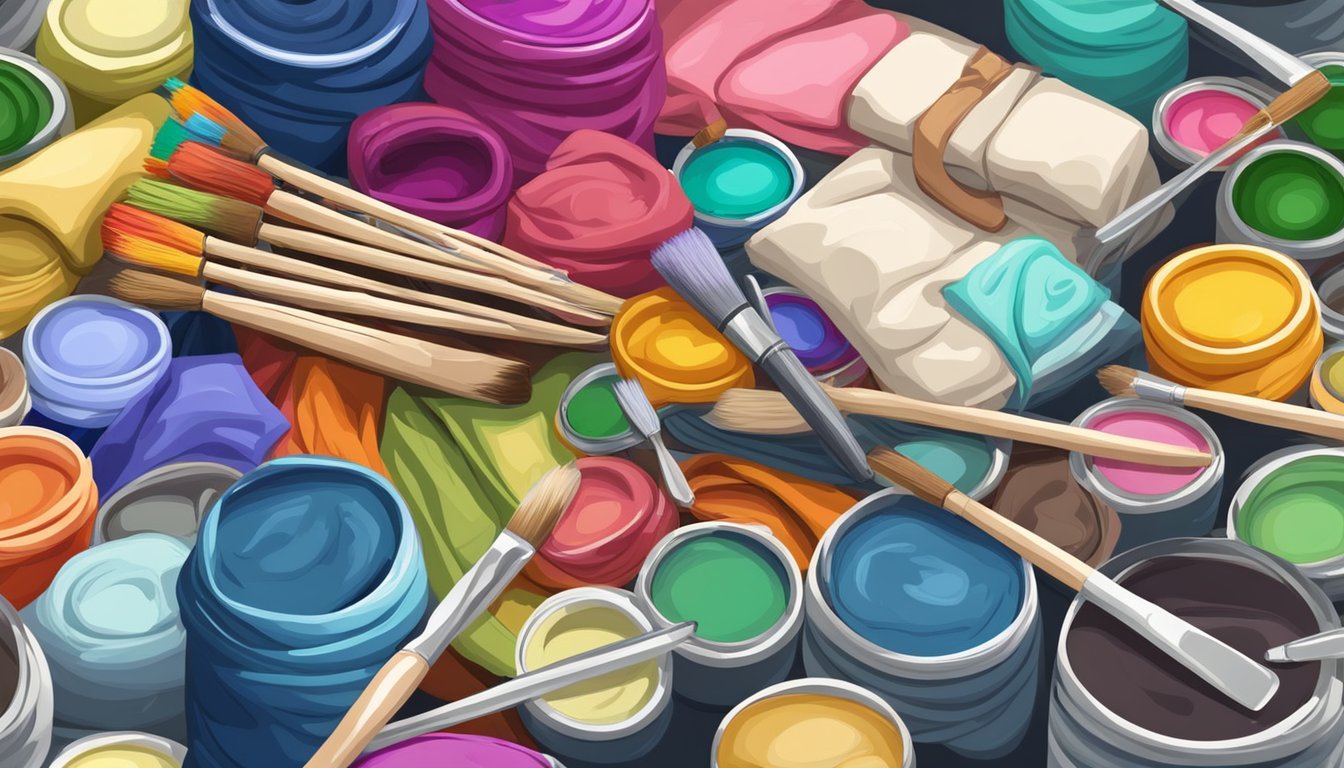
Gather your supplies: fabric paints, brushes, and stencils or tape.
Having everything in reach helps you work more efficiently.
Make sure you have paper towels nearby for quick cleanups.
Also, wear old clothes or an apron since fabric paint can be messy.
A little preparation goes a long way in keeping your workspace organized and your clothing protected!
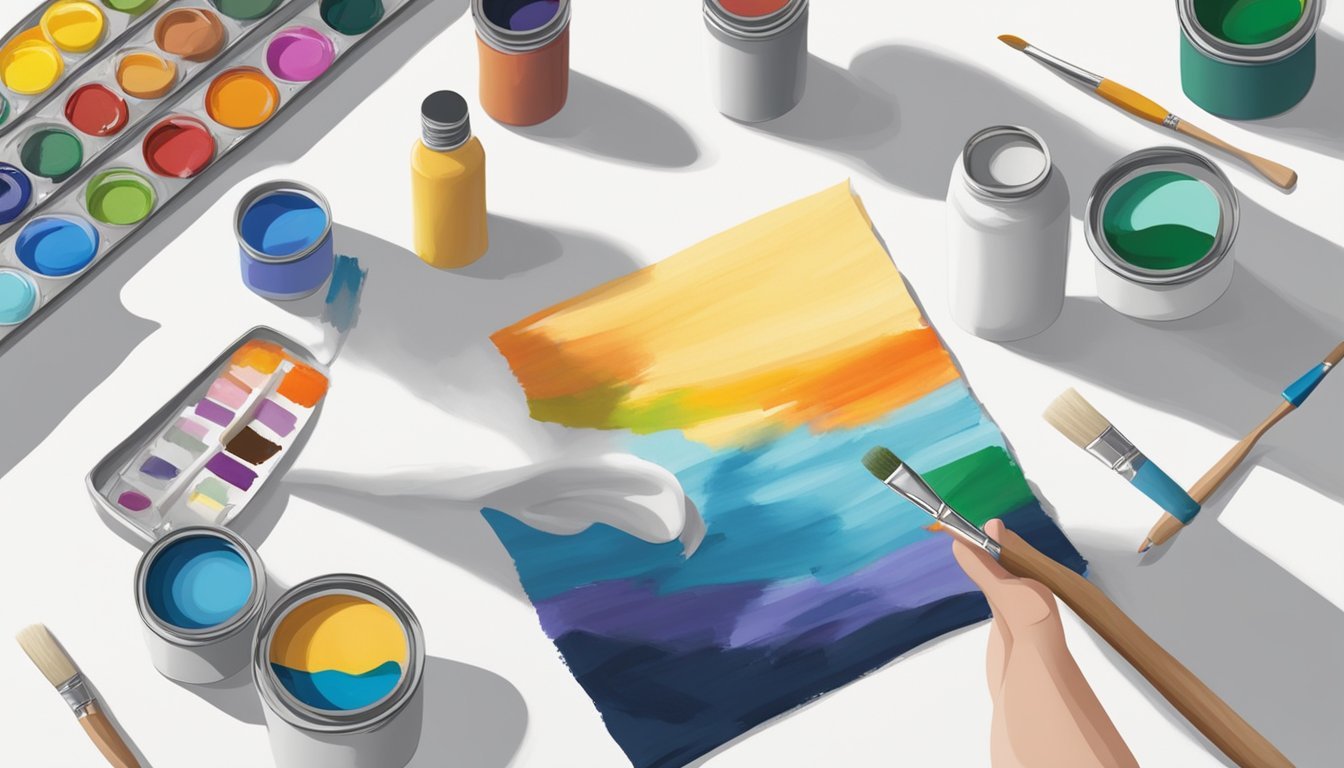
Techniques for Applying Fabric Paints
Applying fabric paint can be a fun way to personalize your clothing.
You can use various techniques to achieve unique designs, like brushwork or stenciling.
Here are two effective methods to consider.
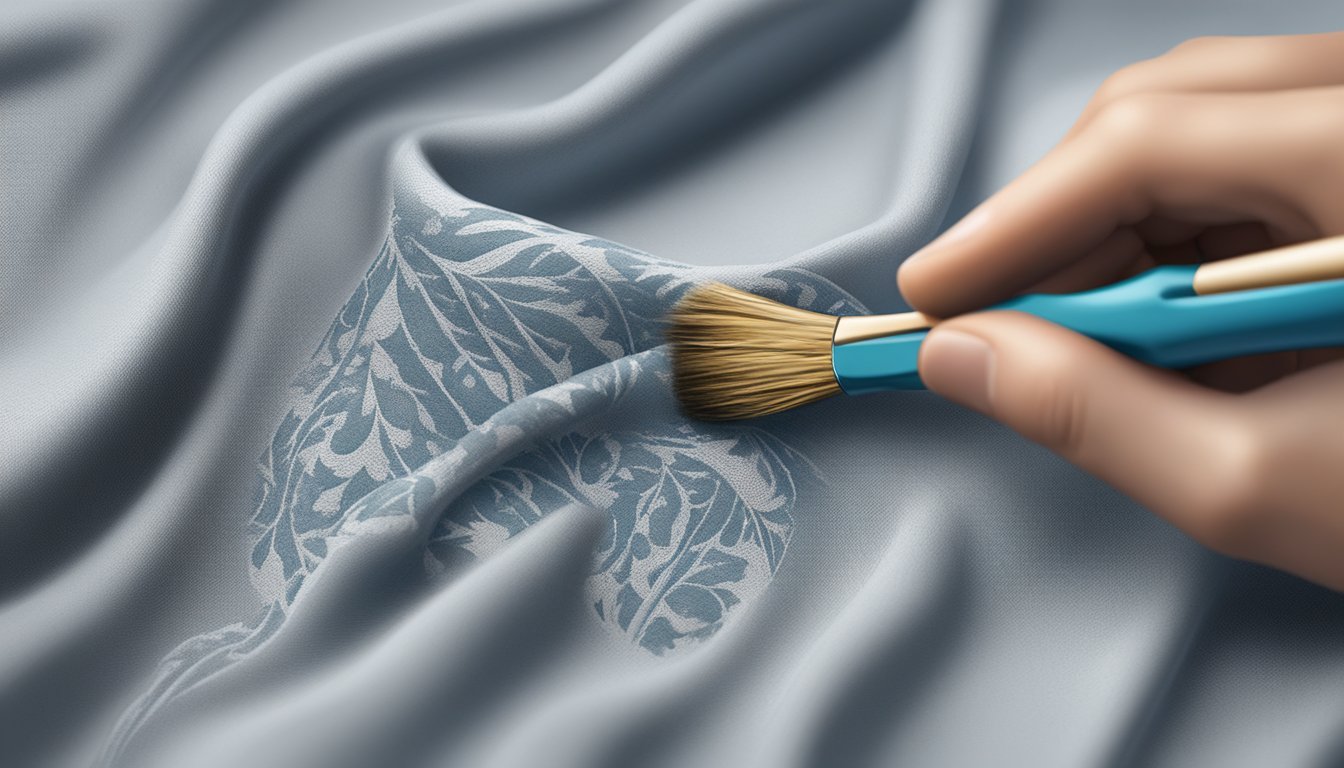
Brush Techniques
Using brushes is a classic way to apply fabric paint.
Start by selecting the right brush based on the detail level of your design.
Here’s a quick guide:
- Flat Brush: Great for bold strokes and filling larger areas.
- Round Brush: Perfect for detailed lines and intricate designs.
- Fan Brush: Useful for creating texture and patterns.
Before applying paint, prep your surface by placing cardboard underneath to avoid bleed-through.
Dip your brush in the paint and use a light touch to avoid smearing.
For a watercolor effect, try wet-on-wet techniques by applying wet paint over wet fabric.
Take your time and practice different brush strokes to create depth and dimension in your artwork.
Using Stencils
Stenciling is a fantastic way to achieve clean and precise designs.
To begin, choose or create a stencil that suits your style.
Materials like plastic or cardstock work well.
-
Secure the Stencil: Use tape or fabric pins to hold the stencil in place. This keeps it steady while you paint.
-
Choose Your Paint: Use a sponge or brush to apply the paint evenly. Avoid overloading the sponge to prevent paint from creeping under the stencil.
-
Layering: For more complex designs, once your base layer is dry, you can re-stencil to add more colors or details.
Once the paint is fully dry, remember to heat-set it by placing a cloth over your design and ironing it.
This ensures your design is durable and ready for wear.
Caring for Painted Clothing
Taking care of your painted clothing is key to keeping those designs fresh.
Here are a few tips to help you maintain your custom creations.
Washing:
- Always wash your painted items inside out. This minimizes friction on the paint.
- Using cold water to avoid damaging the paint. Hot water can cause fading and peeling.
Drying:
- Air dry your garments whenever possible. This prevents heat from fading the designs.
- If you must use a dryer, choose a low setting. High heat could lead to cracking.
Avoid Harsh Chemicals:
- Skip bleach and fabric softeners. They can degrade the paint and ruin your work.
- Opt for mild detergents that are gentle on fabrics.
Ironing Tips:
- If you need to iron, do it carefully. Place a clean cloth over the paint before applying the iron.
- Keep the iron on a medium heat setting and only press for about 3-5 minutes.
Storage:
- Store your painted clothing in a cool, dry place. Avoid direct sunlight to prevent fading.
- Consider hanging these items to avoid creases.