Creating custom textiles at home can be a fun and rewarding project.
With a bit of creativity and some basic materials, you can easily create eye-catching designs that are perfect for clothing, accessories, or home decor.
Whether you’re looking to make a trendy shirt or a thoughtful gift, these textile art methods offer endless possibilities.
Both tie-dye and batik allow for experimentation with colors and patterns, giving you the freedom to express your artistic side.
By following simple techniques, you can dive into the vibrant world of fabric dyeing and create something truly special.
Choosing Vibrant Dyes
When it comes to tie-dye, selecting the right dye is essential for achieving vibrant results.
You want colors that are bold and long-lasting.
Procion MX dyes are highly recommended.
These dyes are popular for their brightness and colorfastness, making them a top choice among artists.
Before you start, check the fiber content of your fabric.
Natural fabrics like cotton work best with these dyes, as they absorb color more effectively.
Synthetic fabrics may require different dyes.
Using fiber-reactive dyes on synthetics won’t give you the vibrant results you’re after.
Always choose high-quality dyes.
Investing in good materials pays off in the final look of your textile.
Don’t forget about the dye application method.
When you apply the dye, consider blending colors to create stunning transitions.
Experimenting with different techniques will help you discover your unique style.
Enjoy the process and see how the colors come to life!
2) Pre-washing Your Fabric
Pre-washing your fabric is a crucial first step in tie-dyeing and batik.
It helps remove any chemicals, dirt, or residues from the manufacturing process, allowing the dye to penetrate better.
Start by rinsing your fabric in cool water until it runs clear.
This initial rinse can take some time, so be patient.
Once it’s clean, gradually increase the temperature with each rinse to help prepare the material for dyeing.
For best results, wash the fabric with a mild detergent.
This will ensure it’s clean and ready for your creative process.
You can also use a color catcher sheet during this wash if you’re worried about any lingering dye particles.
Remember, the fabrics you choose, like cotton or silk, should be pre-washed thoroughly.
This simple step can make a big difference in how vibrant and lasting your final design will be.
Creating Simple Patterns
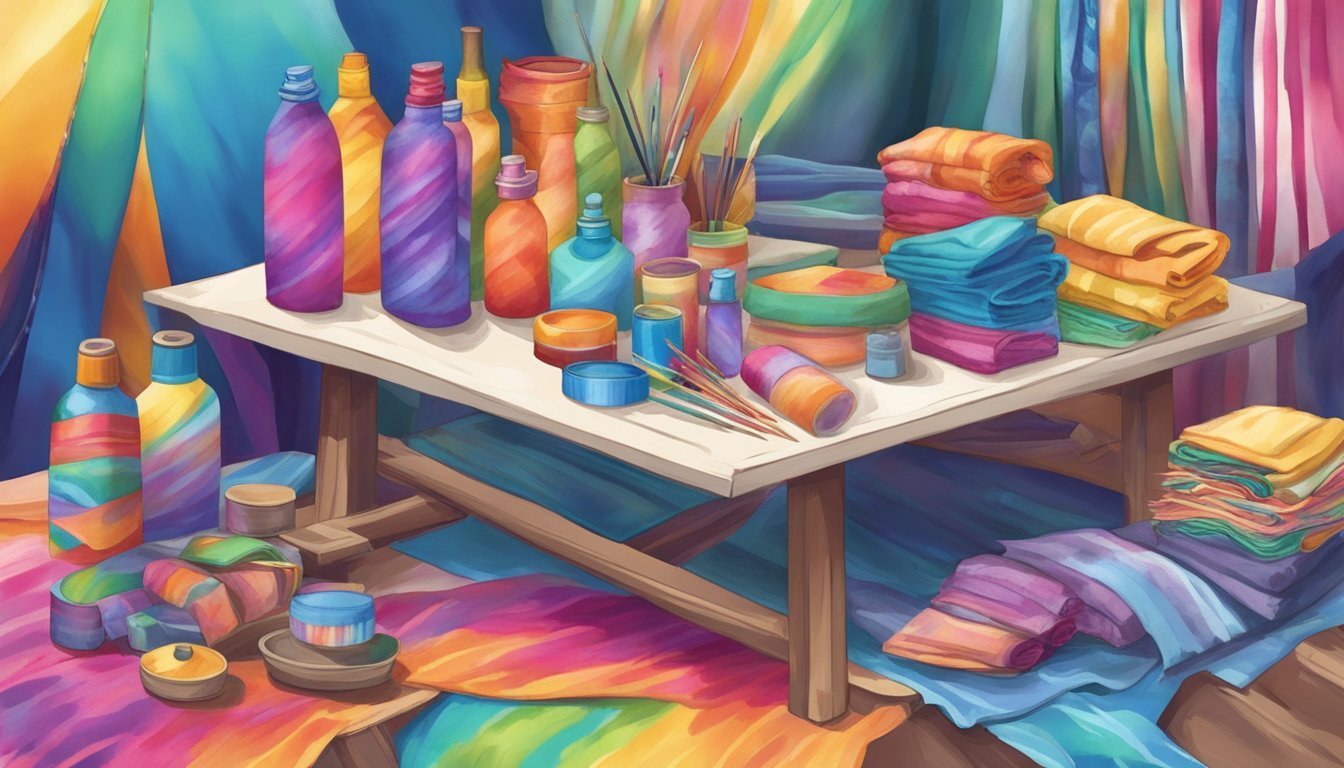
Creating simple tie-dye patterns is a fun way to get started with textile design.
You can make unique designs with just a few folding techniques.
One popular method is the scrunch, where you gather your fabric into a tight, random bunch.
Use rubber bands to secure it, and then apply dye in different colors.
Another easy technique is the spiral pattern.
Start by pinching the center of the fabric and twisting it around.
Secure with bands and add dye in a circular fashion for a vibrant effect.
You can also try stripes.
Just fold your fabric back and forth like an accordion, then secure with bands.
Apply dye section by section to create bold lines.
Experiment with your own twists and combinations! The key is to have fun and see what patterns emerge.
Each piece you create will be uniquely yours.
Using Rubber Bands Effectively
Rubber bands are essential for creating unique patterns in your tie-dye projects.
They act as resist agents, helping to keep some areas of the fabric dye-free.
Start by folding, twisting, or bunching your fabric.
The way you manipulate the fabric will determine the design you create.
For example, scrunching the fabric can lead to a more chaotic pattern, while a bull’s-eye effect requires pinching the center.
Once you’ve shaped your fabric, secure it with rubber bands.
Make sure the bands are tight enough to hold the fabric in place, as loose bands could let dye seep into unwanted areas.
Space the bands evenly for a consistent design.
The sections beneath the rubber bands will remain white or light-colored, allowing your colors to stand out.
Experiment with different placements and quantities of rubber bands.
The more creative you are with placement, the more intricate your final piece will be.
Enjoy the process and don’t be afraid to try out various techniques!
5) Dipping Techniques
Dipping techniques are a fun way to add color to your fabrics.
You can use them on various materials, and they produce unique patterns.
One popular method is immersion dyeing.
Here, you submerge your fabric in a dye bath, allowing it to soak up the color evenly.
This is great for achieving solid colors.
Another technique is the ombre dip dye.
With this method, you dip the fabric partially in the dye.
Slowly pull it out to create a gradient effect.
This technique is perfect for adding depth and visual interest.
For patterns, try using resist dyeing with dipping.
You can apply a wax or paste to certain areas before dipping your fabric.
After it dries, dip the fabric in dye for stunning designs that reveal contrast.
Always test your techniques on scrap fabric first.
This will help you avoid unexpected results on your main project and create the perfect look.
Enjoy experimenting with these methods to find what works best for your style!
6) Experimenting with Color Combinations
Experimenting with color combinations is one of the most exciting aspects of tie-dye and batik.
Choosing the right colors can transform your fabric into a unique piece of art.
Start with a few basic colors.
Mixing hot pink with electric blue can create vibrant contrasts.
If you prefer something more subtle, try a deep royal blue paired with bright turquoise.
Don’t be afraid to play around.
Combining sunny yellow with rich orange can bring warmth to your design.
Fluorescent shades like neon green, pink, and yellow can give your textiles a trendy, psychedelic vibe.
Experiment with gradients too.
A smooth transition from a bold color to a softer tone can add depth to your pieces.
You might also consider using monochromatic schemes for a modern touch.
Remember to keep a record of your combinations.
This will help you replicate your favorite designs or inspire new ideas in the future.
The beauty of tie-dye and batik is that there are no strict rules, so have fun with it!
Mastering Wax Application
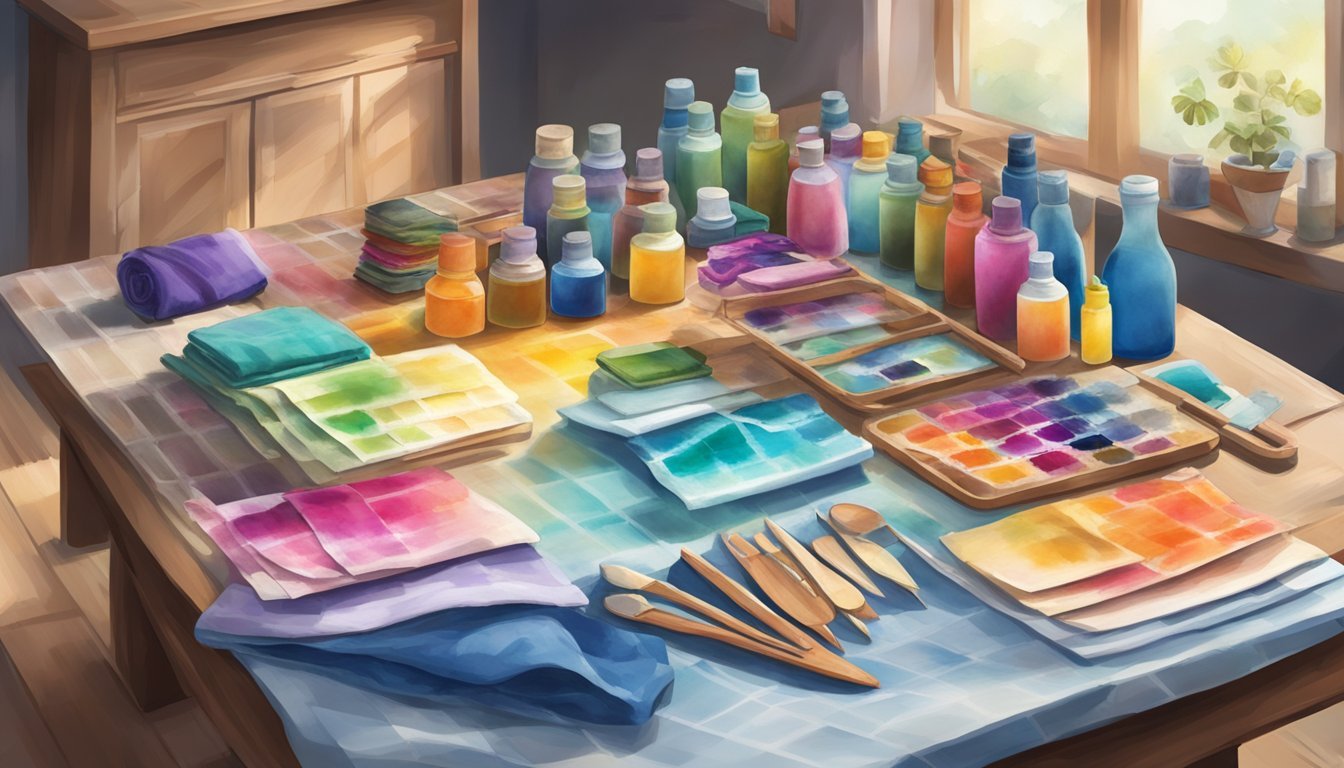
Applying wax is a crucial step in batik that helps create those intricate designs you’re aiming for.
You’ll typically use a metal canting or a brush to apply the wax precisely on the fabric.
Start by melting your wax mixture.
A common blend includes beeswax and paraffin, which allows for flexibility and control.
Once your wax is ready, practice your technique.
Don’t rush—steady hands make a difference.
You want clean lines and defined areas that will resist dye.
Experiment with different patterns.
Try creating dots, lines, or even complex motifs.
The more varied your application, the more interesting your final piece will be.
Remember to let the wax cool slightly before applying it to the fabric.
This prevents it from seeping into unwanted areas.
If you want to layer colors, you can repeat the wax application process.
Just make sure to remove the previous wax after dyeing before adding more.
The beauty of batik is in its complexity, so don’t shy away from exploration!
Creating Complex Batik Designs
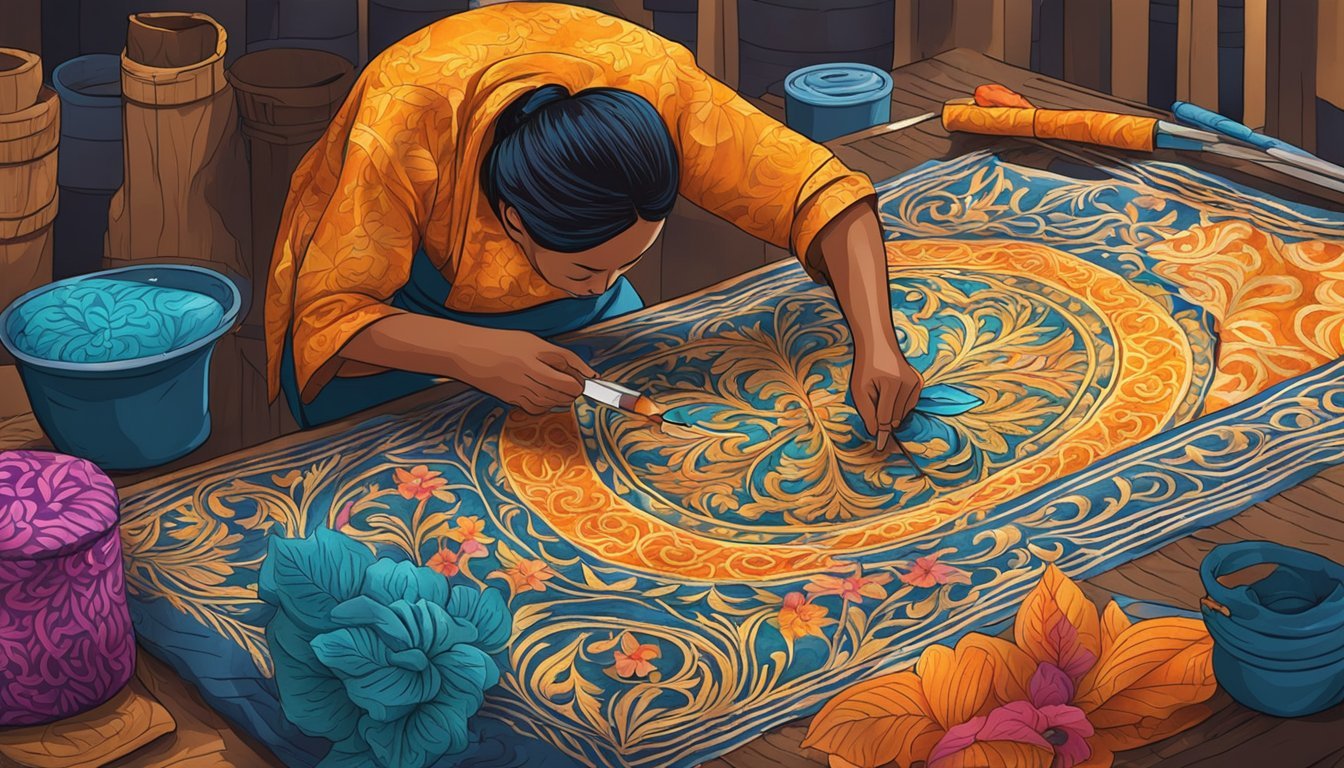
Creating complex batik designs is all about layering techniques.
Start with a simple base color applied to your fabric.
Let it dry completely before moving to the next step.
Once dry, use hot wax to create your first pattern.
The wax acts as a barrier, preventing dye from reaching those areas.
You can create intricate shapes or even freehand your design.
After applying the wax, dye your fabric again.
Choose a contrasting color to really make your design pop.
Let it sit and absorb the dye, then rinse it out.
Repeat the waxing and dyeing process as many times as you like.
Each layer adds depth and complexity to your overall design.
Experiment with different colors and patterns to see what unique results you can achieve.
For a really special touch, try using different wax blends.
Some will crack more than others, giving you distinct textures that enhance your batik piece.
Enjoy experimenting to find your signature style!
9) Layering Colors for Depth
Layering colors can elevate your tie-dye or batik project, creating depth and dimension.
Start with lighter shades as your base.
This allows darker colors to stand out without overpowering the design.
When working with tie-dye, apply the first layer and let it dry.
Once dry, you can add a second or third layer in different shades.
This step gives your fabric a more complex look.
For batik, use wax to create designs before dyeing.
The wax prevents dye from penetrating certain areas, allowing for intricate layering.
After dyeing, you can remove the wax to reveal the pattern underneath.
Experiment with various colors in your layers.
Complementary colors can create vibrant contrasts, while analogous colors provide a smooth blend.
Don’t be afraid to mix and match!
Remember, the application method influences how colors interact.
Spray, dip, or sponge can lead to different effects that enhance your design.
Play around with techniques until you achieve the desired outcome.
Using Natural Dyes
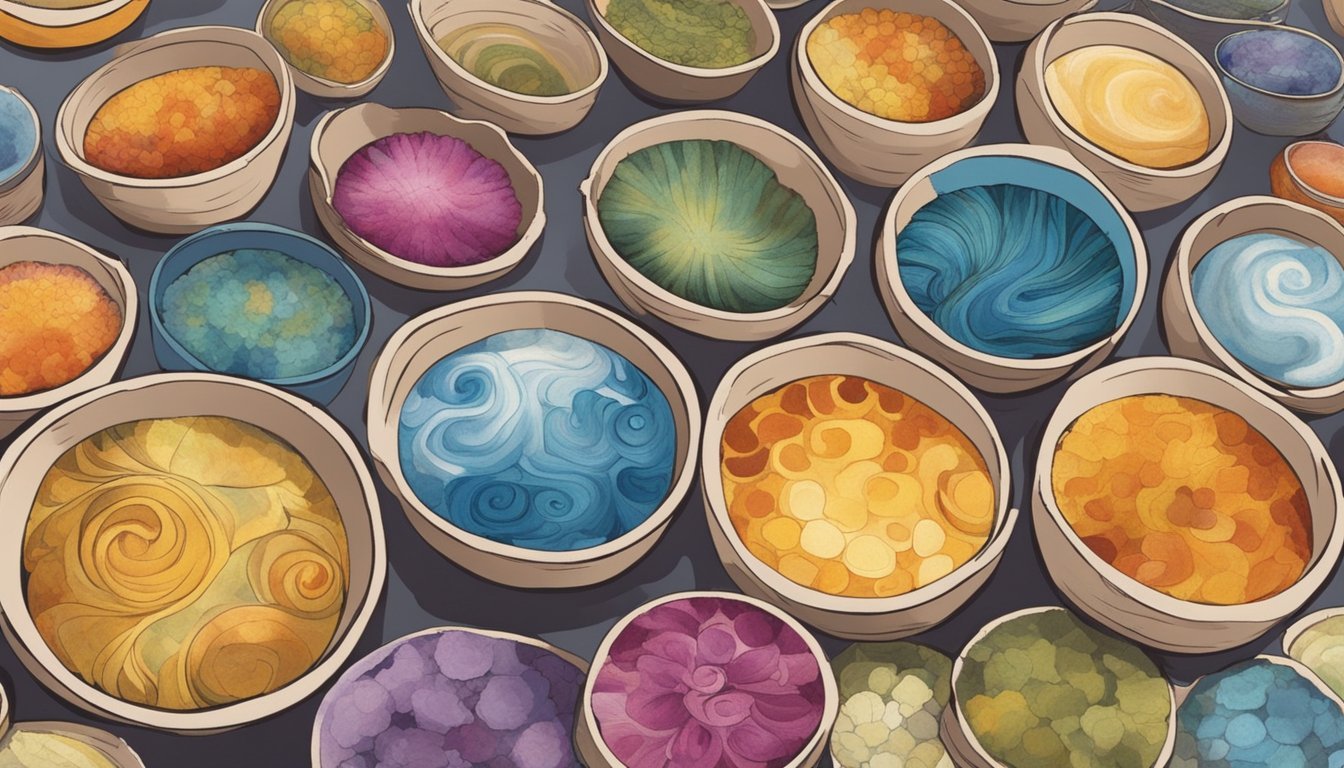
Natural dyes offer a unique way to color your fabrics using materials from nature.
You can create rich colors by using plants, flowers, and even certain foods.
To get started, you’ll need to extract dye from your chosen natural source.
Chop your plant ingredients and cover them with water in a pot.
Then, bring it to a boil and let it simmer for at least 40 minutes.
Afterward, let the mixture cool to room temperature.
Strain out the plant material.
Now you have a dye bath ready for your fabric.
If you want deep, vibrant colors, soak your fabric in the dye for longer periods.
You can also heat the dye solution and submerge your fabric for about 20 minutes for a quicker option.
For more control, try scrunching or folding the fabric before dipping.
This helps you achieve unique patterns while preserving some areas of white.
Experimenting with different natural sources can lead to exciting color variations.
Enjoy the process of creating your custom textiles!
Understanding the Basics of Tie-Dye
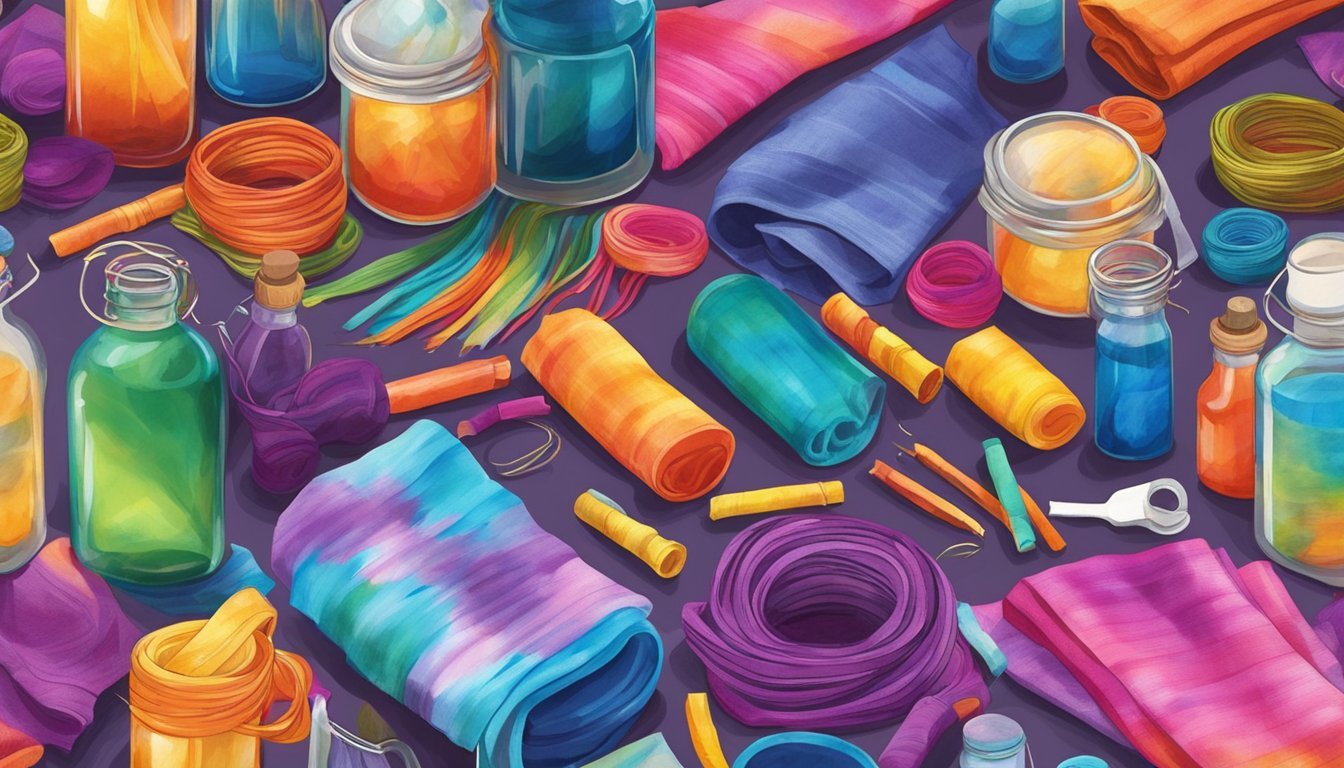
Tie-dye is a fun and creative way to personalize fabrics using vibrant colors and unique patterns.
Whether you’re looking to make a statement with clothing or simply enjoy a new craft, understanding the fundamentals of tie-dye will help you get started on your creative journey.
History and Origin
Tie-dye has deep historical roots, originating in ancient cultures across the globe.
Techniques can be traced back to Asia, Africa, and the Americas.
- Japan: The Japanese art of Shibori involves intricate folding and binding techniques.
- India: The technique called Bandhani creates beautiful, dot-like patterns.
- West Africa: Adire textiles feature indigo dyeing with various resist methods.
Each culture has contributed to tie-dye’s rich tradition, resulting in a variety of styles that continue to inspire contemporary practices.
Materials Needed
To start your tie-dye project, gather the following essential materials:
- Fabric: Use natural fibers like 100% cotton for the best results.
- Dye: Purchase a tie-dye kit or fabric dye suitable for your fabric type.
- Tools: Rubber bands, string, or clamps for tying the fabric.
- Protective Gear: Gloves and an apron to keep things tidy.
- Workspace: A flat, covered surface to work on can help contain mess.
Having everything ready makes the process smoother and more enjoyable.
Basic Techniques
Getting into tie-dye involves a few simple techniques that can produce stunning results.
-
Folding: Start by folding or crumpling your fabric. This can be done in various styles, such as accordion folds or spirals.
-
Binding: Use rubber bands or string to secure the folded sections. The areas tied will resist dye, creating patterns.
-
Dye Application: You can either dip the fabric in dye or apply it with squeeze bottles for more control.
Experiment with different methods to create unique designs.
The more you practice, the more you’ll discover your own style!
Exploring Batik Techniques
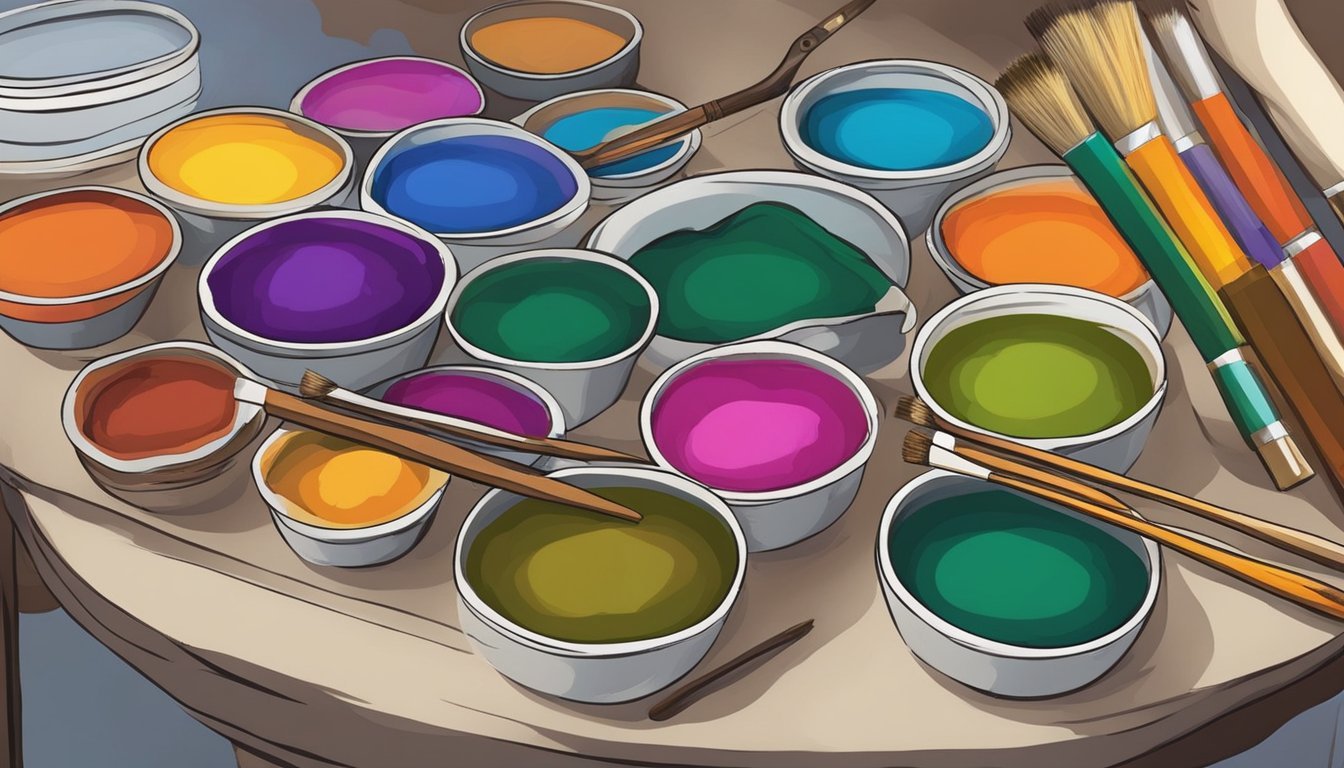
Batik is an art form that combines tradition and creativity.
Understanding different techniques can enhance your textile projects and help you achieve stunning results.
Let’s break down some key elements of batik.
Traditional vs. Modern Batik
Traditional batik is steeped in cultural significance, often featuring intricate designs passed down through generations.
This technique typically involves hand-drawing wax patterns onto fabric before dyeing, using natural dyes derived from plants.
The process requires patience and artisanal skills.
In contrast, modern batik embraces contemporary designs and methods.
Many artists now use synthetic dyes and simplified processes, allowing for quicker production.
You may find innovations like using stamps or even screen printing to apply wax.
Both styles offer unique aesthetic values, so choose based on your creative vision.
Wax Application Methods
The application of wax is crucial in the batik process, as it prevents dye from penetrating certain areas of the fabric.
There are a few popular methods you might consider:
- Tjap: This involves using a metal stamp to apply wax in one smooth motion, ideal for repeating patterns.
- Canting: This traditional tool allows you to draw finer, more detailed designs by hand. It’s great for intricate work, but requires a steady hand.
- Brush: For larger coverage, you can use a brush to apply wax quickly, though this may lead to less precision.
Each method has its place, depending on the complexity and detail of your desired design.
Choosing the Right Fabrics
The choice of fabric can significantly impact the outcome of your batik work.
Common fabrics for batik include:
- Cotton: This is the most popular choice due to its affordability and absorbent nature, making it easy to dye.
- Silk: This luxurious option creates vibrant colors but requires more careful handling and dyeing techniques.
- Rayon: Known for its softness and drape, rayon also absorbs dye well but may require pre-treatment.
Consider the final use of your fabric when selecting.
Whether it’s for clothing, home decor, or art, each fabric type brings unique characteristics to your batik design.
Combining Tie-Dye and Batik
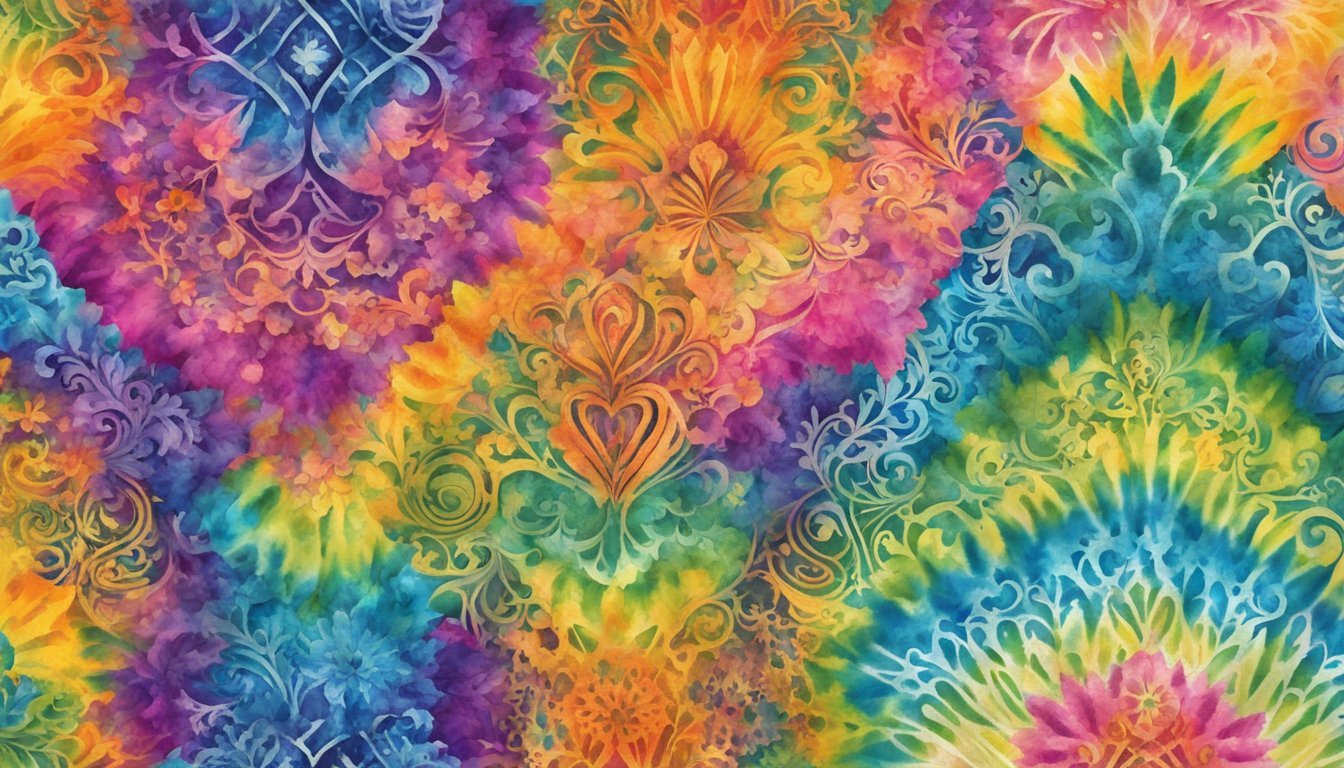
Combining tie-dye and batik techniques allows you to create striking textiles with intricate designs.
Merging these methods invites creativity and experimentation, resulting in unique pieces that stand out.
Creating Unique Patterns
To achieve unique patterns, start by applying batik techniques like wax resist to your fabric.
Use melted wax to draw designs that will remain untouched by dye.
Once the wax is dry, apply a tie-dye technique by twisting, folding, or binding sections of the fabric.
Afterward, submerge the entire piece in dye.
The combination of the batik resist and tie-dye folds creates stunning contrasts where the colors meet, providing depth and complexity to your design.
Consider using a variety of binding techniques, such as pinching or pleating, to add even more texture.
Each method produces distinct results, making your pattern truly one-of-a-kind.
Experimenting with Colors
When working with both techniques, choosing colors is essential.
For bold results, try using complementary colors, such as orange and blue or purple and yellow.
These contrasts will highlight the unique patterns you’ve created.
You can also mix dye colors directly on the fabric for intriguing effects.
Applying multiple colors during the tie-dye phase allows them to blend and create new shades.
Don’t shy away from light and dark colors either.
Use darker dyes for the batik areas and brighter shades for the tie-dye sections.
This contrast helps different elements of your design pop while enhancing the overall visual impact.
Always remember to test your colors on a small fabric swatch to see how they interact before applying them to your main project.


