
Getting started with sewing can be exciting yet a bit daunting.
With so many techniques and projects out there, you might feel overwhelmed.
But don’t worry, you can find approachable ways to build your skills.
Tackling simple, fun projects is a great way to practice sewing basics while creating something you can use or wear.

Learning to sew opens up a world of creativity and personalization.
From small home decor items to fun clothing, there are plenty of beginner-friendly projects that make the journey enjoyable.
Whether you’re picking up a needle for the first time or brushing up on forgotten skills, these projects will help you gain confidence and expertise.
1) Sew a Reversible Tote Bag
Making a reversible tote bag is a fantastic way to practice your sewing skills.
This project is both practical and fun, allowing you to customize your bag to fit your style.
Start by choosing two fabrics that you love.
You’ll also need some basic supplies like a sewing machine, coordinating thread, and scissors.
Cut your fabric into two pieces, each measuring 17 x 18 inches.
Next, pin the right sides of the fabric together and sew around the edges, leaving a gap of about 2-3 inches for turning the bag inside out.
Don’t forget to clip the corners to reduce bulk.
Once you’ve turned the bag right side out, press the seams for a neat finish.
You can add straps by sewing long fabric strips for handles.
This project requires simple techniques, perfect for beginners.
Plus, you’ll end up with a stylish tote that can be used for groceries, books, or outings.
Enjoy your new creation!
2) Make Your Own Pincushion
Creating your own pincushion is a fun and straightforward project.
It’s a great way to practice sewing while making something you’ll use often.
You can find plenty of free patterns online, ranging from simple designs to more creative styles.
Gather some scrap fabric, and you’ll have the perfect materials for this project.
A basic pincushion typically requires just a few stitches.
Start with two squares of fabric, sew them together, and leave a small opening.
Once you turn it inside out, fill it with stuffing or crushed scraps and sew it closed.
Consider adding your own twist.
You could embroider designs, make it in the shape of a fruit, or even add some colorful buttons for decoration.
With a bit of creativity, your pincushion can reflect your style.
Not only do you get to practice sewing, but you also create a handy tool for your projects.
Plus, it makes for a great gift for fellow sewing enthusiasts!
3) Stitch a Simple Pillowcase
Making a pillowcase is a great project for beginners.
It’s straightforward and a good way to practice your sewing skills.
Start by cutting a piece of fabric to 21” x 36”.
Fold it right sides together, pinning along one long edge and one side edge.
This will be your basic shape.
Sew a seam along the pinned edges with a 3/8 inch seam allowance.
You can use the edge of your presser foot as a guide.
Once you’ve stitched the sides, flip the fabric right side out.
This hides your seams, giving a clean finish.
To create the top, fold down about 4 inches of fabric.
Pin this fold in place and press it with an iron.
Finally, sew along the bottom of the fold to secure it.
This step adds a nice touch and keeps the pillow secure inside.
With just a few simple steps, you’ve created a pillowcase!
4) Craft a Scrunchie
Making a scrunchie is a fun and straightforward project to help you master basic sewing skills.
All you need are fabric scraps, a hair tie, and a sewing machine or needle and thread.
Start by cutting a strip of fabric.
A common size is 3.5 inches by 22 inches for kids.
Adjust the dimensions to 4 or 4.5 inches wide for adults.
Fold the strip in half lengthwise with the right sides together.
Pin it in place to keep everything neat while you sew.
Use a 1/4-inch seam allowance to stitch along the long edge, and don’t forget to leave a gap for turning.
Once sewn, turn the fabric right side out through the gap.
Insert the hair tie into the fabric tube and then sew the ends together securely.
Finally, tuck the opening closed and stitch it up.
You can personalize your scrunchie with different fabric patterns and colors.
This makes it a perfect project, whether you’re making a gift or just adding to your collection.
Happy sewing!
5) Create a Personalized Apron

Making a personalized apron is a fun way to practice your sewing skills.
It combines creativity and functionality, giving you a useful item for the kitchen or craft room.
Start by choosing a fabric you love.
Solid colors or fun prints can make your apron stand out.
You’ll need about 1.5 yards of durable fabric to get started.
Next, gather basic supplies like a sewing machine, scissors, and pins.
You can find many free apron patterns online, which include options for pockets and adjustable ties.
A simple gathered apron or a cross back design are great for beginners.
As you sew, focus on straight seams and neat finishes.
This project allows you to experiment with patterns and colors, making it unique to your style.
Don’t forget to add your personal touch, like embroidery or fabric paint.
Your apron can reflect your personality while keeping your clothes clean during cooking or crafting.
6) Design a Fabric Bookmark
Making a fabric bookmark is a great project for beginners.
It’s simple and helps you practice essential sewing skills.
Start by selecting your fabric.
You can use scrap fabric or any material you like.
Cut two pieces to your desired bookmark size.
Next, place the pieces right sides together.
Pin them in place, leaving a small opening for turning.
Sew around the edges with a seam allowance of about 3/8 inch, making sure to pivot at corners.
Once you’ve sewn all the way around, trim the corners and turn the bookmark right side out.
Iron it flat for a neat finish.
You can get creative by adding embellishments, like embroidery or fabric patches.
Feel free to explore different shapes and sizes.
This project not only helps you learn to sew but also results in a functional item you can use.
Enjoy making bookmarks that reflect your style!
7) Sew a Sunglasses Case
Sewing a sunglasses case is a fun and practical project for beginners.
You’ll need a few materials: fabric for the outer layer, fabric for the lining, and some fusible fleece for padding.
Start by cutting your fabric into rectangles.
A common size is 7.5 inches by 4.5 inches, and you need four pieces—two from each fabric.
Fuse the fleece to the wrong side of the outer fabric for added protection.
Next, pair the rectangles together.
Sew around the edges using a 3/8-inch seam allowance, leaving a gap for turning the case right side out.
Backstitch at the start and stop for durability.
After stitching, turn the case right side out.
Poke out the corners for a neat finish, then press it flat.
Lastly, edgestitch around the top to close the hole and add a polished look.
This project is quick, usually taking only 15-20 minutes.
It’s a great way to practice your sewing skills while creating something useful.
Plus, it makes a lovely gift!
8) Put Together a Patchwork Quilt
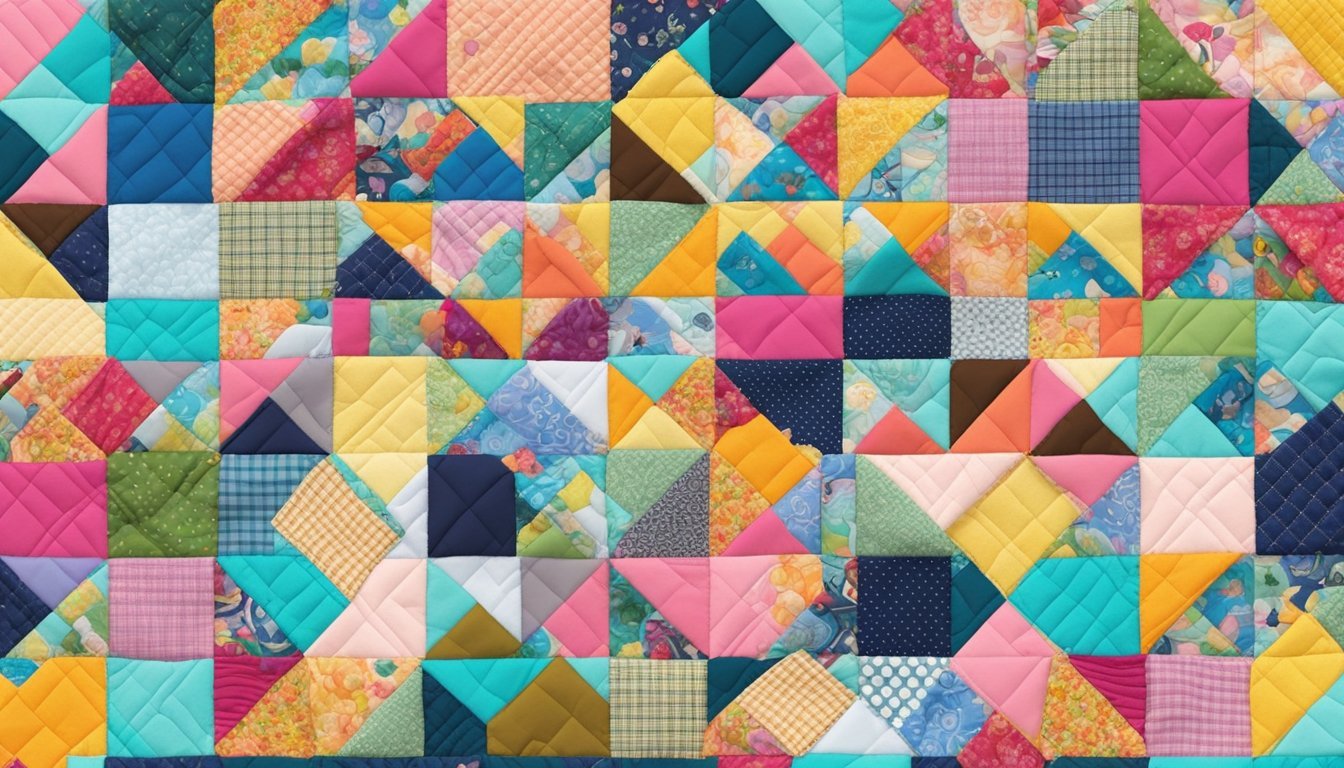
Making a patchwork quilt is a fun way to learn sewing basics.
You can start with fabric scraps, which makes it a frugal project.
Plus, the colorful patterns are visually appealing.
Begin by choosing your fabrics.
Pick a color scheme or a mix of patterns that you like.
Cut your fabric into squares or rectangles, ensuring they’re all the same size for an even look.
Next, lay out your pieces on a flat surface.
Experiment with different arrangements before you begin sewing.
This step lets you visualize the final product and plan your design.
Once you’re happy with the layout, start sewing the pieces together.
Use a quarter-inch seam allowance for accuracy.
Remember to iron your seams as you go.
This helps to keep everything flat and organized.
After assembling all your patches, you can add batting and a backing to complete your quilt.
This project not only practices your sewing skills but also gives you a handy item you can use or gift.
Enjoy the process, and don’t rush it!
9) Construct a Basic Pencil Case
Making a pencil case is a great way to practice sewing basics.
You’ll learn to use a zipper while creating something useful.
Plus, it’s a fun project to personalize.
Start by cutting two rectangles from your chosen fabric, about 9.5 inches by 5.5 inches each.
Use one piece for the outer fabric and the other for the lining.
Lay one piece of the inner fabric flat, place the zipper on top with the teeth facing up, and pin it down.
Sew along the edge to secure it.
Next, attach the outer fabric to the other side of the zipper in the same way.
Once attached, flip the pieces so the right sides face out.
You can press the fabric away from the zipper for a neat finish.
Finally, pull the zipper halfway open.
Pin the sides and sew along the edges to form the pencil case.
Don’t forget to backstitch at the start and end to secure your seams.
10) Make a Simple Drawstring Bag
Making a simple drawstring bag is a great project to kick off your sewing journey.
It requires minimal materials and basic sewing techniques, which makes it perfect for beginners.
Start by cutting two identical pieces of fabric.
A simple size could be 9.5 inches tall and 9 inches wide.
You can choose any fabric that speaks to you.
Sew the side seams with a half-inch seam allowance.
Make sure to backstitch for durability.
After sewing, trim the seam allowance to reduce bulk.
Next, create the casing for the drawstring.
Fold down the top edge about a quarter inch and press.
Then fold again to create a channel for the drawstring.
Once you have the casing, thread your ribbon or cord through.
Tie a knot at each end to prevent it from slipping out.
This bag can hold gifts, snacks, or little treasures.
Plus, it only takes a couple of hours to complete!
Understanding Sewing Basics

Learning the basics of sewing involves familiarizing yourself with essential tools and fabric types.
These fundamentals will set you up for success as you embark on your sewing journey.
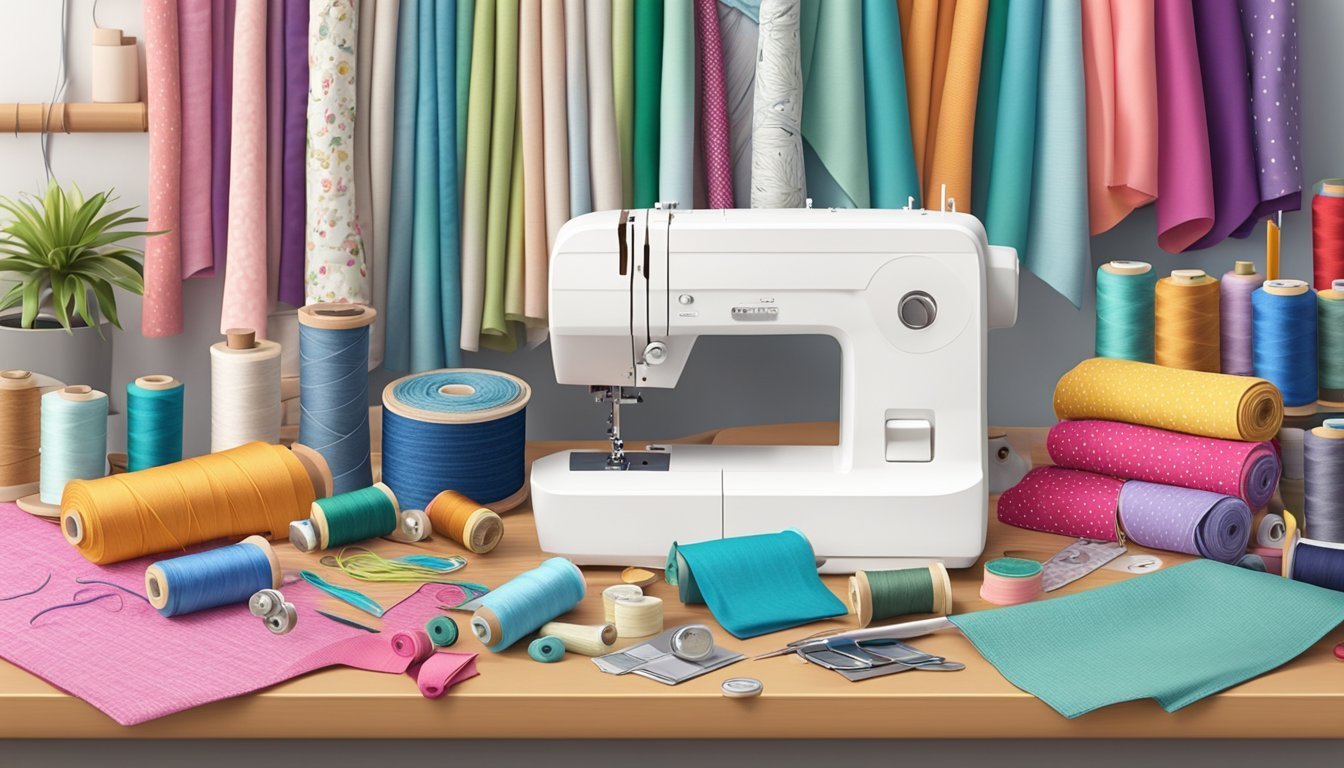
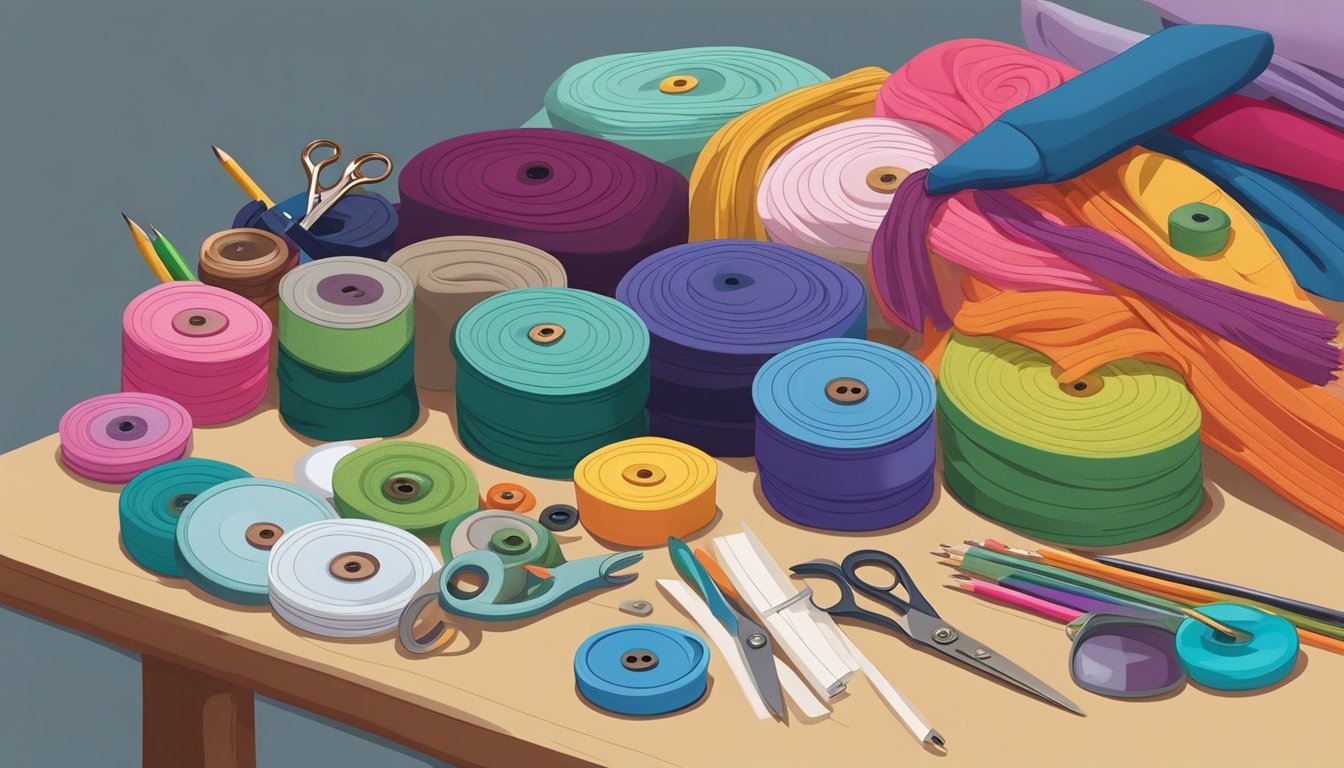
Essential Sewing Tools
Having the right tools can make your sewing experience smooth and enjoyable.
Here’s a list of must-have items for beginners:
-
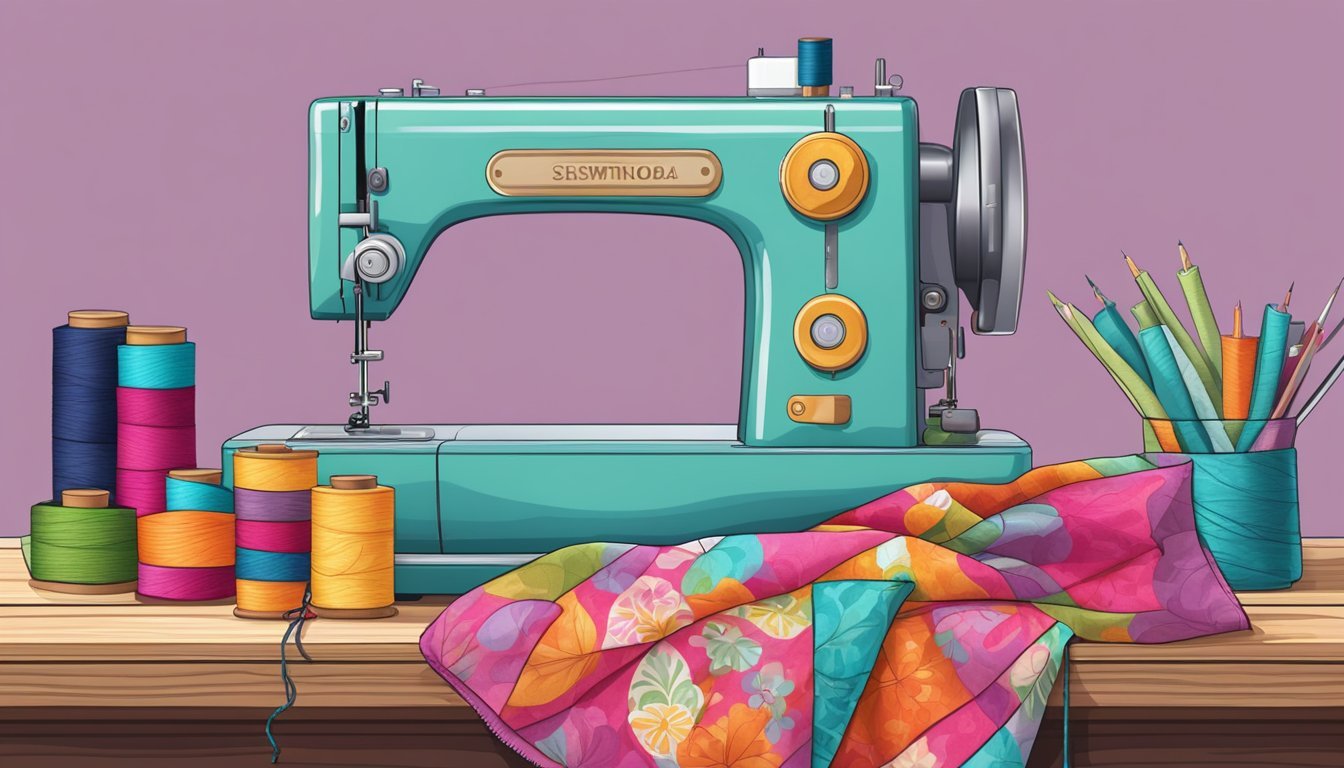
Sewing Machine: A reliable machine is key. Brands like Brother and Singer offer user-friendly options.
-
Fabric Scissors: Invest in a good pair specifically for cutting fabric to ensure clean edges.
-
Measuring Tape: Accurate measurements are crucial. A flexible measuring tape helps you get it right.
-
Pins and Pincushion: Use pins to hold pieces together while sewing. A pincushion keeps them organized.
-
Seam Ripper: Mistakes happen. A seam ripper allows you to easily undo stitches.
-
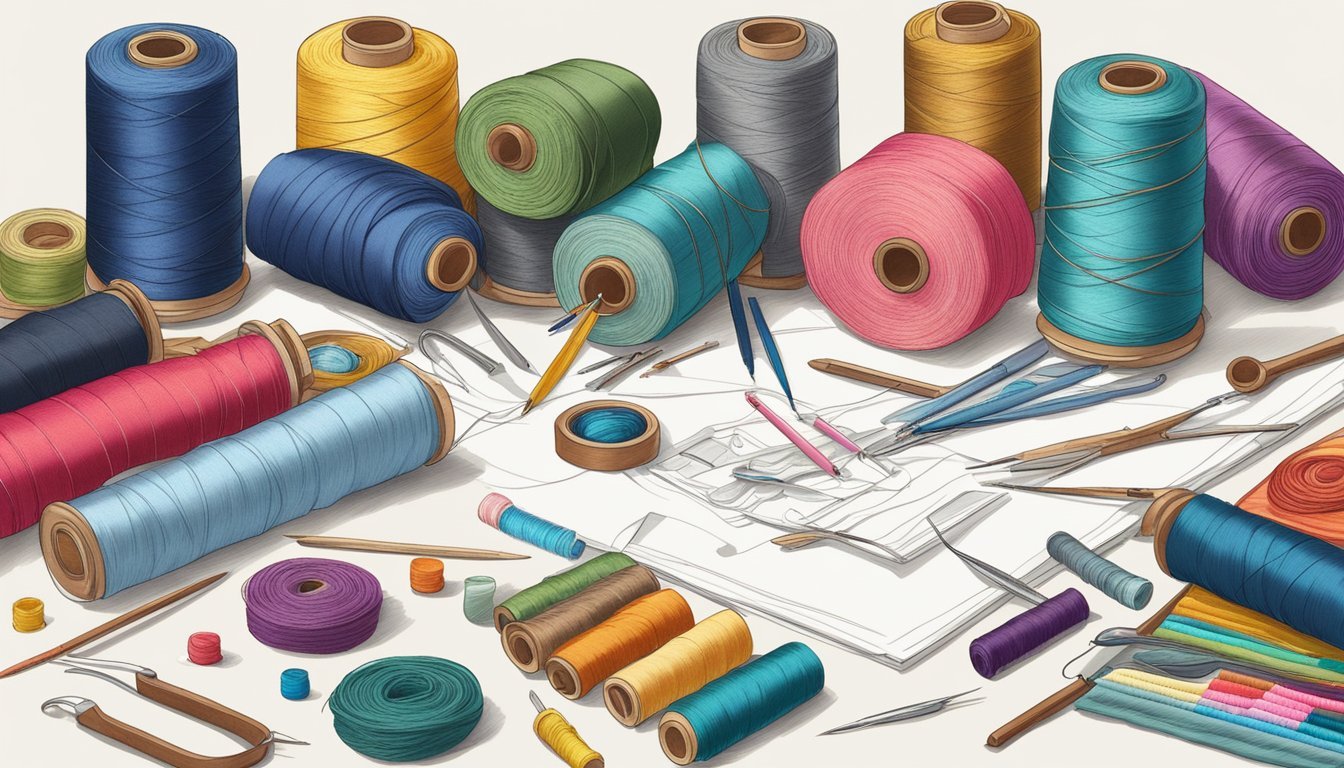
Thread: Stock up on various colors of thread to match your fabric. Polyester thread is versatile and durable.
Familiarizing yourself with these tools will increase your confidence and efficiency.
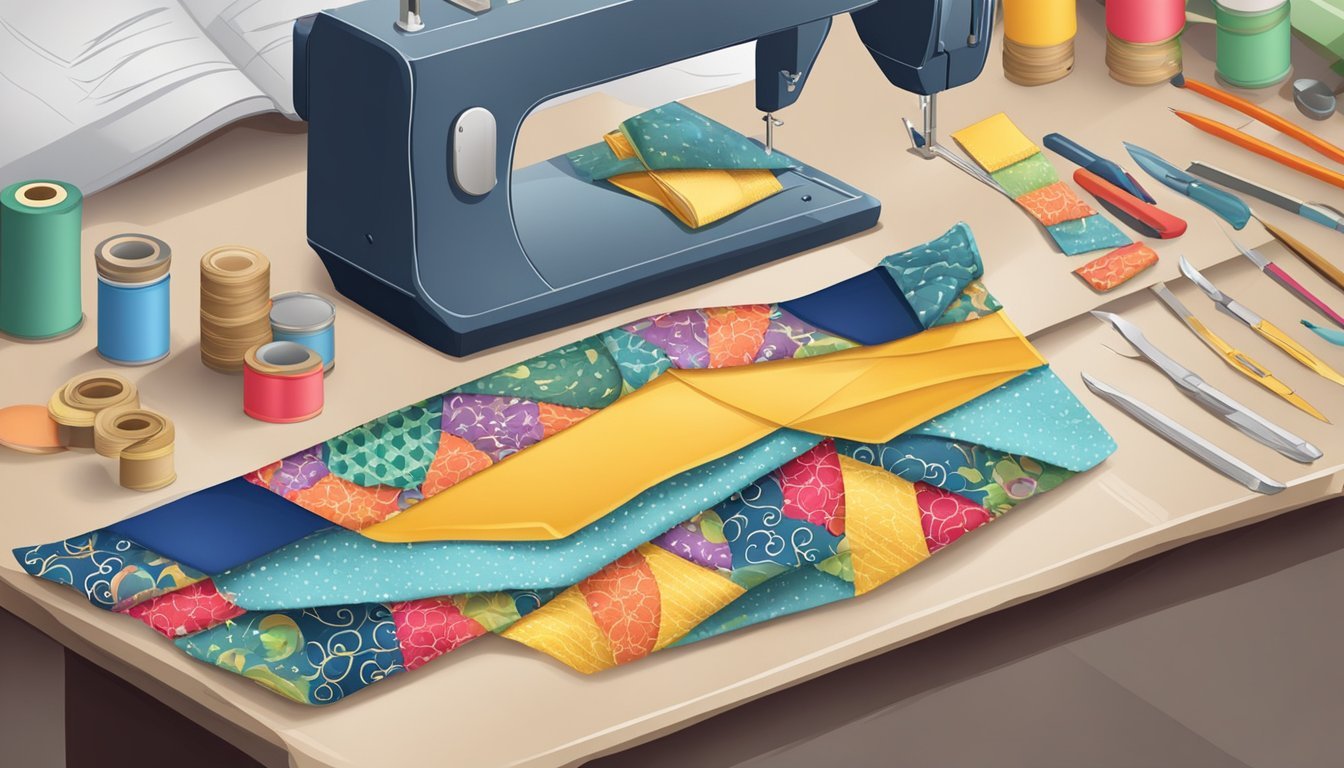
Types of Fabric and When to Use Them
Choosing the right fabric can make or break a project.
Here’s a quick overview of common fabric types:
-
Cotton: Excellent for beginners. It’s easy to sew and versatile for various projects.
-
Linen: Breathable and perfect for warm weather. It wrinkles easily, so consider this for casual items.
-
Fleece: Soft and warm, ideal for cozy blankets or outerwear. It’s forgiving for beginners.
-
Knits: Stretchy and comfortable, great for t-shirts or fitted clothing. Use a ballpoint needle for best results.
-
Denim: Durable, perfect for jeans or bags. Use a heavy-duty needle and thread.
Understanding these fabrics helps you select the best material for your project!
Getting Creative with Sewing
Sewing isn’t just about following instructions; it’s an opportunity to express your style and creativity.
Choosing the right patterns can elevate your projects and help you develop your skills while having fun.
Choosing the Right Patterns
Think about your skill level when selecting patterns.
Start with simple designs such as a half apron or a headband.
These projects require only basic stitches and are forgiving if you make mistakes.
Consider your personal style.
If you love vibrant colors, look for patterns that allow the use of striking fabrics.
Look for illustrated tutorials to guide you through the process.
Many resources offer step-by-step instructions to ensure success.
Building confidence is important, so pick projects that have multiple uses, like a tablet sleeve.
This way, your practice serves a purpose and inspires you to keep creating!