

Looking for a way to spend your weekend creatively? Painting offers a fantastic outlet for self-expression and relaxation, making it a perfect activity for your time off.
With just a canvas and some paint, you can transform ordinary hours into something memorable.
Whether you’re a beginner or have some experience, there are countless fun projects waiting for you.
You don’t need any fancy supplies to get started; just gather what you have at home and let your imagination take over.
With a few simple techniques, you can create stunning pieces that beautify your space and reflect your style.
1) Abstract Sunset
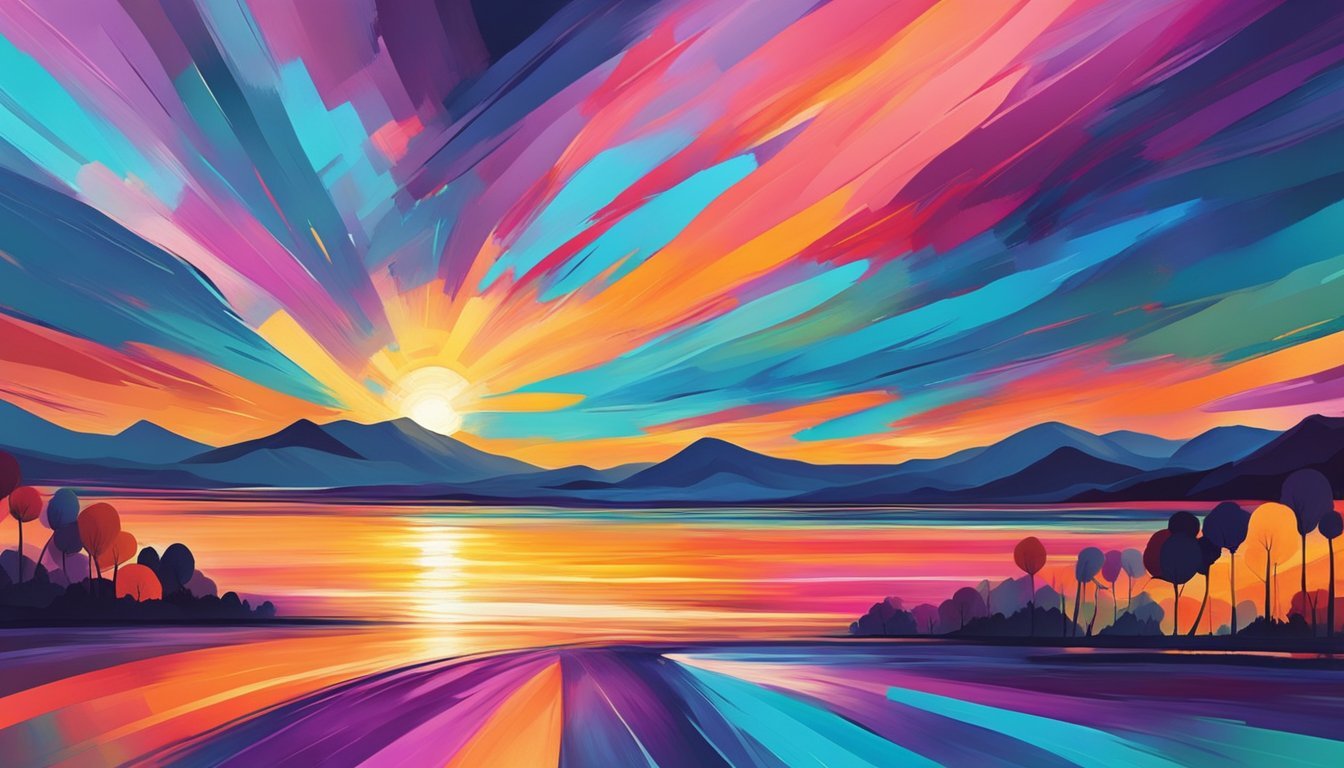
Creating an abstract sunset painting is a fun way to express your creativity.
You just need some canvas, paint, and a brush.
Start by gathering supplies, like acrylic or oil paints.
Choose colors that remind you of sunsets—think warm oranges, pinks, and deep purples.
Begin by laying down a base layer of your chosen colors.
You can use a palette knife or a brush to blend them together.
Don’t stress about perfection; the beauty lies in the imperfections.
Next, add additional layers to create depth.
Use lighter tones for clouds or highlights.
This adds interest and enhances the overall look.
Experiment with different brush strokes and techniques.
Try dabbing, swirling, or even using your fingers to give unique textures.
Once you’re satisfied, let it dry.
Add final touches if you feel inspired.
It’s a rewarding way to spend part of your weekend while making something you can display at home.
Enjoy the process and let your imagination run wild!
Dreamy Forest Scenes
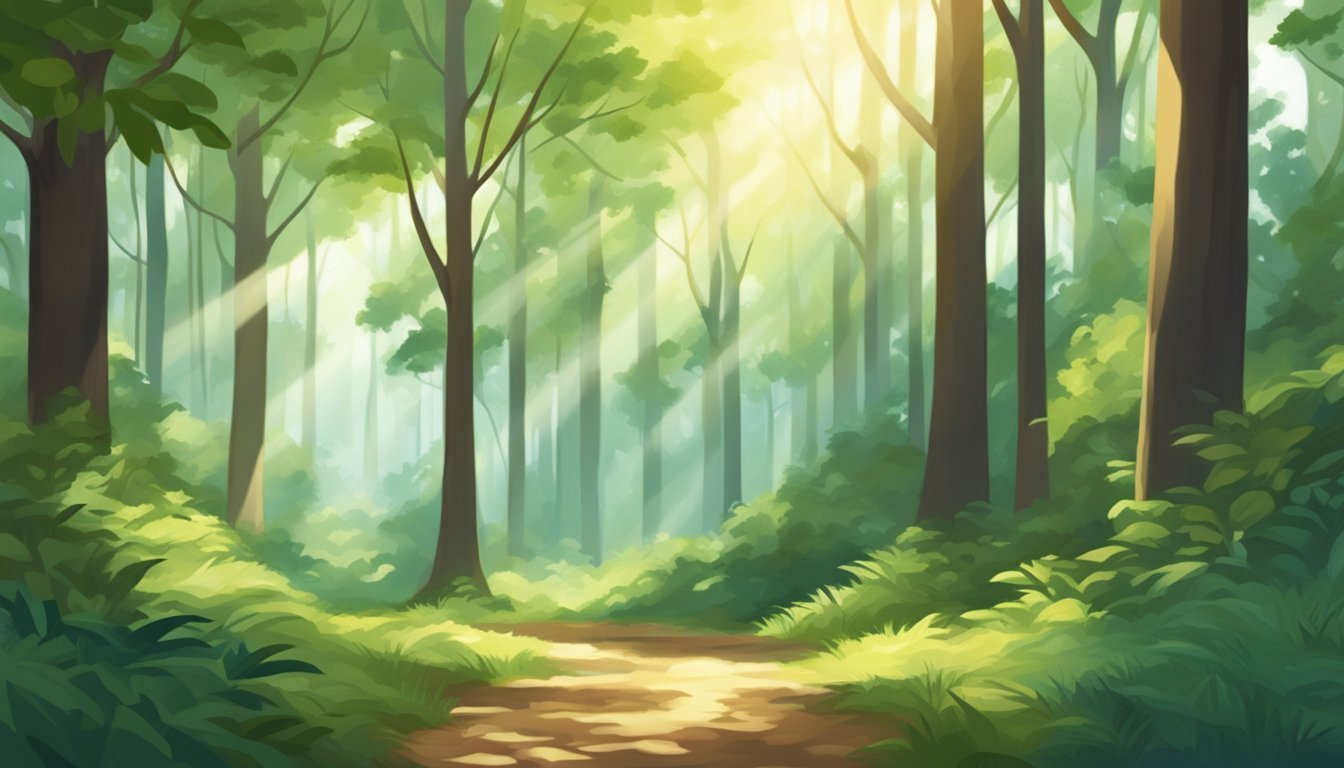
Creating a dreamy forest scene can transport you right into nature’s embrace.
You can use acrylic paints for vibrant colors that bring your vision to life.
Start with a calming background, perhaps a soft gradient of blues and greens.
This will serve as the sky and distant treetops.
Next, layer in mid-tones to create the shapes of trees.
Use varying shades of green to give depth and dimension.
Don’t be afraid to experiment with lighter and darker tones for realism.
Add details with small brushes.
You can paint delicate wildflowers or even a gentle mist weaving through the trees.
Techniques like splattering paint can mimic falling leaves or blossoms, enhancing the dreamy effect.
Consider incorporating a path or a hidden creature to invite imagination.
Each brushstroke adds to the story of your forest scene, making it uniquely yours.
3) Whimsical Animal Portraits
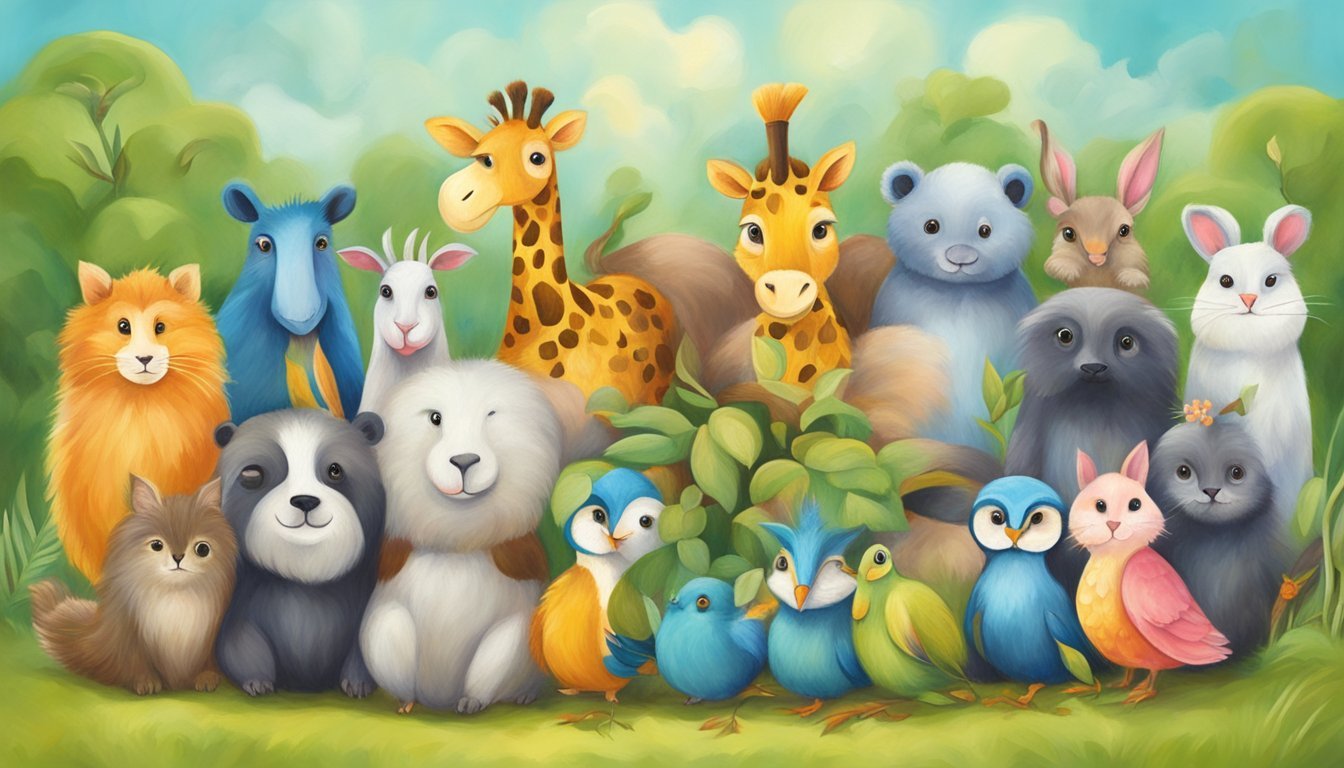
Whimsical animal portraits are a delightful way to express your creativity.
You can choose your favorite animals and depict them in a fun, imaginative style.
Start with a simple sketch.
A llama or a fox makes a great choice due to their playful features.
Focus on bold colors and quirky expressions to bring your animal to life.
Use watercolor or acrylics for vibrant results.
These mediums allow for easy blending and layering, perfect for achieving that whimsical look.
Try out different techniques, like splattering paint or creating soft washes.
Don’t worry about details.
The charm of whimsical art lies in its freedom.
Let your brush strokes be loose and spontaneous.
Consider incorporating fun backgrounds.
Bright colors or abstract patterns can enhance your canvas and add to the playful tone.
Whether you’re an experienced artist or just starting, painting whimsical animal portraits is a fun escape.
Grab your canvas and let your imagination run wild!
4) Colorful Geometric Patterns

Colorful geometric patterns are an exciting way to add some vibrancy to your canvas.
You can create these designs using simple materials like acrylic paint and masking tape.
Start by marking out shapes on your canvas with the tape.
Triangles, squares, and hexagons work well.
Once your shapes are defined, paint them in different colors.
This method keeps the edges neat and helps you experiment with color combinations.
For a more dynamic look, consider layering your shapes.
You can overlap colors to create unique effects.
Playing with different shades can also add depth to your artwork.
Geometric patterns are trendy and fit nicely into various home decor styles.
They are minimal yet visually striking, making them perfect for any room.
Plus, the process is enjoyable and encourages you to be creative.
Have fun mixing colors and patterns to make a stunning piece of art!
5) Minimalistic Silhouettes
Creating minimalistic silhouettes is a fun and straightforward painting project.
You only need a canvas, some black acrylic paint, and a few brushes.
Start by choosing a subject for your silhouette.
It could be anything from trees to animals or even a city skyline.
Simple shapes work best here.
Next, paint the background using lighter colors.
Soft blues, pastels, or gradients can work wonders.
Make sure the background dries completely before moving on to the silhouette.
Once your background is ready, use black paint to create your silhouette.
A flat brush can help you achieve crisp edges.
Don’t worry about making it perfect; the charm lies in its simplicity.
Feel free to experiment with layering.
You can add a shadow effect around your silhouette for depth.
Minimalistic silhouettes can be a striking addition to any room.
6) Inspirational Quote Art
Creating inspirational quote art is a fun project that adds a personal touch to your space.
You can use a canvas, some paint, and your favorite quotes to make it uniquely yours.
Start by choosing quotes that resonate with you.
Whether they’re motivational, humorous, or personal, picking the right words is key.
You can write them directly on the canvas or use stencils for a cleaner look.
Using a Cricut cutting machine or SVG files can make the process easier if you want a polished design.
Simply cut the letters out of vinyl, stick them on the canvas, and paint over them.
When you peel off the vinyl, you’ll reveal sharp, beautiful lettering.
For a more casual vibe, consider painting a colorful background and writing your quote in a fun font.
Use contrasting colors to make the text stand out.
This project allows for creativity.
You can mix different colors and styles to match your decor.
Plus, it’s a great way to display words that inspire you every day.
Get your paint and canvas ready, and let your creativity flow!
7) Creative Splatter Art
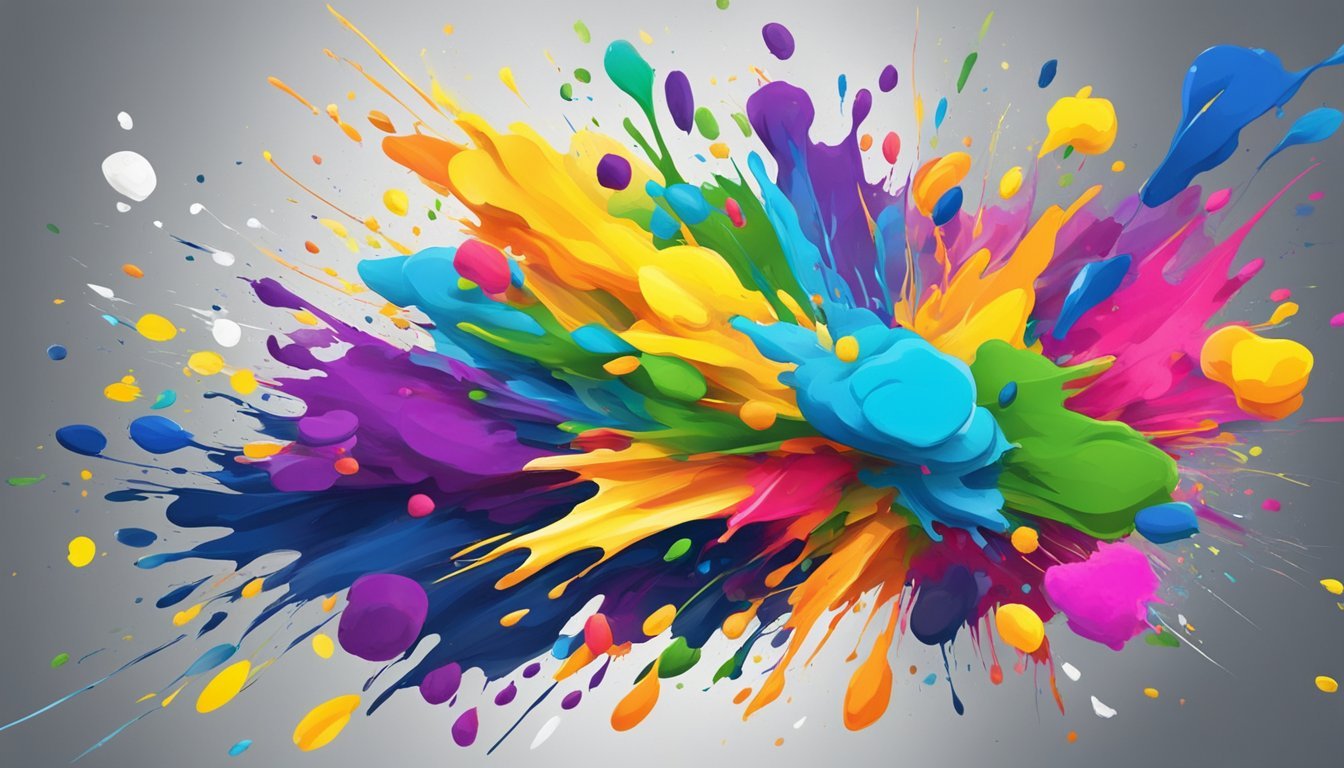
Creative splatter art is a fantastic way to express yourself while having fun.
All you need are some canvases, paint, and tools to create a unique masterpiece.
Start by laying down protective sheets to keep your space clean.
Choose vibrant colors that inspire you and get ready to make a mess.
You can use brushes or spray paint for different effects.
If you’re using brushes, load one with paint and tap it against another brush to flick splatters onto the canvas.
This technique allows you to create a dynamic look with minimal effort.
You can experiment with different colors and patterns as you go.
For a bolder approach, try using spray paint.
Hold the can at varying distances to control the size of the splatters.
This adds a graffiti-style vibe to your artwork.
Don’t forget to explore using tape to create patterns! Tape off sections of the canvas before splattering for a cool contrast.
When you peel the tape away, you’ll reveal sharp lines against the splattered background.
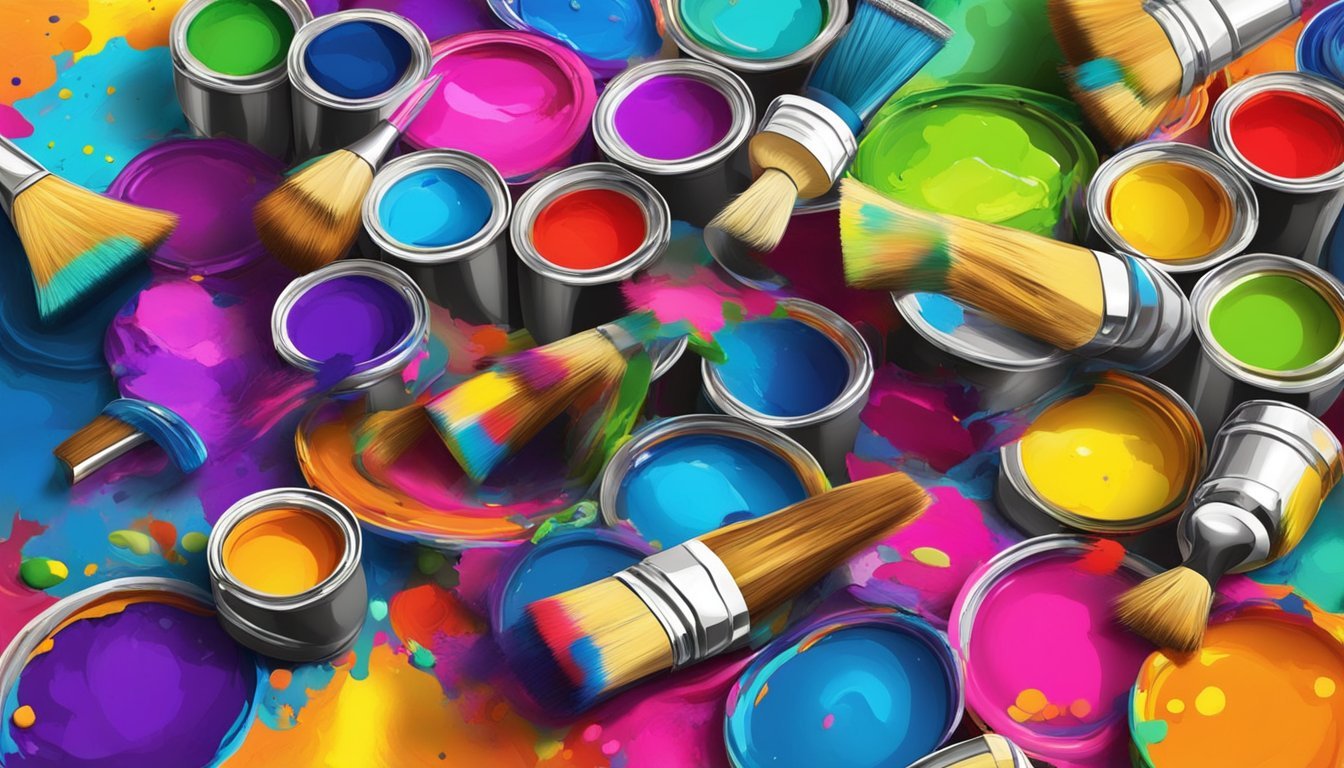
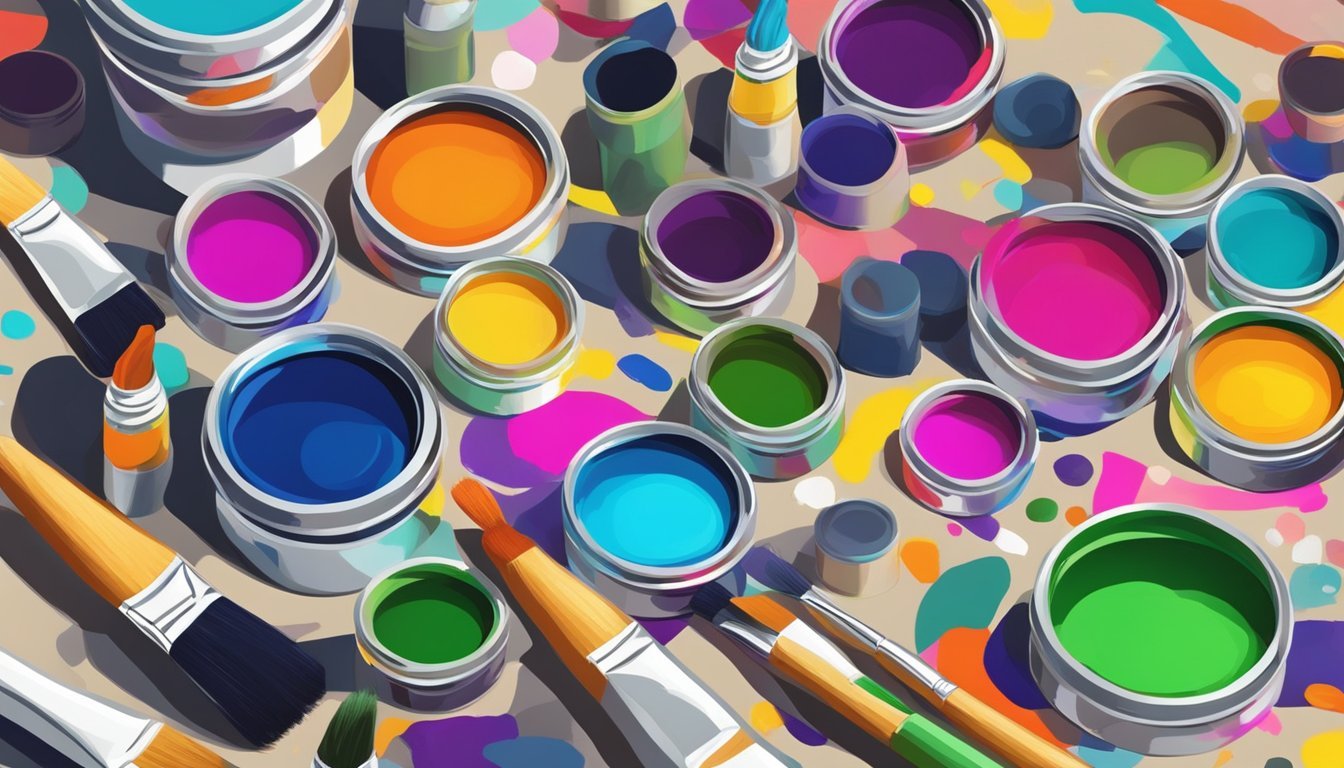
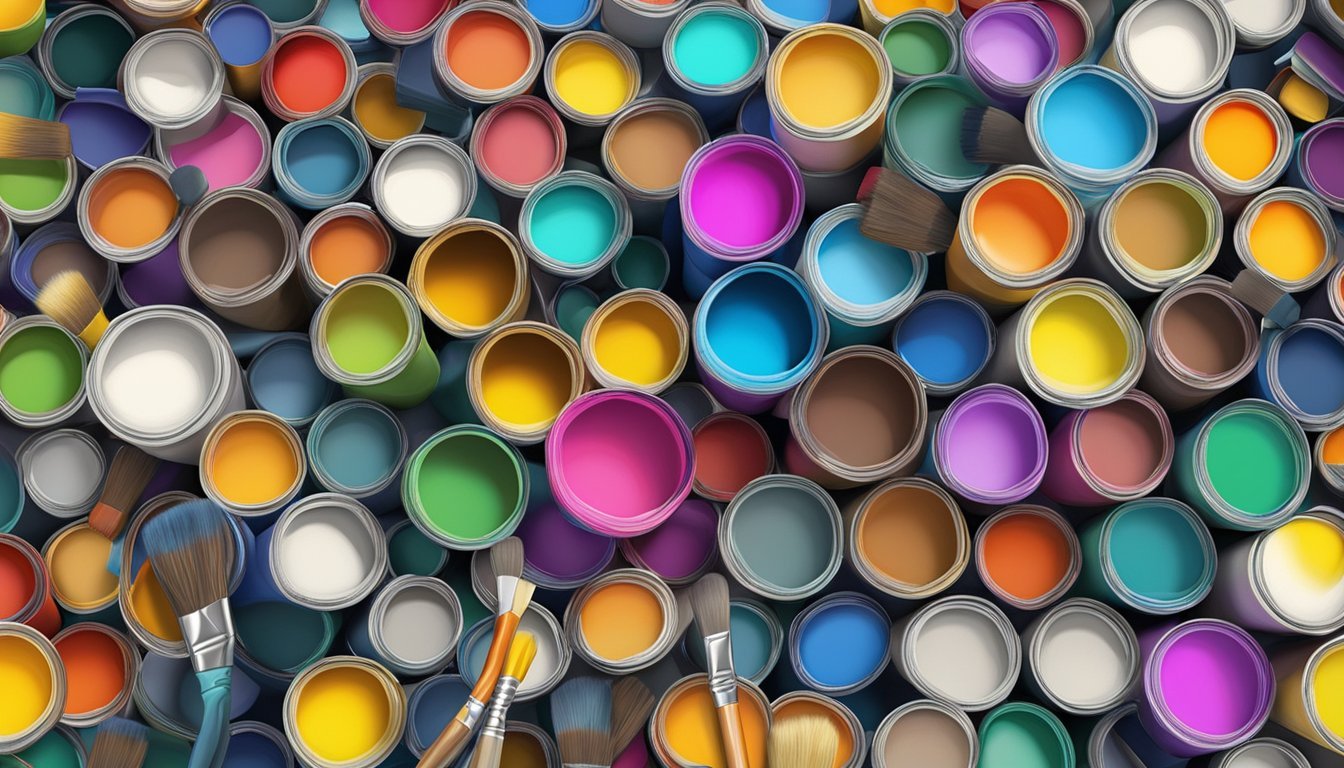
Choosing the Right Paint and Canvas
Selecting the appropriate paint and canvas is crucial for a successful project.
You’ll want to understand the different types of paint and how to choose a canvas that complements your artistic goals.
Types of Paint
When it comes to painting on canvas, two popular choices are acrylic and oil paints.
- Acrylic Paint: Fast-drying and water-based, it’s a great choice for beginners. You can easily mix it with water or mediums for different effects.
- Oil Paint: Requires more time to dry and offers rich colors and texture. However, it involves using solvents for cleanup.
Consider what look and feel you want your final piece to have.
Acrylics are more versatile for quick projects, while oils are perfect for detailed work that takes time.
Canvas Quality and Selection
Canvas comes in various qualities and types.
Here are some factors to consider:
- Material: Cotton and linen are the most common choices. Cotton is affordable and great for beginners, while linen offers durability and a premium feel.
- Primed vs. Unprimed: Primed canvases come ready to paint, enhancing paint adhesion and color vibrancy. Unprimed ones require additional preparation.
Select a canvas size that suits your project—smaller canvases are easier for practice, while larger ones allow for bold artistic statements.
Always check the quality to ensure a smooth painting surface.
Getting Started with Basic Techniques
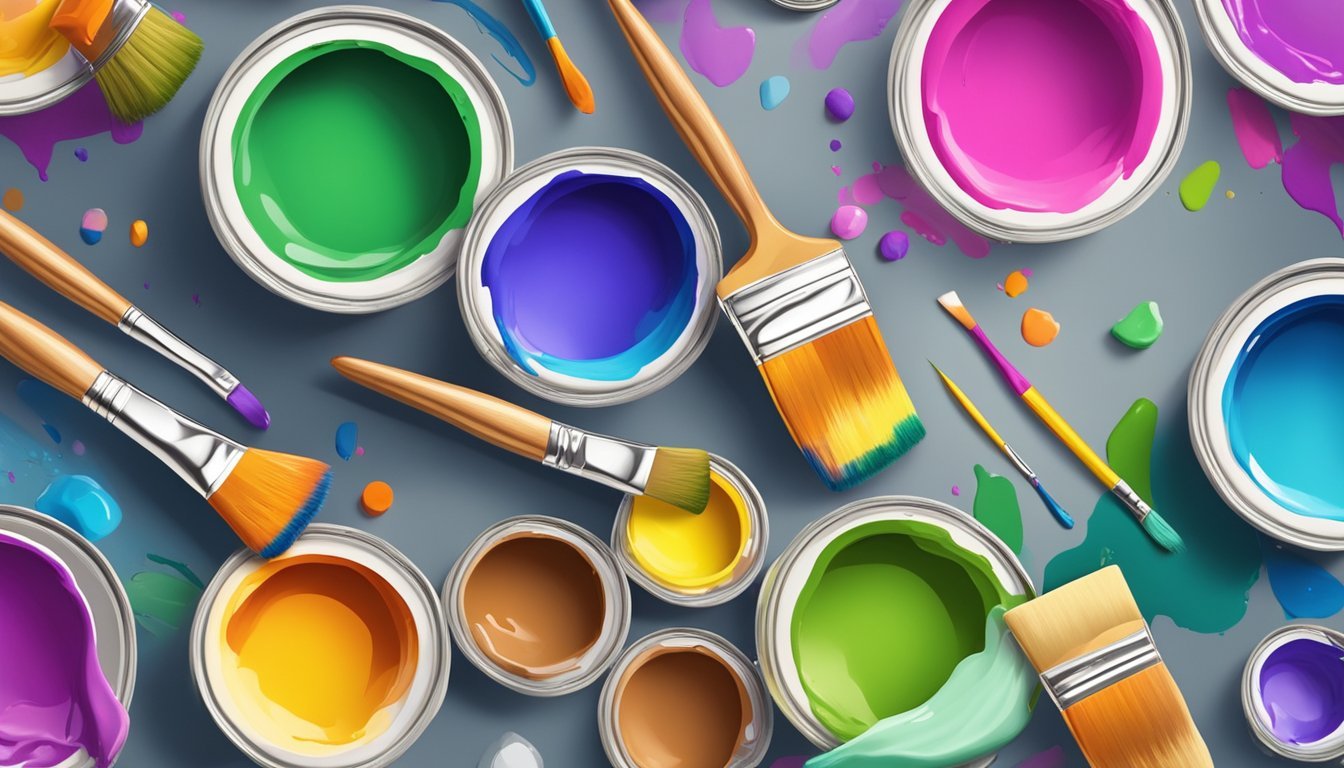
Begin your painting journey by mastering some key techniques.
You’ll want to get a good grasp on how to handle your brushes and mix colors effectively.
These foundational skills will enhance your projects and make the process enjoyable.
Brush Handling Tips
Handling your brush correctly can make a world of difference.
Start with holding the brush closer to the bristles for more control, especially when making detailed strokes.
For broader strokes, grip it further down the handle.
When applying paint, use the side of the brush for soft edges and the tip for fine lines.
Practice different strokes like dabbing, swirling, and dragging to create various textures.
Keep your brushes clean by rinsing them in water between colors.
This prevents muddying your palette.
Additionally, experiment with different brush types: flat brushes for broad strokes, round brushes for detail work, and filbert brushes for a combination of both.
Color Mixing Basics
Understanding color mixing is crucial for achieving the desired hues in your painting.
Start with the primary colors: red, blue, and yellow.
By mixing these, you can create secondary colors: green, orange, and purple.
To mix colors effectively, use a palette knife to blend small amounts of each color thoroughly.
Always start with a little, as it’s easier to add more than to correct an overly mixed shade.
Don’t forget about tinting and shading.
Add white to a color for a tint and black for a shade.
This gives depth and dimension to your artwork.
Keeping a color chart can be handy for reference.
By noting your mixtures, you can replicate your favorite shades in future projects.