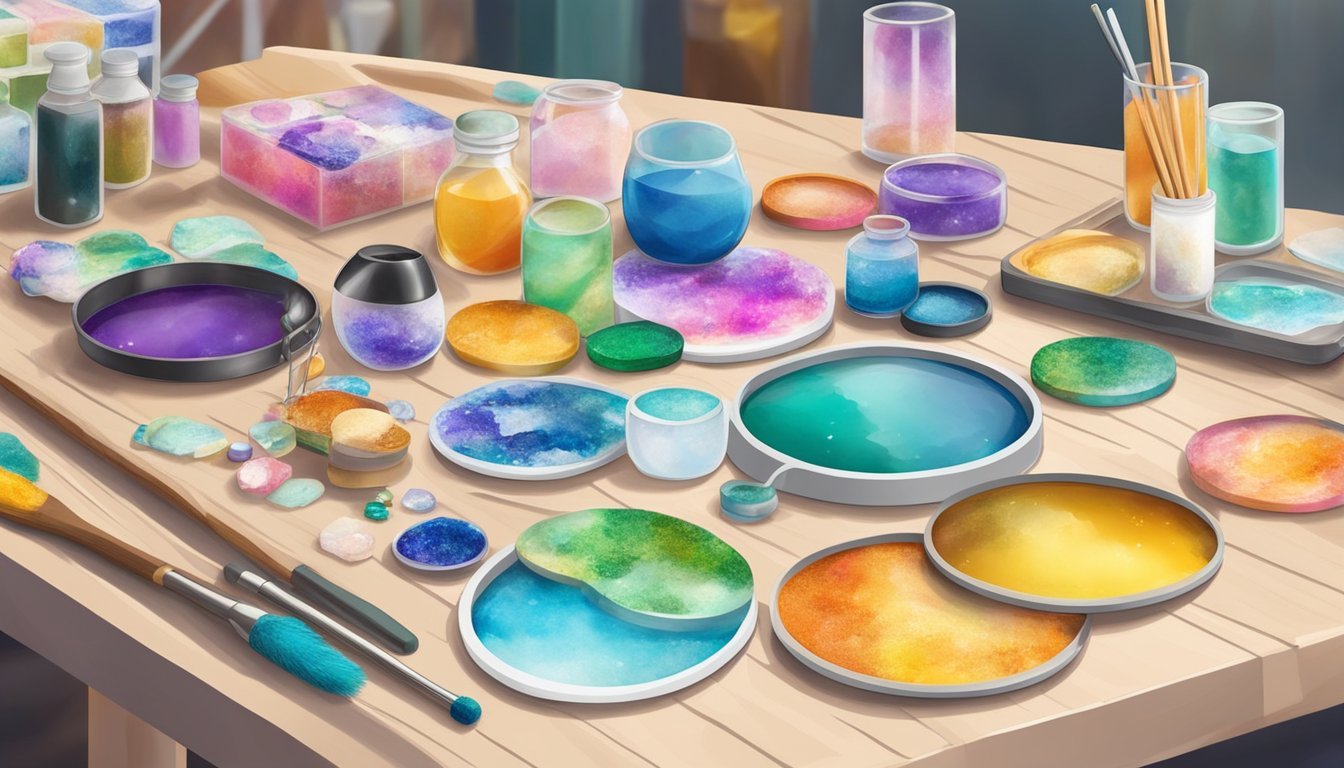
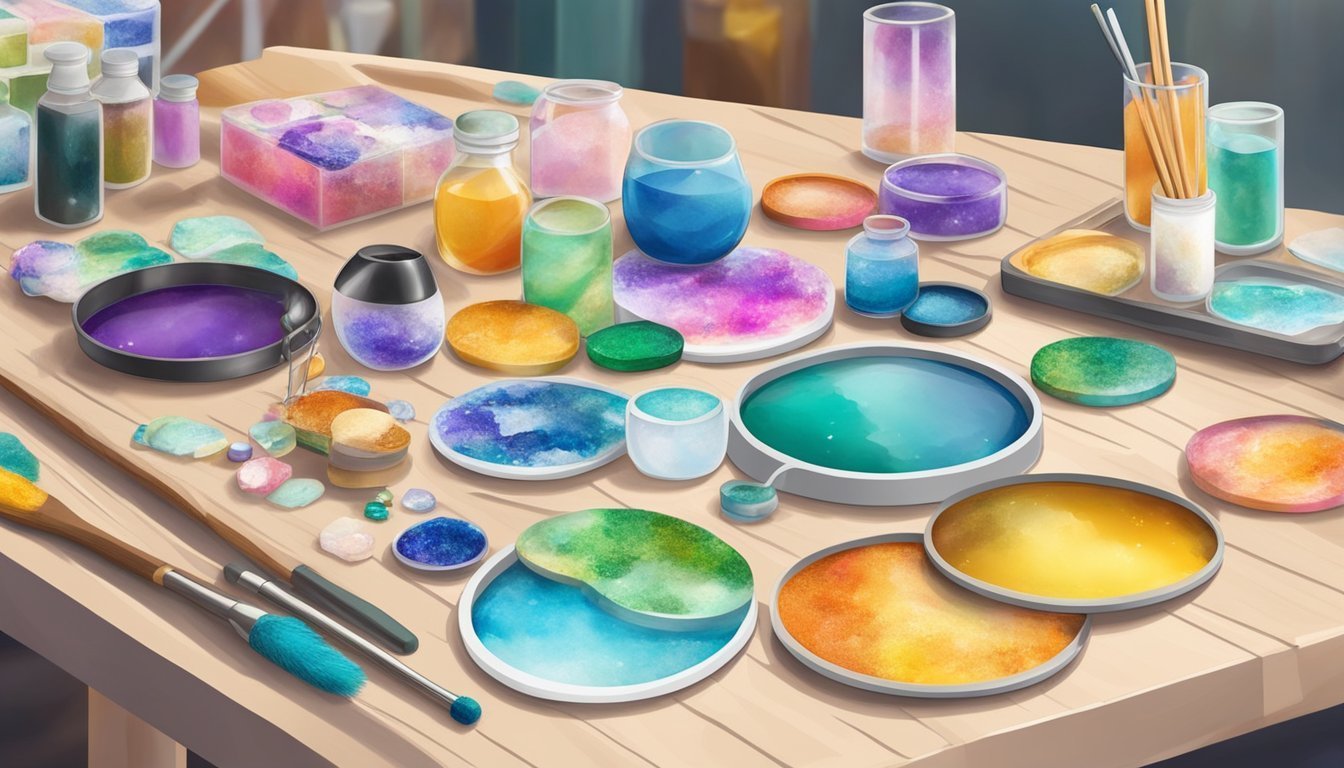
Resin can transform ordinary items into stunning pieces.
It is a versatile material, allowing for countless creative projects. You can create unique décor that reflects your personal style with just a few supplies and a bit of imagination.

From coasters to decorative trays, resin crafts can add a modern touch to your home.
This article explores five easy and stylish ways you can incorporate resin into your DIY projects, making your home both functional and beautiful.
Whether you’re a beginner or have some experience, there’s something here for everyone.
Create Resin Coasters
Making resin coasters is a fun and creative project you can dive into.
They serve a practical purpose while showcasing your artistic side.
Start by gathering your materials.
You’ll need epoxy resin, a hardener, silicone molds, and any decorative items you’d like to include, like pressed flowers or glitter.
Mix the resin and hardener in the recommended ratios.
Stir them well using a wooden stick to ensure they combine properly.
This step is key to achieving the right consistency.
Pour the mixed resin into your molds, filling them about three-quarters full.
If you’re adding decorations, gently place them in the resin.
You can use tweezers or a popsicle stick to position them.
Watch out for bubbles that might form on the surface.
Use a heat gun or your stirring stick to pop them if you see any.
This helps create a smooth finish.
Let the coasters cure as per the resin’s instructions, typically 24 hours.
Once cured, pop them out of the molds.
You now have unique coasters to enhance your home décor!
Craft Resin Jewelry Boxes

Creating resin jewelry boxes is a fun and creative project.
You can customize these boxes in so many ways, making them perfect for storing your favorite pieces.
Start by choosing a silicone mold in the shape and size you want.
Silicone molds work well because they allow for easy removal once the resin cures.
You can add color to the resin using pigments or dyes.
Glitter and dried flowers can also give your box a unique touch.
When pouring the resin, layer different colors for a beautiful effect.
Just make sure to let each layer cure before adding the next one.
After the resin cures, you’ll have a stunning jewelry box that’s both practical and decorative.
It’s a great way to showcase your style while keeping your items safe.
3) Design Resin Wall Art

Creating resin wall art is a fun and creative way to personalize your space.
You can use various colors and additives to achieve unique effects that reflect your style.
Start with a wooden canvas or a sturdy, non-porous surface.
Pour colored resin onto the surface and manipulate it with tools like a palette knife or a torch to create different textures and patterns.
You can add elements like dried flowers, glitter, or even small objects to enhance the artwork.
These additions not only make your resin art visually interesting but also add dimension.
Once you’re satisfied with your design, let the resin cure for at least 24 hours.
This hardening process gives it that glossy, professional finish.
Hang your finished piece in a prominent spot to show off your handiwork.
Resin wall art can be a stunning focal point in any room and is sure to catch the eye of your guests.
4) Make Resin Keychains
Making resin keychains is a fun and creative project.
You can customize them to reflect your style or use them as thoughtful gifts.
Start by mixing the resin according to the package instructions.
For added flair, you can incorporate glitter or tiny charms into the mixture.
Once mixed, pour the resin into silicone molds.
Fill them about one-third of the way to prevent air bubbles.
If you see any bubbles, you can easily remove them with a heat gun or by spritzing with rubbing alcohol.
After the first layer cures, it’s time to add more layers if desired.
You can sprinkle decorative elements like flowers or colored flakes to create depth and interest.
Let each layer cure before adding the next.
Once your keychains are fully cured, carefully remove them from the molds.
Drill a small hole to attach a keyring or a chain, and you’ll have a stylish accessory ready to use!
5) Build Resin Tabletops
Creating a resin tabletop is a rewarding DIY project that can elevate your home décor.
You can customize it to fit your style by choosing colors, shapes, and textures.
Start by gathering your materials, like wood for the base and epoxy resin.
Make sure to follow the instructions for mixing the resin correctly.
Pour the resin over the wood and let it settle to fill any gaps.
To achieve a smooth finish, sand the surface with fine-grit sandpaper once it’s cured.
This removes imperfections and prepares it for coating.
Wipe down the surface with a damp cloth to eliminate dust.
Consider adding pigments or dyes to the resin for unique effects.
For instance, mixing in turquoise can create wave patterns, while streaks of white can mimic ocean foam.
Protect your masterpiece with a coat of polyurethane for durability and a high-gloss look.
This step keeps your tabletop looking fresh and vibrant for years to come.
Understanding Resin and Its Varieties
Resin is a versatile material popular in DIY home décor projects.
Its ability to blend beauty with functionality makes it a great choice for crafting unique pieces.
There are different types of resin, each serving various creative needs.
Types of Resin for Home Décor
Several types of resin are commonly used for DIY projects.
The most popular are:
-
Epoxy Resin: Often used for creating a high-gloss finish, epoxy resin consists of two components—a resin and a hardener. This type is ideal for tabletops, coasters, and other decorative surfaces.
-
Polyester Resin: Generally less expensive than epoxy, polyester resin cures faster but can be more brittle. It’s great for casting smaller items like jewelry or decorative pieces.
-
Uv Resin: Cures quickly when exposed to UV light, making it perfect for small projects and repairs. It’s useful for adding embellishments to other resin pieces.
Why Choose Resin for DIY Projects
Resin offers several advantages for DIY enthusiasts.
-
Durability: Once cured, resin is strong and resistant to scratches, making it perfect for functional items.
-
Customization: You can easily mix in colors, glitters, or even flowers to personalize your craft. This allows for truly unique designs.
-
Clarity: The transparent nature of resin lets you embed objects, showcasing them beautifully while providing a sleek finish.
Using resin can elevate your home’s décor with pieces that are not only aesthetically pleasing but also practical.
Safety Tips for Working with Resin

When you’re getting creative with resin, safety should always be a top priority.
Using the right gear and ensuring proper ventilation can help you enjoy your project without unnecessary risks.
Here’s what you need to know.
Essential Safety Gear
Before you start working with resin, equip yourself with essential safety gear.
This includes:
- Gloves: Use nitrile gloves to protect your skin from irritation and potential chemical absorption.
- Respirator: Wear a respirator approved for organic vapors. Simple masks won’t suffice. A proper respirator will keep harmful fumes at bay.
- Safety goggles: Protect your eyes from splashes and irritants. If you wear glasses, consider goggles that fit comfortably over them.
Remember to wash your hands and face after completing your project to avoid any residue from lingering on your skin.
Investing in quality safety gear can significantly reduce risks.
Working in a Well-Ventilated Area
Good ventilation is key when working with resin.
Here’s how to achieve it:
- Open Windows: Fresh air can help disperse harmful fumes. Open as many windows as possible to create airflow.
- Fans: Use fans to facilitate air circulation. A box fan can pull fresh air in and push fumes out.
- Avoid Confined Spaces: Don’t work in small, enclosed areas where fumes can build up quickly.
Proper ventilation not only makes the workspace more pleasant but also minimizes the risk of headaches and respiratory irritation.
Make this practice a habit for every resin project.


