
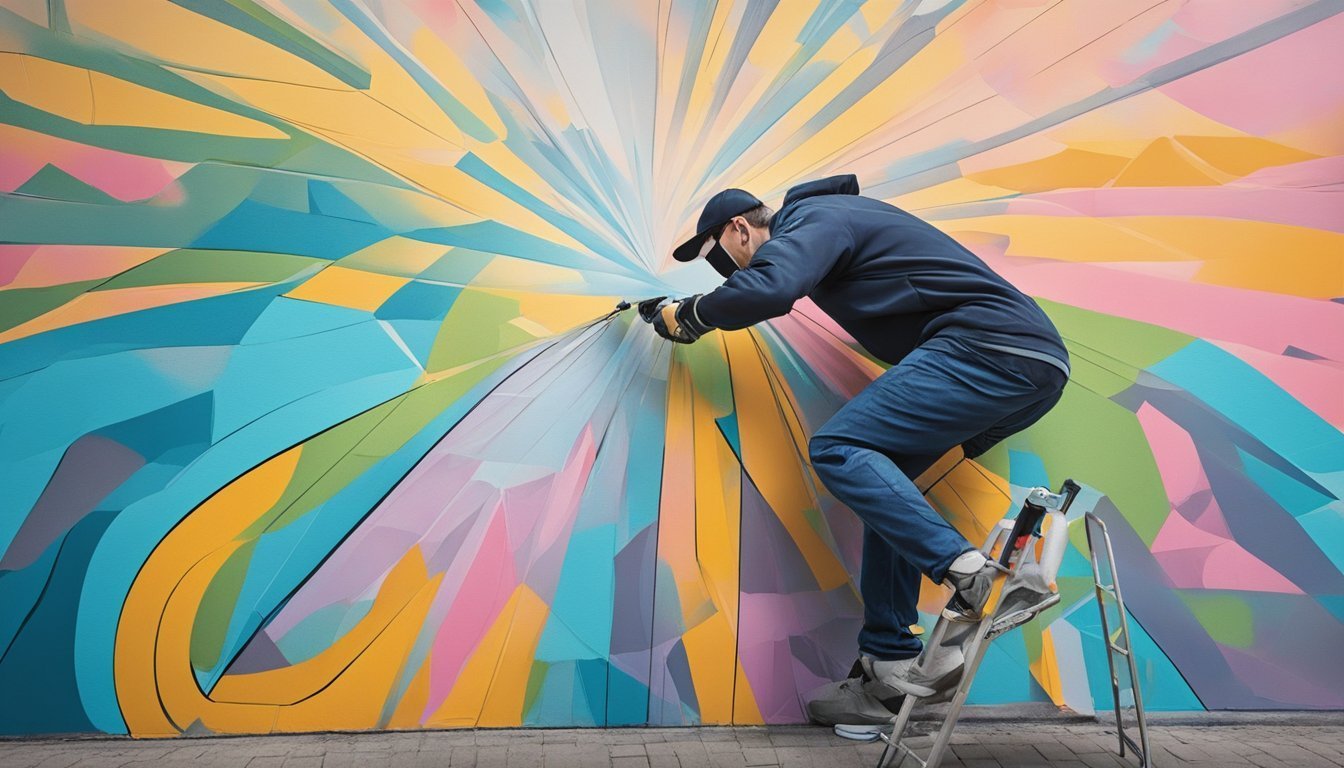
Stenciling can transform everyday items into personalized works of art, making it a fun project for crafters of all levels.
With the right techniques and materials, you can achieve professional-looking results on any surface.
Whether you’re decorating walls, furniture, or fabric, mastering the art of stenciling opens up a world of creative possibilities.

Getting started might seem a bit daunting, but with a few essential tips, you’ll be well on your way to creating stunning designs.
Understanding the best practices can help you avoid common pitfalls, ensuring crisp lines and vibrant colors every time.
The joy of seeing your vision come to life is what makes stenciling a rewarding craft.
1) Choose the Right Stencil Material
Choosing the right stencil material is key to achieving great results.
Different projects call for different materials, so consider what you need.
For fine details, opt for .003″ matte adhesive.
This material holds well and prevents bleeding, ensuring your lines stay crisp.
It’s ideal for intricate designs.
If you’re working on larger projects, a 10 mil stencil is a versatile choice.
It’s suitable for indoor use and can handle some outdoor applications.
Just keep in mind it might struggle in windy conditions.
Also, think about your painting method.
Certain materials work better with specific techniques, like brushes or spray paints.
Ensure the stencil you select complements your approach.
Lastly, always consider the surface you’re working on.
Some materials stick well to wood while others are better suited for metal or fabric.
Choosing the right material helps you avoid common pitfalls and makes your stencil work shine.
2) Secure Your Stencil with Tape
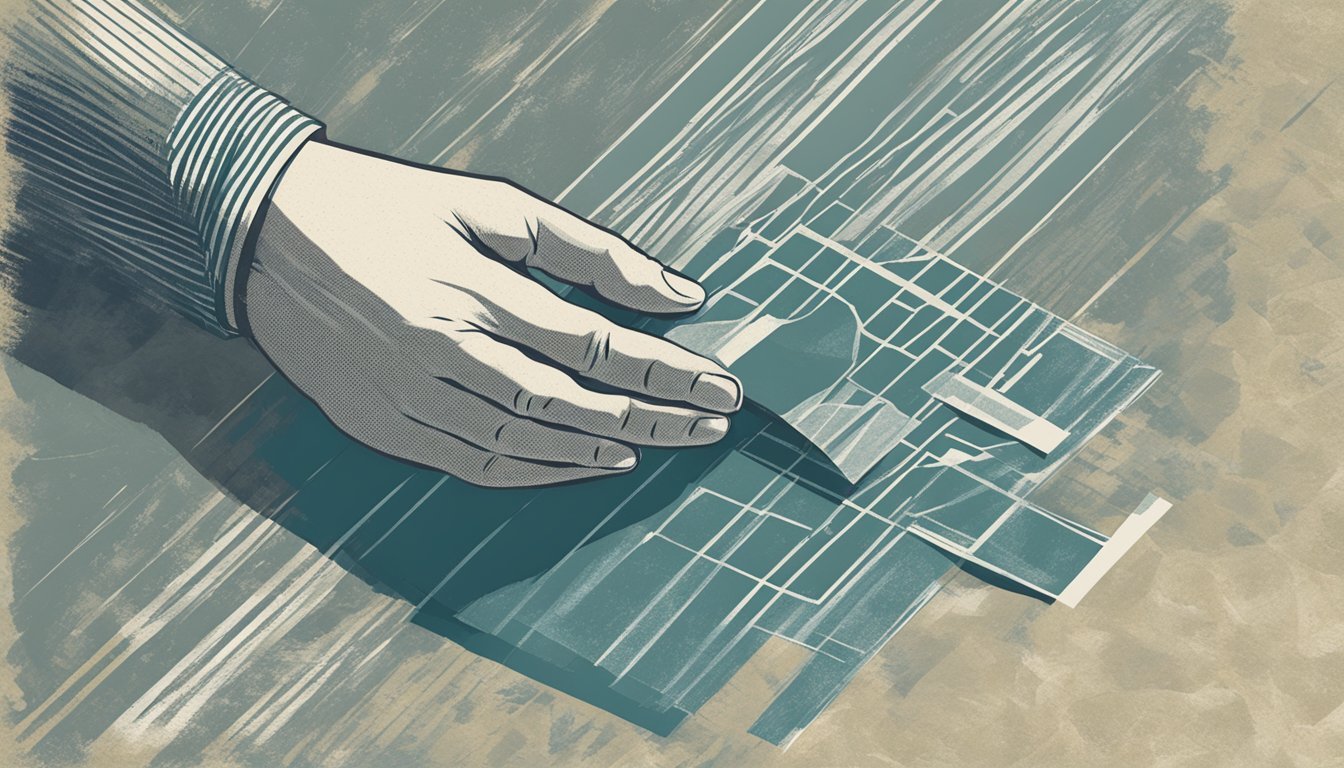
Using tape is crucial for successful stenciling.
It helps keep your stencil in place, preventing any shifting while you paint.
Start by positioning your stencil on the desired surface.
Once it’s aligned, tape down one side with painter’s tape.
This method allows you to easily lift the other side to check your work without losing your placement.
Avoid using too much tape, as it can be hard to remove later.
Just enough to hold the stencil steady is all you need.
When adding paint, maintain gentle pressure to avoid pushing the stencil out of alignment.
Taping down the edges creates crisp lines, enhancing the overall look of your project.
Remember, securing your stencil properly can make all the difference in achieving precise designs.
A little preparation goes a long way in stenciling success.
3) Use a Foam Roller for Even Paint Application
Using a foam roller can be a game changer for your stencil projects.
It helps you achieve a smooth and even application of paint, which is especially useful when working on larger surfaces.
Start by loading your foam roller with paint.
Make sure to roll off any excess to avoid drips.
Light pressure is key; you don’t want to press too hard, which can cause the paint to seep under the stencil.
As you apply the paint, use short back-and-forth strokes.
This technique allows for better control and coverage.
Be patient, and don’t rush the process.
If your initial coat looks a bit light, continue rolling in those short strokes until you reach your desired opacity.
Avoid side-to-side movements to minimize the risk of bleeding.
Finally, once you’re satisfied, carefully peel off the stencil.
With the right technique, your stencil art will have a professional appearance.
Remember, practice makes perfect!
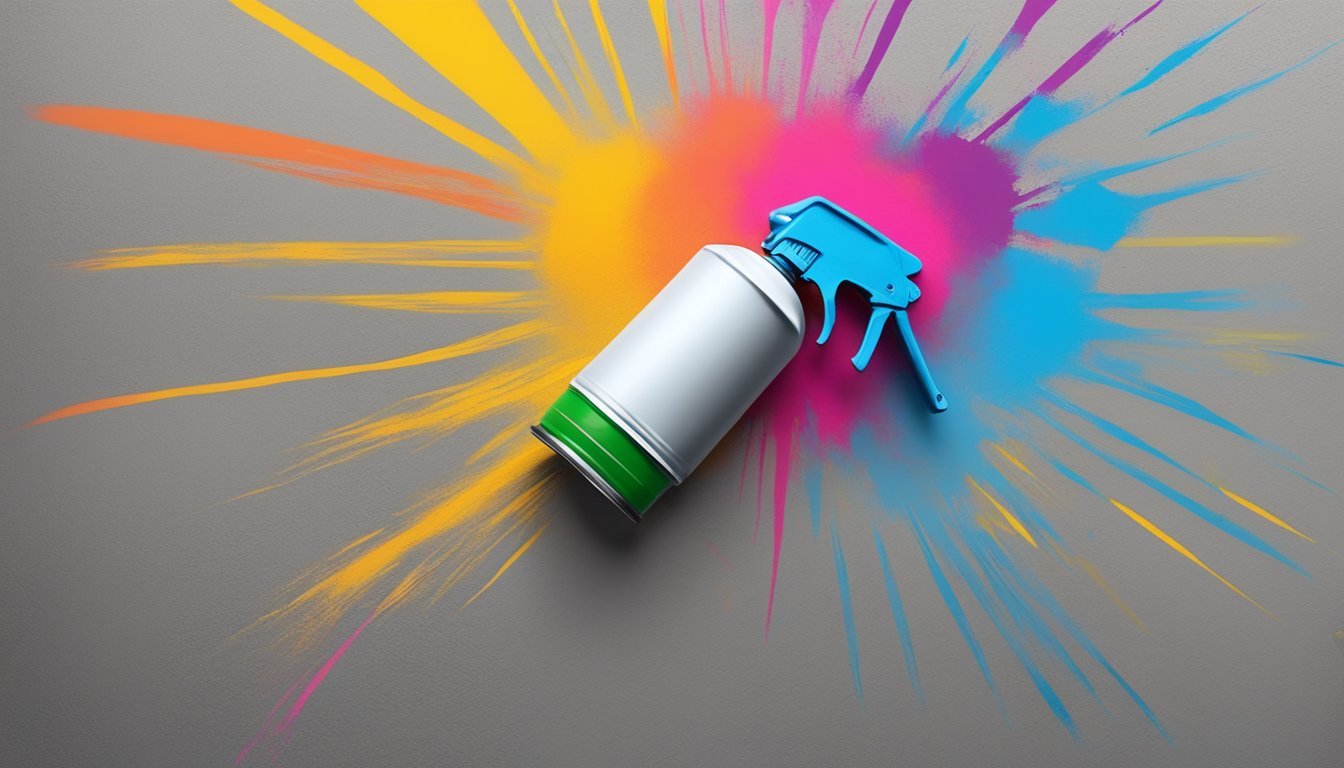
4) Blend Colors for a Unique Look
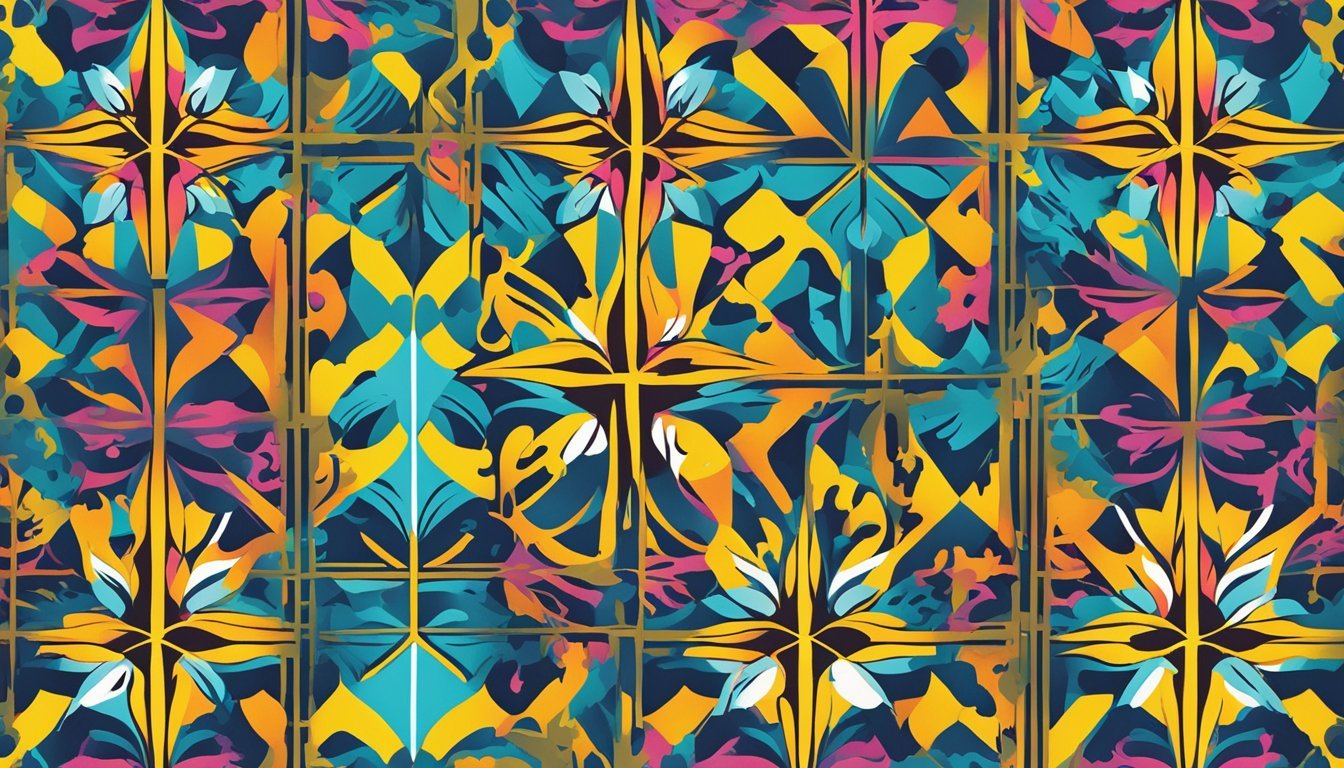
Blending colors in stencil art adds depth and interest to your projects.
You can create unique effects by using shades that are similar or contrasting.
When selecting paint, think about how colors interact.
Light colors can soften bold ones and create a gradient effect.
For a trendy look, try blending spray inks.
They offer a vibrant finish with less mess than paint.
To achieve a smooth blend, start with a base color.
Once it dries, layer a second color on top.
Use a brush or sponge to blend, ensuring a seamless transition between hues.
Experiment with different combinations.
Each layer can transform your art.
Don’t be afraid to play with color placement, too.
Using a light hand will help you control the saturation.
Remember, you can always add more color, but it’s harder to remove it.
Enjoy the process and let your creativity flow!
5) Clean Stencils Immediately After Use
Cleaning your stencils right after you finish using them is key to maintaining their quality.
If you let the paint or ink dry, it becomes much harder to remove.
Start by rinsing the stencil under warm water.
You can gently rub it with your fingers to loosen any residue.
This quick step can save you a lot of time later.
If there’s stubborn paint, apply a mild cleaner and use a soft scrub brush to work it away.
For tougher spots, plastic dish scrapers are helpful to gently lift the paint without damaging the stencil.
After rinsing, dry the stencil with a clean cloth or paper towels.
Be careful not to bend or manipulate its shape while drying.
Laying it flat on a clean surface is the best way to avoid warping.
Understanding Stencil Art Basics
Stencil art is a fun and versatile method for creating designs on various surfaces.
Whether you’re enhancing a canvas or personalizing a t-shirt, knowing its history and the essential materials can elevate your craft.
History of Stencil Art
Stencil art has a rich history that dates back thousands of years.
Ancient civilizations, such as the Egyptians and Greeks, utilized stencils for decorative and functional purposes.
In more recent times, stencil art gained popularity in urban settings, particularly during the rise of street art in the late 20th century.
Artists like Banksy have made stencils a critical tool for expression in public spaces.
Today, stencils are celebrated for their ability to produce consistent and intricate designs, appealing to both amateurs and professionals alike.
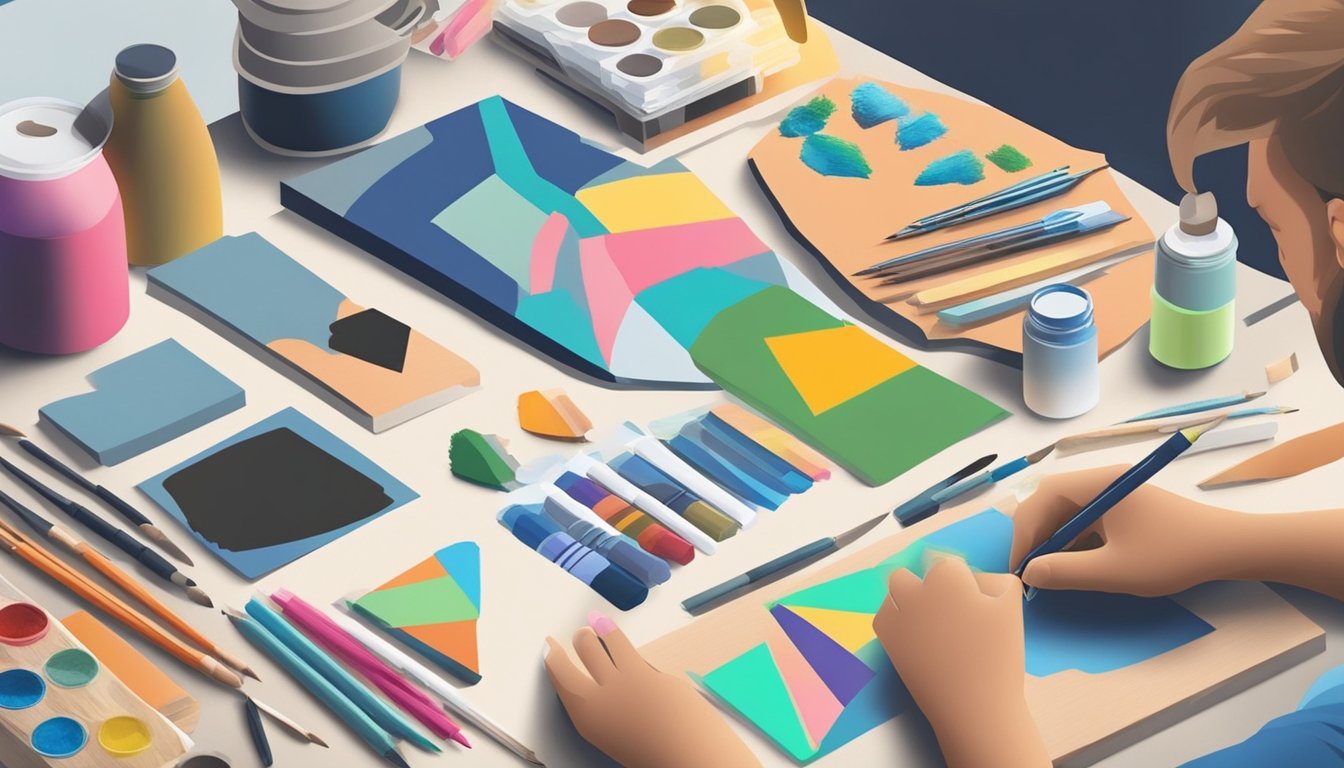
Materials and Tools Overview
To get started with stencil art, you’ll need a few key materials and tools:
- Stencils: These can be made from plastic, cardboard, or metal. Plastic is most popular for durability.
- Paints: Acrylic paints work well on various surfaces. Sprays can produce a smooth finish.
- Brushes and Rollers: Use foam brushes or rollers for even paint application.
- Adhesives: Masking tape or spray adhesive helps to hold your stencil in place, preventing bleed.
- Surfaces: You can use paper, fabric, wood, and even walls. Each surface may require different paint types.
Having the right setup will significantly enhance your stencil art experience.
Try experimenting with various combinations to find what works best for you.
Choosing the Right Surface
Selecting the ideal surface is crucial for achieving great stencil art.
Each material has unique characteristics that affect the final outcome.
Understanding these differences will help you choose the right one for your project.
Wood vs. Fabric
When working with wood, it’s essential to prepare the surface properly.
Start by sanding it with medium-fine grit sandpaper to create a smooth base.
This step ensures that the paint adheres well, resulting in a clean finish.
You might want to apply a primer before stenciling to help the paint pop.
For fabric, choose sturdy materials like canvas or cotton for the best results.
Pre-wash the fabric to remove any finishes that might interfere with paint adhesion.
Use fabric paint to ensure durability, especially if the item will be washed later.
Secure the fabric tightly to prevent movement while stenciling, which can lead to bleeds.
Metal Surfaces
Metal surfaces can bring a sleek look to your stencil art but require special attention.
Begin by cleaning the metal with a solution to remove grease and dirt.
For rusty surfaces, scrub with vinegar and baking soda to eliminate rust.
Once dry, you can apply a primer to help the paint stick.
Make sure to choose paint that adheres well to metal.
Spray paint or acrylics designed for metal surfaces work best.
Apply multiple thin coats rather than one thick layer to avoid drips and ensure even coverage.
Let each coat dry fully before adding the next for optimal results.
Advanced Techniques
To take your stencil art to the next level, consider using layering stencils and blending colors.
These methods can create depth and visually appealing effects that make your artwork stand out.
Let’s dive into the specifics.
Layering Stencils
Layering is all about creating depth and complexity in your designs.
Start with a base layer using one stencil, and let it dry completely.
Choose additional stencils that complement the first design.
- Tip: Rotate or overlap the stencils to create unique patterns.
- Use different colors for each layer to enhance the visual impact.
- Always secure your stencils with tape to prevent smudging.
Experiment with different orientations to keep things fresh.
You can even layer different materials like paper and fabric for an interesting texture.
Blending Colors
Blending colors gives your stencil art a smooth and professional finish.
Begin with a light base coat and apply a second, contrasting color on top.
- Use a sponge or a brush to dab the contrasting color. Work into the edges of the stencil.
- Mix shades to create gradients before applying them.
Consider using tools like Derwent Inktense Blocks for vibrant colors that blend well.
They are water-soluble and allow for easy manipulation.
Monitoring the amount of pressure you apply will help you achieve the desired effect, ensuring a seamless transition between colors.
Experiment with various techniques to find what works best for your style.