
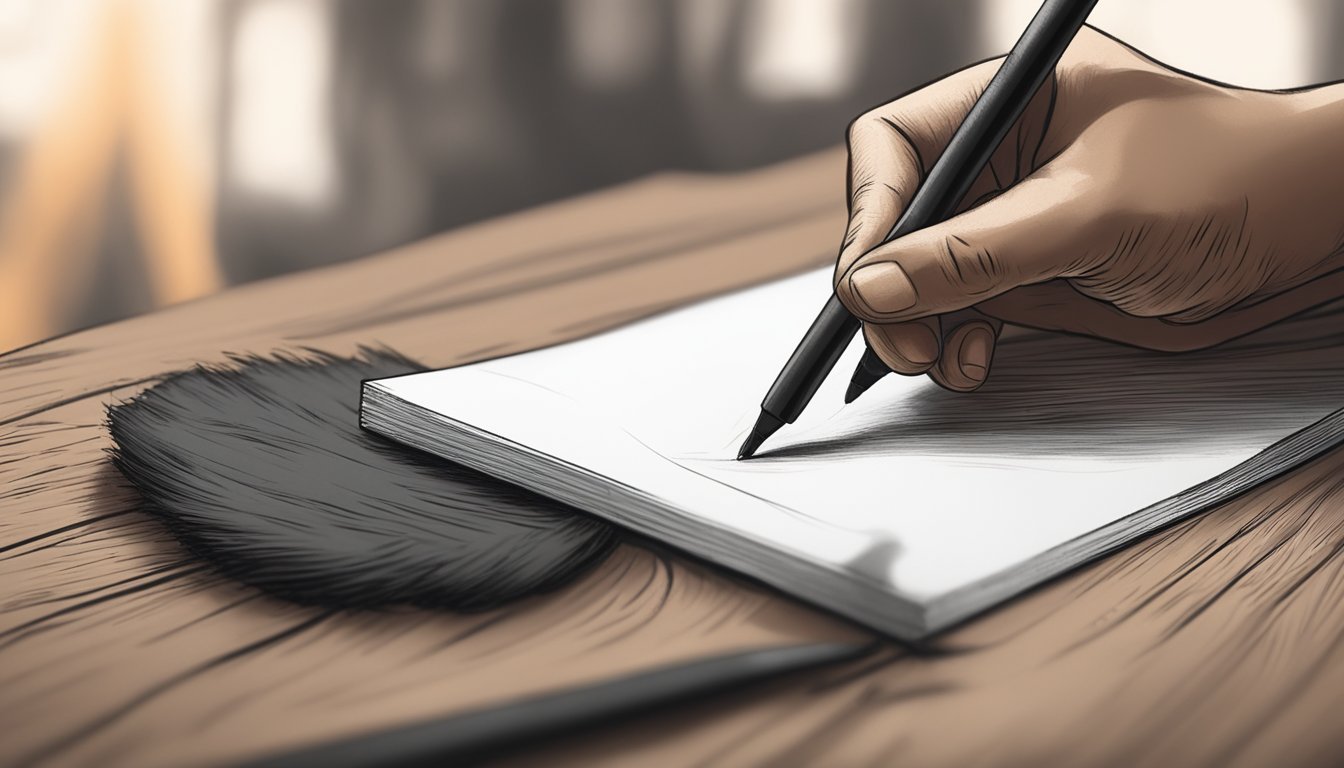
Charcoal drawing is a classic art form that allows you to express your creativity in a unique way.
With its rich textures and deep contrasts, mastering this medium can be incredibly rewarding. In this article, you will discover five essential techniques that will help you create stunning charcoal artworks.

Whether you’re a beginner or looking to refine your skills, understanding the fundamentals of charcoal drawing can elevate your art to the next level.
It’s all about exploring the versatility of charcoal and finding what works best for you.
By practicing these techniques, you can enhance your ability to capture shape, light, and emotion on paper.
1) Exploring Light and Shadows
Understanding how to work with light and shadow is key in charcoal drawing.
It adds depth and dimension to your sketches.
Start by observing your subject.
Look for the lightest and darkest areas, and how they contrast.
Squinting can help simplify the scene and reveal those key light and shadow spots.
Use the white of your paper to represent the brightest highlights.
Then, gradually introduce charcoal to build up darker areas, creating a range of values.
This contrast is what gives life to your drawing.
Practice blending techniques, like using a blending stump or your fingers, to soften lines and create smooth transitions between light and dark.
This will help achieve a more realistic effect.
Remember that shadows aren’t just dark spots; they have their own shapes and gradients.
Pay attention to how they fall and interact with your subject.
This practice can significantly enhance your charcoal drawing skills.
Layering Techniques
Layering is key when it comes to charcoal drawing.
It allows you to build depth and richness in your artwork.
Start with vine charcoal for the initial layers.
It’s light and easy to manipulate, perfect for sketching out your basic forms.
Once you have your outlines, you can move on to compressed charcoal.
This gives you those deeper, darker tones.
Apply it lightly at first, then gradually build up your intensity.
Feel free to use different tools for blending.
Your fingers work well, but you can also try a chamois or a tortillon to create smooth transitions between layers.
This adds a soft texture that enhances your drawing.
Experiment with the pressure you apply.
Light pressure will allow for softer shading, while heavier pressure creates more dramatic contrasts.
Each layer tells part of your drawing’s story, so take your time and enjoy the process.
Choosing the Right Paper

Selecting the right paper is crucial for successful charcoal drawing.
The texture and weight of the paper can significantly impact your results.
Heavyweight paper works best because it can withstand the pressure of charcoal application.
Look for paper that has a bit of texture, which helps the charcoal grip better and create richer tones.
Smooth paper might seem appealing, but it won’t hold the charcoal as effectively.
You may end up with smudges instead of defined lines.
Another idea is to experiment with different types of paper.
Each type can give your artwork a unique feel and look.
Make sure the paper is specifically designed for drawing to ensure the best results.
Some brands even offer paper made for charcoal, which can enhance your experience.
Always consider your personal style and the effects you want to achieve.
The right paper can elevate your work and make your drawings stand out.
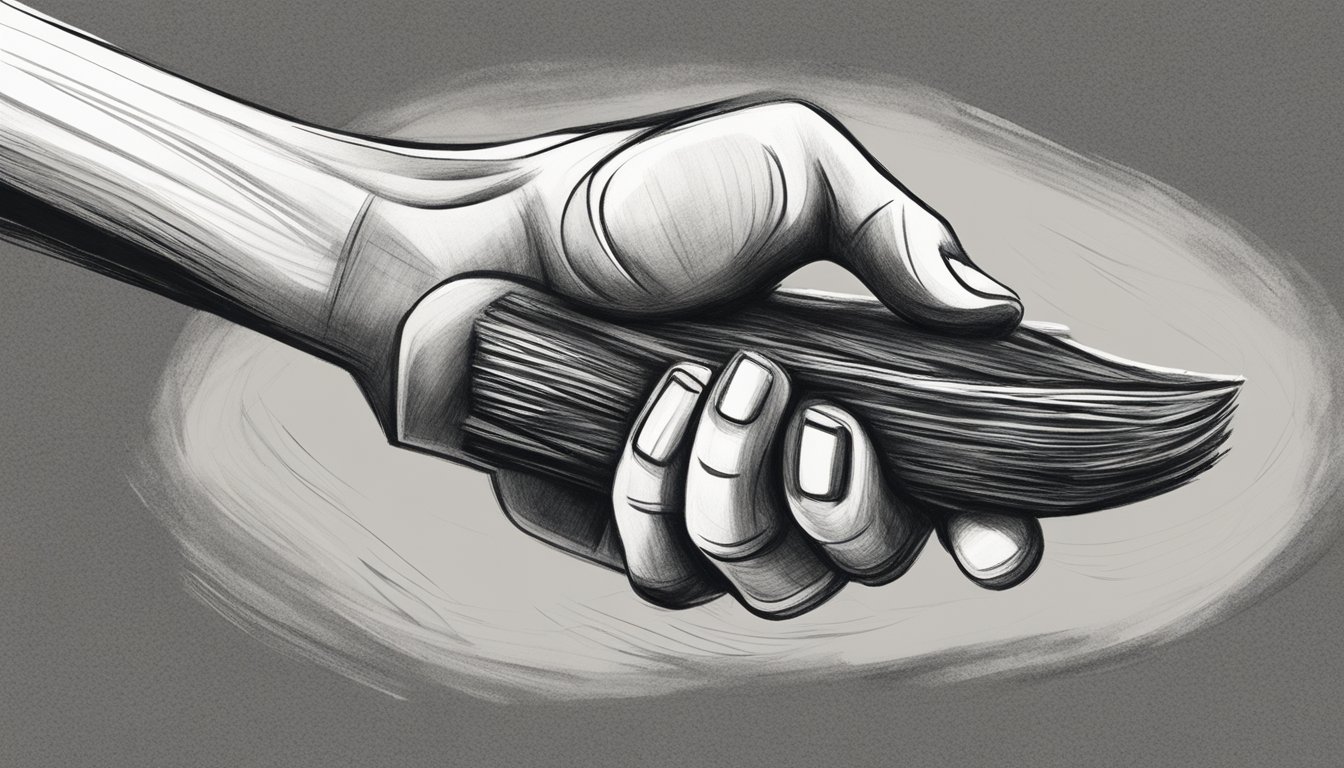
Charcoal Pencil Grips
Finding the right grip for your charcoal pencil can significantly affect your drawing technique.
A relaxed yet controlled grip allows for better precision and fluidity.
You might try holding the pencil closer to the tip for detailed work.
This gives you more control over finer lines.
For broader strokes, consider gripping it farther back.
This allows for smoother movements across the paper.
Another approach is to hold the charcoal more lightly.
A gentle grip can help you make softer lines and tones.
Pay attention to how each grip feels; comfort can enhance your creativity.
As you practice, notice how your grip impacts your sketches.
Make adjustments based on your comfort and the effects you want to achieve.
Each artist develops their unique style, so embrace the process.
Incorporating Fine Details
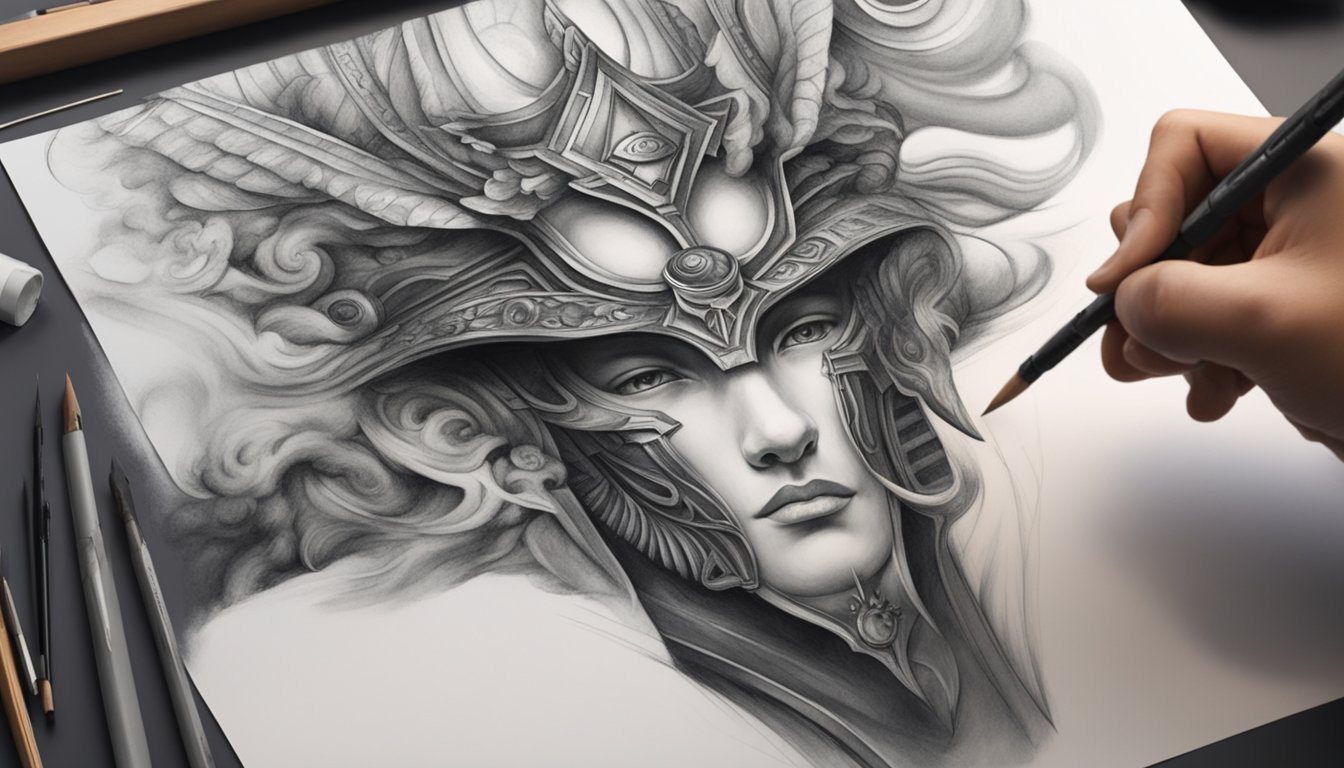
When you’re working with charcoal, tiny details can make a big difference.
Focus on the texture and surface quality of your subject.
Use varied pressure while drawing to represent different textures.
For instance, a soft touch can mimic smooth skin, while a firmer hand can recreate the look of rough bark.
Layering is key.
Start with light strokes, gradually building up the depth and richness of your tones.
This method gives your drawing a more realistic feel.
Employing different tools can also enhance fine details.
Try using a tortillon for blending or a kneaded eraser to lift highlights.
These techniques can bring out the intricacies you want in your artwork.
Take your time with these details.
Patience is essential when capturing the nuances that can elevate your charcoal drawings.
Play around and experiment with different techniques to see what works best for your style.
Understanding Charcoal Types
When stepping into the world of charcoal drawing, it’s essential to know the different types available.
Your choice of charcoal can significantly influence your artistic style and techniques.
Here’s what you need to consider.
Choosing The Right Charcoal for Your Style
There are various types of charcoal, and each one offers unique qualities.
Choosing the right charcoal depends on your artistic goals.
-
Vine Charcoal: This type is soft, easy to erase, and great for sketching. It allows a broader range of values and is ideal for beginners.
-
Compressed Charcoal: This is denser and darker, perfect for bold lines and intense shading. It’s less forgiving than vine charcoal but provides excellent depth.
-
Charcoal Pencils: These offer precision and control, suitable for detailed work or fine lines. They’re a great option for intricate designs.
Selecting the right type aligns with your artistic medium and desired effects.
Experimenting with different charcoals can help you find your preference.
Differences Between Vine and Compressed Charcoal
Knowing the distinctions between vine and compressed charcoal will help you decide which suits your needs best.
-
Texture: Vine charcoal is softer and smoother, allowing for easy blending. Compressed charcoal is firmer and can produce richer, darker lines.
-
Application: Vine charcoal is great for layering and building up tones gradually. Compressed charcoal works well for striking contrasts and heavier shadows.
-
Erasability: Vine charcoal erases easily, making it forgiving for mistakes. Compressed charcoal is tougher to erase, often leaving marks behind.
Understanding these differences can steer your choices, ensuring you have the right tools to create your best artwork.
Grasping Basic Techniques
Mastering charcoal drawing starts with understanding essential techniques that lay the groundwork for your art.
Focusing on shading, blending, texture, and depth will elevate your skills significantly.
Shading and Blending Basics
Shading is crucial for creating the illusion of depth in your charcoal drawings.
Begin with vine charcoal, which allows for light strokes and a soft touch.
This will help you establish a base for your shading.
Once you cover an area, use a tortillon, your fingers, or a chamois to blend.
This step enhances the smoothness of the tones.
Aim for a gradual transition from light to dark using different pressures.
Experiment with cross-hatching to add variation.
This technique involves layering lines in different directions.
Use finer strokes for lighter areas and heavier pressure for darker spots.
Creating Texture and Depth
Texture adds realism to your work, making it feel more dynamic.
Start by experimenting with different charcoal types.
Compressed charcoal provides bold, dark lines, while softer vine charcoal helps achieve delicate details.
Building layers is key.
Begin with light sketching using vine charcoal to outline your subject.
Gradually build up tone with compressed charcoal, focusing on areas that need depth.
Blend as you go to maintain consistency in texture.
For added interest, try using a kneaded eraser.
This tool can lift charcoal to create highlights or soften edges.
Employ it carefully to maintain control while developing textures such as fur, leaves, or fabric.