
Making your own soap can be a fun and rewarding hobby.
With just a few techniques, you can create stunning, personalized bars that not only smell great but also look beautiful. This article will introduce you to five techniques that will elevate your handmade soap game.

Whether you’re a beginner or have some experience, exploring these methods can open up a world of creativity.
From swirling colors to adding unique textures, you’ll find ways to make each bar truly your own.
Get ready to discover how easy it is to add a touch of artistry to your soap-making process.
1) Cold Process Method
The cold process method is a popular way to make soap at home.
It involves mixing oils, lye, and water to kick off a chemical reaction called saponification.
Start by measuring your ingredients accurately.
You’ll need solid oils and a liquid like water.
Make sure to heat the solid oils gently until they melt, but don’t exceed 110 degrees Fahrenheit.
Once your oils are ready, carefully mix in the lye solution.
Blend the mixture with a stick blender until it reaches “trace,” which means it thickens and leaves a trail on the surface.
You can then pour the soap batter into molds.
Tap the molds gently to release any air bubbles.
Cover them with a towel to keep the heat in as the soap saponifies.
After 24 to 48 hours, check the soap.
If it’s firm enough, you can remove it from the mold.
Let it cure for several weeks before using to ensure it’s safe and effective.
Enjoy the process of creating your own unique bars!
2) Melt and Pour Technique
The melt and pour technique is a favorite for many soap makers.
It’s super simple and perfect for beginners.
You start with a pre-made soap base, which can be found in craft stores.
Cut the soap base into small chunks.
This helps it melt evenly, so you get a smooth texture.
You can use a microwave or a double boiler for melting.
If you choose the microwave, heat it in short bursts and stir often.
Once melted, you can customize your soap.
Add your favorite colors, scents, and even some fun ingredients like dried flowers or exfoliants.
This is where your creativity shines.
Pour the melted mixture into molds and let it cool.
In just a couple of hours, your soap will be ready to use.
Enjoy the process and have fun experimenting with different designs and scents.
3) Hot Process Method
The hot process method is a fun and efficient way to make your own soap.
It involves cooking the soap batter on low heat, which accelerates the saponification process.
You’ll start by mixing your oils and lye, then place the mixture on the heat.
Keep an eye on it as it cooks for about 30 to 45 minutes.
You want the batter to reach a glossy, vaseline-like texture.
Once you see that consistency, the soap is ready to pour into molds.
This method allows you to use your soap immediately, with little to no cure time needed.
Hot process results in a rustic and handmade look, perfect for those who love a personal touch.
You can also customize it by adding herbs or essential oils during the mixing stage.
Enjoy watching your soap cook, as the transformation is both satisfying and rewarding.
4) Liquid Soap Making
Making liquid soap can be a fun and rewarding process.
You can create your own customized soap that’s gentle on the skin.
Start by grating a bar of 100% natural soap.
This forms the base of your liquid soap.
Heat a quart of distilled water until it’s just simmering, then sprinkle in the grated soap.
Let the mixture cool to room temperature.
Avoid stirring too much, as this can cause it to lather.
Once it’s cooled, you’ll have a lovely liquid soap ready to use.
For a more personalized touch, you can add essential oils.
A few drops of lavender or sweet almond oil can provide a pleasant scent and additional benefits for your skin.
If you want to make a larger batch, consider using a gallon of water and multiple bars of soap.
Just remember to adjust the ratios accordingly.
You can store your liquid soap in a pump dispenser for easy access.
Enjoy experimenting with different scents and textures to find what you love best!
5) Milk Soap Bars

Making milk soap bars is a fun way to add a creamy texture to your creations.
Goat milk is a popular choice for its moisturizing properties.
To start, freeze your goat milk to keep it from scorching when you add the lye.
Gradually add the lye while stirring constantly.
This helps melt the milk without burning the sugars.
Combining your oils is next.
Heat them gently in a saucepan until they’re melted.
Slowly mix the hot oils with the milk and lye mixture, stirring until you reach trace.
Using a stick blender makes this process easier.
You can blend until the mixture thickens, allowing for beautiful swirls or designs.
Once you pour the soap into molds, let it sit for about 24 hours before unmolding.
After that, allow the bars to cure for 4-6 weeks.
This step is essential for developing the best texture and lather.
Milk soap bars not only look great but also nourish your skin.
They make a lovely addition to your soap-making repertoire.
Enjoy the process and experiment with different additives like scents or colors to personalize your bars!
Basic Ingredients for Handmade Soap

When making handmade soap, understanding the basic ingredients is key to creating a product that is both beautiful and functional.
You’ll primarily work with oils, fats, and lye, each playing a crucial role in the soap-making process.
Types of Oils and Fats
Choosing the right oils and fats is essential for creating different soap qualities.
Here’s a list of common options:
- Coconut Oil: Provides excellent lather and a hard bar. Use in moderation to avoid drying skin.
- Olive Oil: Nourishing and great for sensitive skin. It results in a softer, more conditioning soap.
- Palm Oil: Adds firmness and stable lather. Make sure to source sustainably.
- Shea Butter: Excellent for moisturizing and gives a creamy texture.
Experimenting with combinations of these oils can create unique skin benefits and textures.
A balanced blend often leads to the best results.
Understanding Lye and Its Safety
Lye, or sodium hydroxide, is necessary for saponification, which turns oils into soap.
Working with lye requires careful attention to safety.
Always wear gloves and goggles to protect yourself from splashes.
When mixing lye with water, do so in a well-ventilated area to avoid the fumes produced.
Remember, lye must be completely dissolved before adding oils.
Never mix lye with any liquid other than water.
Proper storage of lye is crucial as it’s a hazardous substance.
Keep it in a labeled container out of reach of children and pets.
Following safe handling practices ensures a successful soap-making experience.
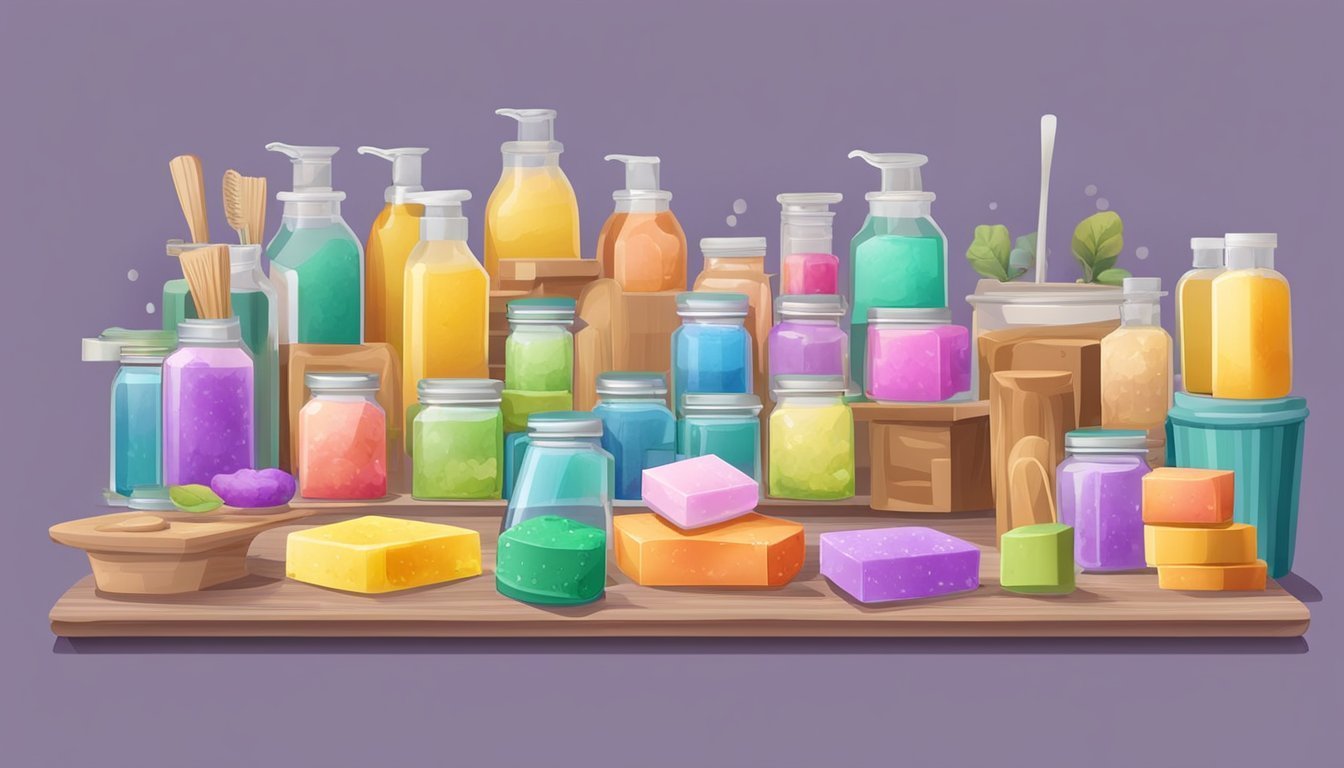
Scenting and Coloring Your Soap
Adding scent and color to your soap can enhance its appeal and make your creations truly unique.
You have options when it comes to fragrances and colorants, each providing different benefits and aesthetics.
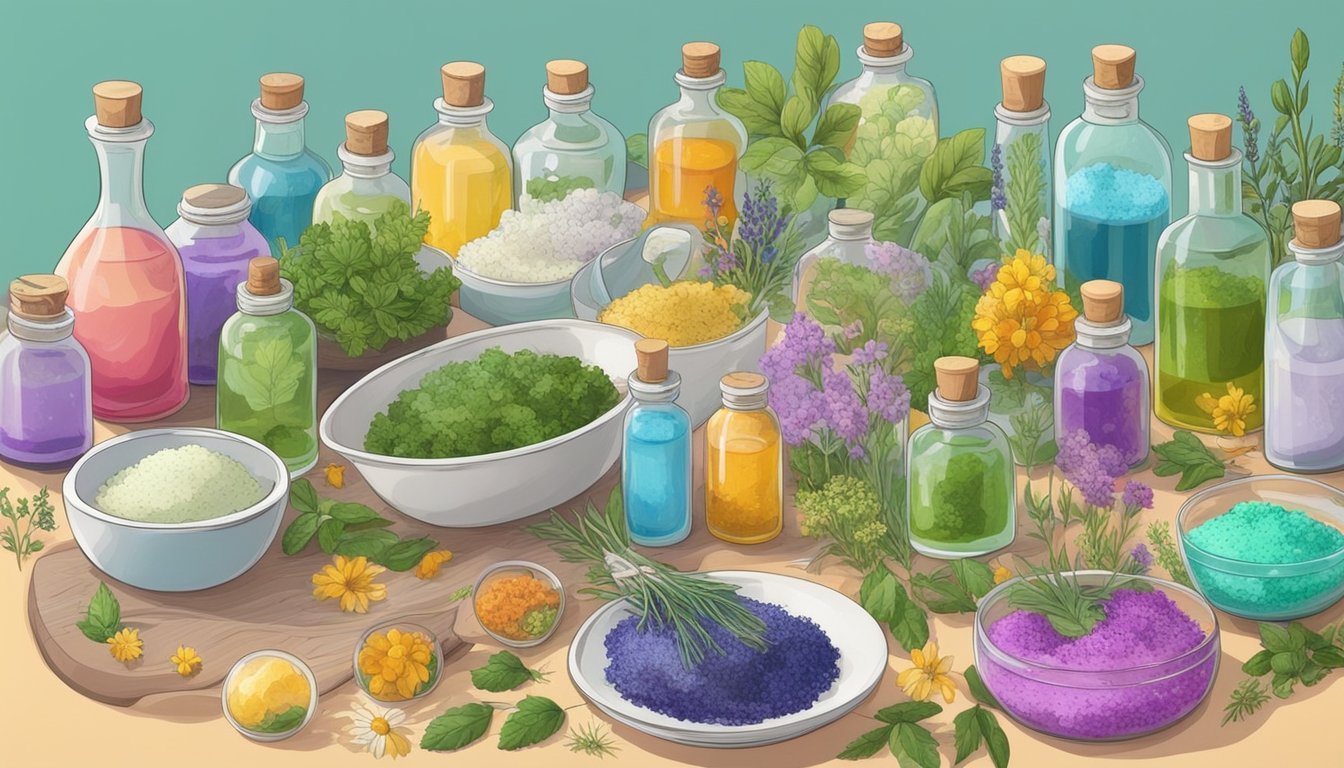
Natural vs Synthetic Fragrances
When selecting scents for your soap, you can choose between natural and synthetic fragrances.
Natural fragrances often come from essential oils, extracted from plants, herbs, and flowers.
They offer therapeutic benefits and a more earthy aroma.
Some popular options include:
- Lavender: Calming and soothing.
- Peppermint: Invigorating and refreshing.
- Cedarwood: Warm and grounding.
On the other hand, synthetic fragrances can provide a wider variety of scents, often mimicking complex aromas that may not be available naturally.
They typically last longer in soap and may be less expensive.
However, always check for skin sensitivity, especially with synthetic options.
Choosing Safe Colorants
Colorants can transform your soap into a visual masterpiece.
When selecting colorants, consider both natural and synthetic options.
Natural colorants come from plants, herbs, and minerals.
Examples include:
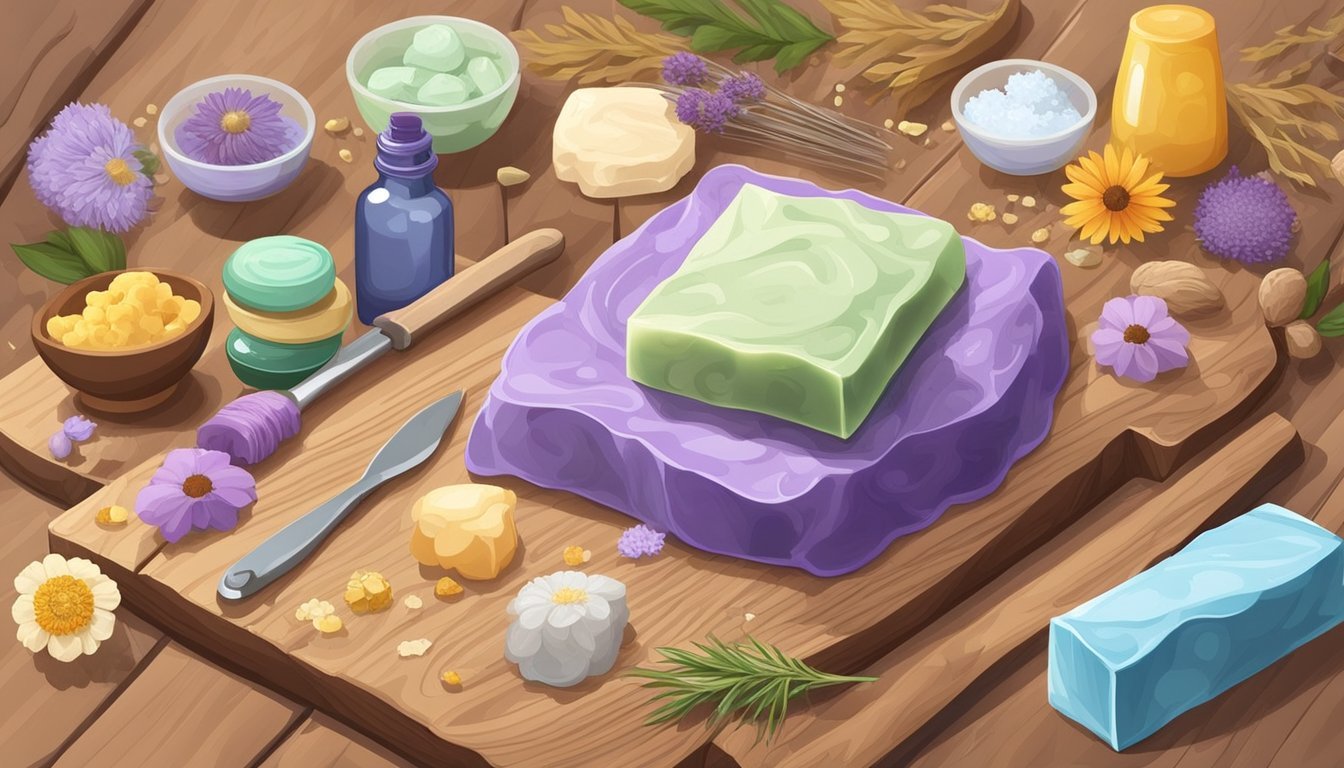
- Alkanet root: Produces a beautiful purple hue.
- Spirulina: Yields a vibrant green.
To use, you typically infuse the colorant into your oils before mixing them with lye.
This ensures even distribution.
Synthetic colorants, often labeled as FDA-approved, offer bright, vivid colors that can last longer compared to natural ones.
It’s essential to ensure these are skin-safe and suitable for soapmaking to avoid any adverse reactions.
Whichever option you choose, always do a patch test to check for allergies before incorporating your chosen scent or colorant fully into your soap batch.
Final Touches for a Professional Finish
To elevate your handmade soap, focus on the final touches that can transform it from good to stunning.
Attention to detail in molding, shaping, curing, and packaging will make a significant difference in the overall appearance and quality of your soaps.
Molding and Shaping Techniques
Using the right molds is crucial for achieving a professional finish.
Silicone molds are popular for their flexibility and ease of use.
They allow for intricate designs and detail, making your soap visually appealing.
For shaping, consider techniques like bevelling, which creates smooth edges.
You can use a beveller to refine the corners of your soap bars, giving them a clean, polished look.
Also, layering techniques, such as the Column Pour, allow for beautiful patterns and colors that can enhance the aesthetic of your soap.
Experiment with texture on top of the soap.
Using tools like spatulas or combs can create appealing designs that make your product stand out.
Curing and Packaging Your Soap
Curing is a crucial step in soap making.
After molding, let your soap cure in a cool, dry place for about 4-6 weeks.
This process allows excess moisture to evaporate.
As a result, it ensures a firmer, longer-lasting bar.
When it comes to packaging, consider options that reflect your brand.
Simple designs using kraft paper or decorative wraps can make a big impact.
You might include labels that detail ingredients and benefits to enhance customer trust.
Adding a personal touch, like a custom tag or ribbon, can make your soap feel special.
Beautiful packaging not only protects your product, but also elevates its appeal.
This encourages customers to choose your soap over competitors.