
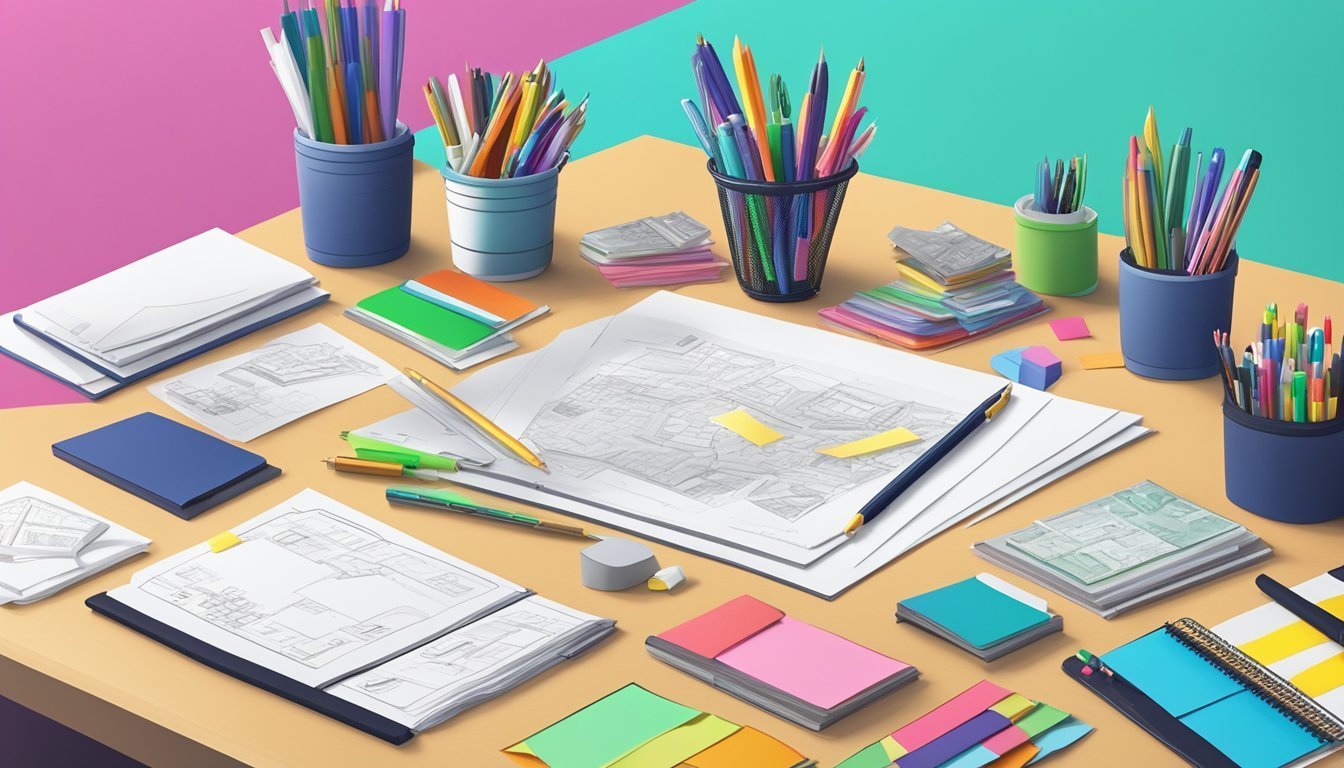
Custom stationery adds a personal touch to your notes, cards, or letters, making them stand out in a world of digital communication.
With just a few fun projects, you can easily express your creativity and style.
Whether you’re looking to impress friends or simply enhance your writing experience, these DIY ideas will inspire you to craft unique pieces that reflect your personality.

From playful designs to elegant touches, the world of custom stationery is rich with possibilities.
You don’t need to be a professional artist to create beautiful items—just a few materials and a bit of imagination will do the trick.
The joy of working on these projects is not just in the final product, but in the creativity and fun you have along the way.
Create Your Own Washi Tape
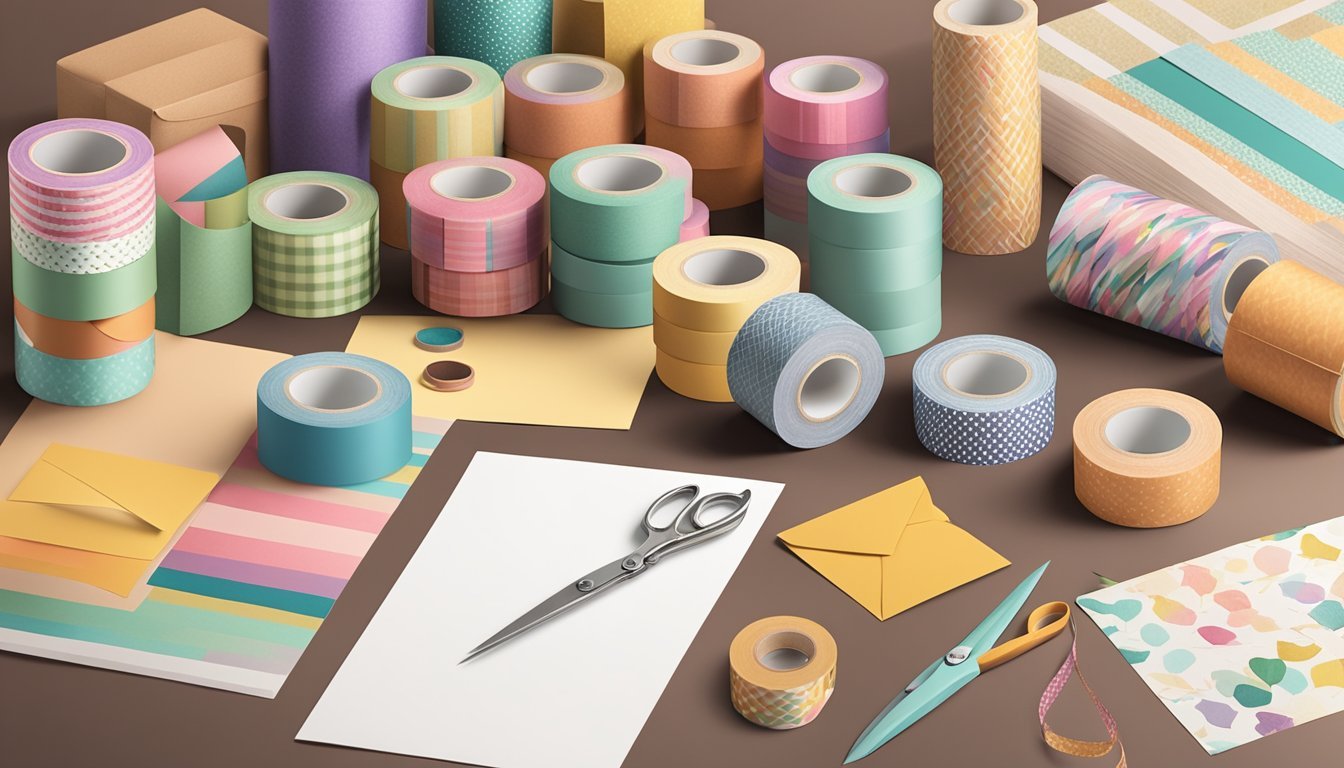
Making your own washi tape is a fun and creative project.
You can customize the designs to match your stationery style perfectly.
Start by choosing a simple design or pattern that you love.
It could be anything from floral motifs to geometric shapes.
Next, gather your materials.
You’ll need masking tape or painter’s tape, along with paint or markers for decorating.
If you want to use prints, design your custom graphics on your computer.
You can also experiment with stamps or stencils for added flair.
Apply your design carefully on the tape, ensuring it’s even.
Let it dry completely, especially if you’re using paint.
Once dry, you can cut the tape into different widths.
This way, you have a variety of sizes to fit any project.
Enjoy using your homemade washi tape to add unique touches to your letters and notes!
2) Design Personalized Notebooks
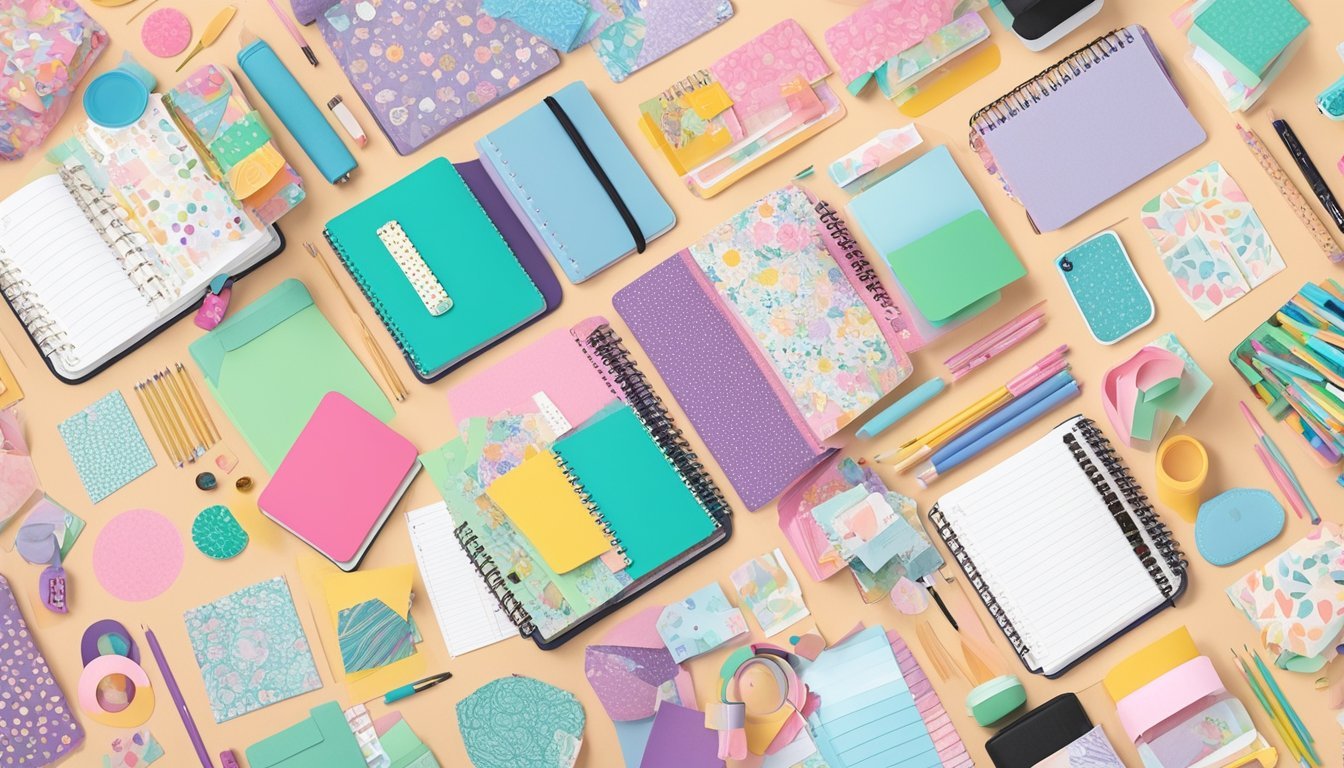
Personalizing notebooks can be a fun way to express yourself.
Start by choosing a design theme that resonates with you, like nature, geometric patterns, or a favorite color scheme.
You can use various materials to decorate the covers.
Consider using fabric, decorative paper, or even photos.
Adhesives like Mod Podge work great for attaching these materials securely.
If you’re feeling crafty, try techniques like painting or drawing directly on the cover.
Hand lettering your name or an inspiring quote adds a personal touch.
For a simple yet stylish option, create custom covers using printable templates.
Websites like Canva offer editable designs that you can tweak to match your personality.
Just print, cut, and attach them to your notebook.
Don’t forget to include some unique touches inside.
Use washi tape along page edges or add custom bookmarks.
This not only makes the notebook special but also adds a little flair to your everyday writing.
Handmade Envelopes and Liner
Making your own envelopes can add a personal touch to your custom stationery.
You can easily craft envelopes using various materials you have at home.
Start by choosing decorative paper that resonates with your style.
This could be scrapbooking paper, old maps, or even pages from a magazine.
Measure and cut the paper into a rectangle, then fold it to create the envelope shape.
Next, consider adding a liner inside your envelope.
This can enhance the aesthetic and surprise the recipient.
Use a liner template from an online resource or create your own.
Trace it onto your chosen paper, cut it out, and simply apply adhesive to secure it inside the envelope.
If you want to get a bit creative, try experimenting with different closure types.
You can use simple glue, washi tape, or even decorative twine.
For a finishing touch, consider embossing designs on your envelopes using embossing powder.
This creates a raised, glossy effect that feels unique.
DIY Rubber Stamps
Creating your own rubber stamps is a fun and practical way to enhance your stationery.
You can customize them with your unique designs or messages.
Start by gathering materials like rubber carving blocks, carving tools, and ink pads.
You can sketch a design on paper and transfer it to the rubber block for carving.
If you don’t want to carve, consider using erasers.
They work great too.
Just draw or emboss your design on the eraser, and trim it down.
This method is simple and perfect for quick projects.
For a fun twist, use foam sheets to create stamps.
Cut your desired shape and attach it to a sturdy backing.
A little double-sided tape can hold everything in place.
Once your stamp is ready, apply ink and try it out on various papers.
Whether for gift tags or personalized notes, your custom stamps will add a special touch to any project.
Custom Wax Seals
Creating custom wax seals can add a unique flair to your stationery.
It’s a fun way to make your envelopes stand out.
To start, gather your materials.
You’ll need sealing wax, a wax seal stamp, and something to melt the wax—like a spoon and a candle or a melting pot.
Melt the sealing wax and pour it onto the back of your envelope.
You can use a circular sticker to adhere a pre-made seal if you prefer.
For a creative touch, consider making two-tone wax seals.
Simply create one wax seal, cut out the design, and place it onto a second layer of melted wax in a different color.
Don’t shy away from experimenting with embellishments.
Press flowers or glitter into the soft wax before stamping for extra personality.
Understanding Custom Stationery
Creating custom stationery is a fun way to express your personality and creativity.
Whether for personal use or gifting, knowing the right materials and design elements can enhance your project.
Materials You Can Use
When making custom stationery, choosing the right materials is crucial.
Here’s a list of popular options:
- Paper: Consider the weight and texture. You can opt for smooth, glossy, or textured paper to match your style.
- Envelopes: Match the envelope with your paper. You can buy pre-made ones or make your own using materials like fabric or decorative paper.
- Adhesives: Use glue sticks, double-sided tape, or washi tape for adding embellishments.
- Printing Options: If you plan to print, consider ink quality and printer settings. Laser printers work well for vibrant colors.
Design Elements to Consider
Now let’s talk design.
Your stationery can include various design elements:
- Personal Information: Include your name, address, or a logo if it’s for a brand.
- Visuals: Think about borders, illustrations, or patterns. Adding personal touches like your favorite colors or motifs can make it unique.
- Fonts: Choose fonts that reflect your style. Play around with size and spacing for better readability.
- Usage Context: Consider how you’ll use the stationery. Different occasions may call for different styles—formal for business, playful for personal letters.
Tools and Techniques
Creating custom stationery can be a lot of fun and fulfilling.
Getting the right tools and mastering some techniques can make a significant difference in your projects.
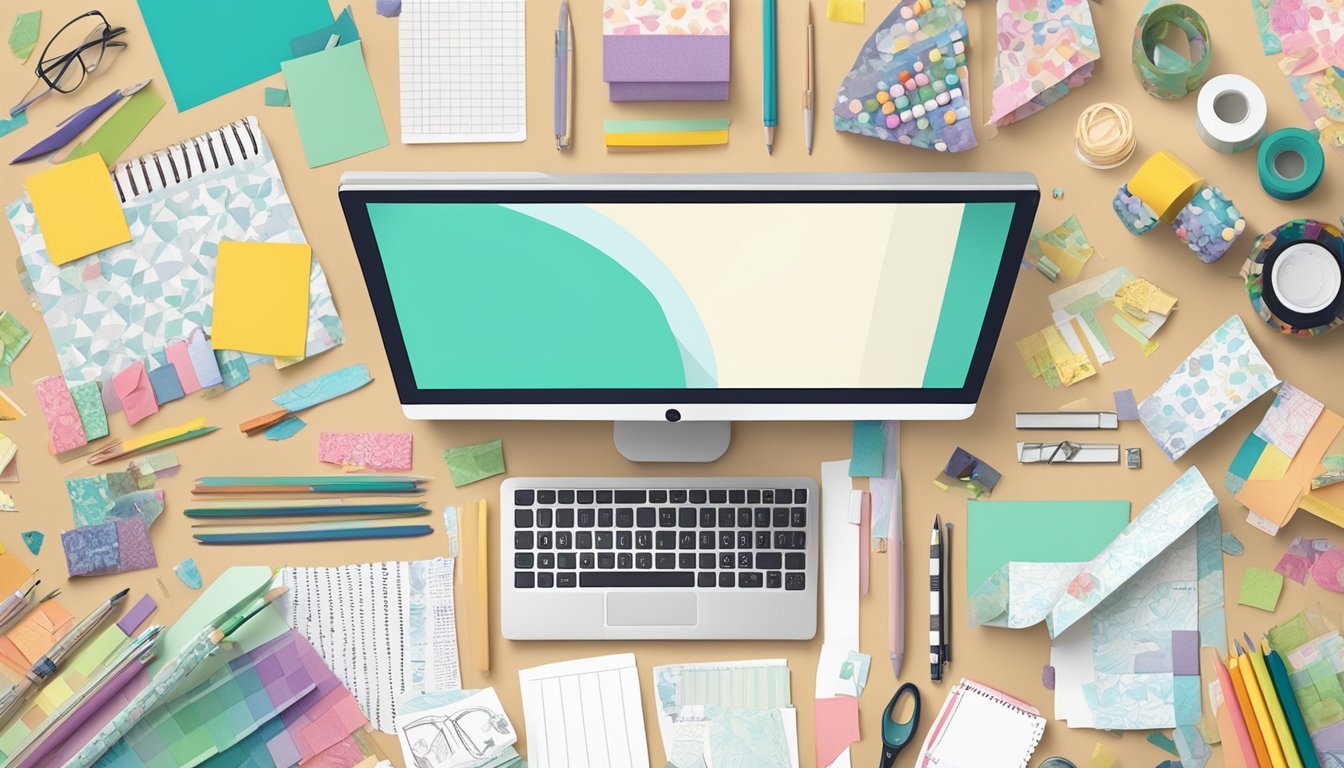
Digital Tools for Designing
When it comes to designing your stationery, digital tools can simplify the process.
Programs like Canva or Adobe Illustrator allow for creative freedom.
Here’s what you can utilize:
- Templates: Many platforms offer pre-designed templates that you can customize to fit your style.
- Graphics: Access to royalty-free images, icons, and patterns enhances your design.
- Fonts: Choose from a variety of fonts to match your stationery’s vibe.
To get started, ensure that you have access to a good printer.
Consider cardstock for a professional touch.
Lastly, exporting your designs in high-resolution will ensure crisp, clear prints.
Hands-On Techniques
Hands-on techniques can add a unique charm to your stationery.
Here are some fun methods you can try:
-
Stamping: You can create your own stamps using linoleum or rubber. Carve initials or fun designs to imprint.
-
Washi Tape: This decorative tape adds color and patterns easily. Use it to border notecards or wrap around envelopes.
-
Die-Cutting: If you have a die-cutter, it’s great for creating shapes and borders. You can also hand-cut designs if necessary.
Experiment with combining these techniques for a mixed-media approach.
This personal touch can make your stationery truly one-of-a-kind.