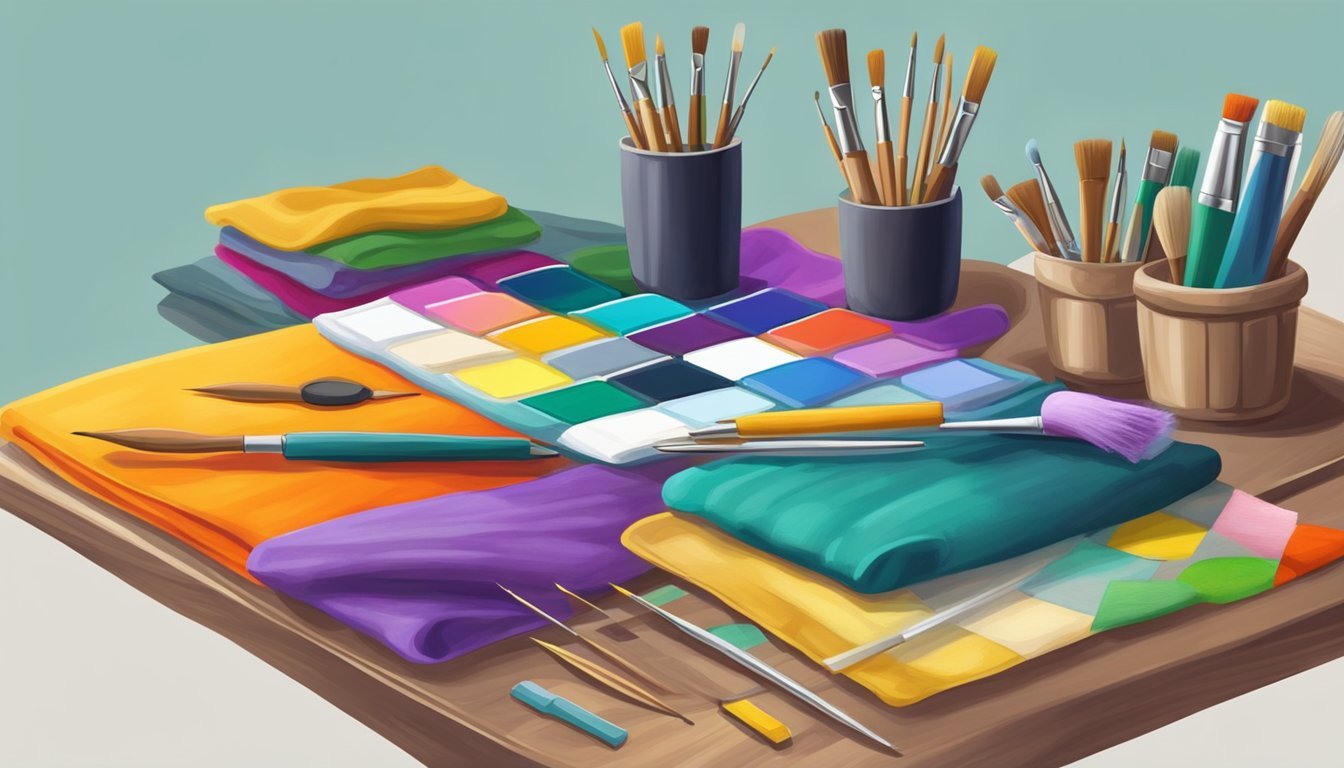
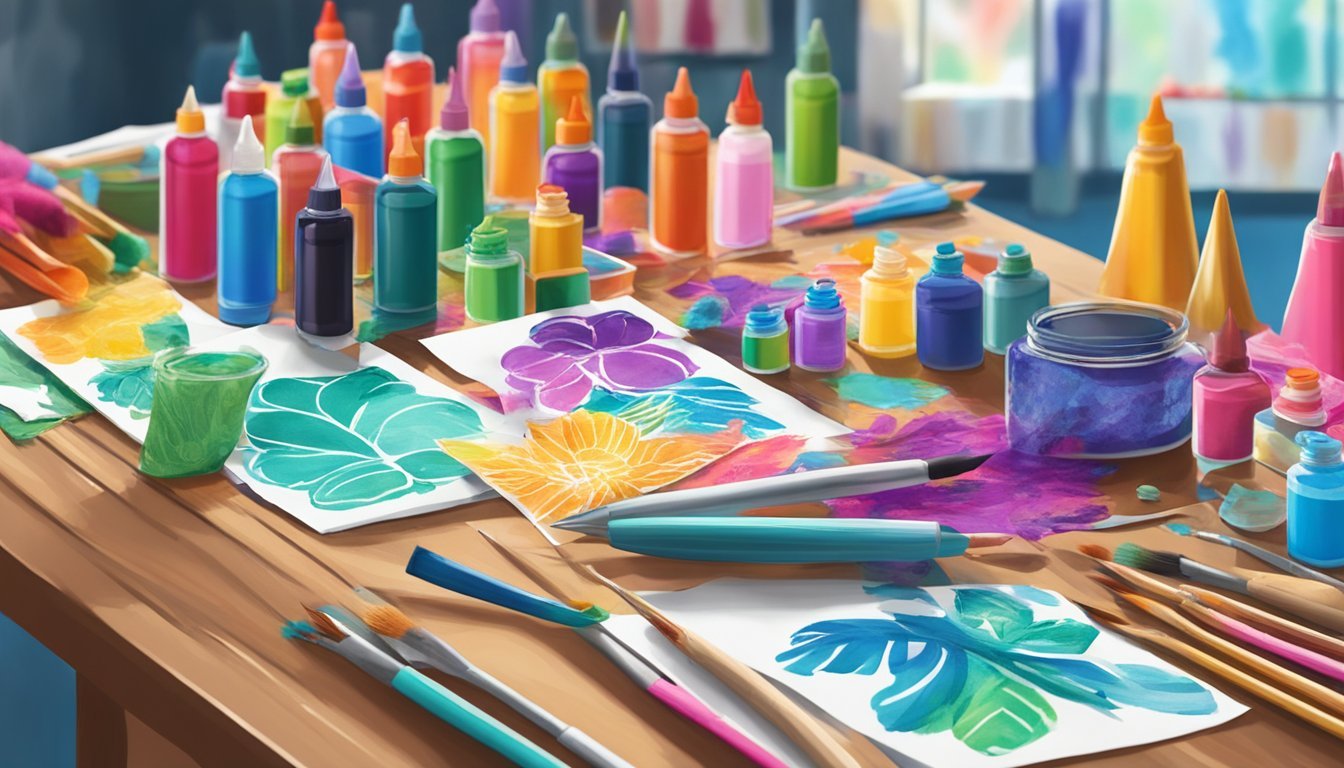
If you’re looking to add some personality to your fabric items, fabric painting is a fun and creative way to do it.
You don’t need to be a professional artist to enjoy this craft—there are plenty of easy and enjoyable techniques to explore. These methods will help you transform plain fabrics into unique pieces that reflect your style.

Whether you’re revamping old clothes or making a statement with accessories, fabric painting opens up a world of possibilities.
From superheroes to abstract designs, the only limit is your imagination.
Grab some paint and let your creativity flow!
1) Batik Design with Wax
Batik design is a unique fabric painting technique that uses wax as a resist to create intricate patterns.
You start by preparing your fabric, typically cotton or silk, which absorbs dyes well.
Once your fabric is ready, you apply wax in your desired patterns.
This is usually done with a tool called a canting, allowing for fine lines and details.
After the wax is set, you dye the fabric, ensuring the areas covered in wax resist the color.
Once the dye has dried, you can remove the wax by soaking the fabric in hot water.
This reveals the stunning design underneath.
You’ll find that each piece is a blend of creativity and tradition, making your batik truly unique.
Experiment with different colors and patterns to personalize your creation.
It’s a fun way to express yourself through fabric art!
2) Spray Bottle Splatter Art

Spray bottle splatter art is a super fun and easy technique to add some flair to your fabric projects.
You just need a spray bottle, fabric paint, and the fabric you want to decorate.
Start by filling the spray bottle with your choice of diluted fabric paint.
You can mix different colors to create unique effects.
Make sure the spray tip is set to provide a fine mist for better control.
Set up your work area, and lay down some newspaper or a drop cloth to catch any splatters.
It’s a good idea to wear gloves to keep your hands clean.
Aim and spray away! You can play around with distance and angle to get different splatter effects.
Closer sprays will create more concentrated spots, while spraying from farther away yields lighter, more dispersed patterns.
Once you’re happy with your artwork, let the fabric dry completely before using or washing it.
This technique is not only simple but also allows for lots of creativity.
Enjoy experimenting!
3) Block Printing with Leaf Patterns
Block printing with leaves is a creative way to add nature-inspired designs to your fabric.
It’s simple and fun, making it perfect for beginners.
Start by choosing fresh leaves with interesting shapes.
Paint the vein side of the leaf using fabric paint and place it paint-side down on your fabric.
Cover the leaf with a piece of paper to protect your hands and to ensure even pressure.
Use a brayer or your hands to press down firmly.
This helps transfer the paint onto the fabric.
Carefully lift the leaf to reveal the impression.
You can repeat this process with different leaves to create a unique pattern.
Experiment with colors and placements for variety.
This technique offers an organic feel to your projects.
It’s a great way to make custom fabric that reflects your personal style.
Enjoy the process, and let your creativity flow!
4) Bleach Pen Scribbles

Bleach pen art is a fun and easy way to create unique designs on fabric.
You’ll need a Clorox gel bleach pen and a cotton shirt or any fabric of your choice.
Start by laying your fabric flat on a table to work more easily.
Make sure to place plastic, like a bag or wax paper, between the layers of fabric.
This prevents the bleach from soaking through and ruining the back of your project.
Now it’s time to get creative! Simply squeeze the bleach pen gently as you draw.
You can make squiggles, shapes, or even letters.
The more cotton content in the fabric, the better the bleach will work.
Wait about 5-10 minutes to let the bleach develop.
Keep an eye on it; the color change happens fast!
Once you’re happy with the result, rinse the fabric with cold water and let it dry.
You’ll have a one-of-a-kind piece that shows off your artistic flair.
5) Tie-Dye Spiral Creations
Tie-dyeing is a classic fabric painting technique that lets your creativity shine.
The spiral pattern is especially fun and visually appealing.
To create a spiral tie-dye design, start by laying your fabric flat.
Pinch the center and twist it to form a spiral shape.
Use rubber bands to secure it, creating wedges for applying different colors.
Choose vibrant dye colors to make your design pop.
Apply the dyes in sections, starting with one color at a time.
You might use red for one section, followed by orange and yellow for the others.
After applying the dye, wrap your fabric in plastic to retain moisture.
This helps the dye set in and intensifies the colors.
Allow it to sit for several hours or up to 24 hours for bolder hues.
Once you’re ready, rinse out the excess dye and wash your fabric.
Let it dry, and you’ll have a stunning spiral creation to show off.
This technique is perfect for shirts, bags, or any fabric item that needs a splash of color.
Enjoy the process and experiment with color combinations!
Choosing the Right Fabric
Selecting the appropriate fabric is crucial for a successful painting experience.
Different fabrics can affect how the paint adheres and looks once dry.
Understanding the differences between natural and synthetic materials, along with proper preparation, will ensure the best results.
Natural vs Synthetic Fabrics
Natural fabrics, like cotton and linen, are often preferred for fabric painting.
They absorb paint well, allowing for vibrant colors and detailed designs.
Cotton is particularly great because it’s versatile and easy to work with.
Synthetic fabrics, such as polyester, can also be used but may require special paint designed for non-absorbent surfaces.
They’re less forgiving than natural fibers, so achieving the desired effect may take experimentation.
When choosing fabric, consider its weight and texture, too.
Heavier fabrics can hold paint differently compared to lighter ones.
Always test paint on a scrap piece before diving into your project.
Preparing Your Fabric for Painting
Before painting, it’s important to prep your fabric to ensure the best results.
Start with a pre-wash to remove any sizing or finishes that could interfere with paint adherence.
Use a gentle detergent and avoid fabric softeners.
Once washed, let your fabric dry completely.
You can iron it to remove wrinkles, which helps create a smooth painting surface.
If you plan to use acrylic paint, allow at least 24 hours for it to dry completely.
Finally, consider stretching your fabric on a frame or hard surface while you paint.
This keeps it taut and prevents unwanted folds or creases during the process.
Proper preparation sets you up for a successful and enjoyable painting experience.
Essential Fabric Painting Supplies

Getting the right supplies is crucial for a successful fabric painting project.
You’ll want to choose the best paints and brushes that suit your style and technique.
Types of Fabric Paints
When selecting fabric paint, you have several options.
Here are the main types:
-
Acrylic Fabric Paint: This is versatile and widely used. It adheres well to fabric and tends to be the go-to for most projects. It’s water-based and easy to clean up if you make a mess.
-
Oil-based Paint: This type provides a durable finish and is great for heavier fabrics. Keep in mind that clean-up requires solvents and ventilation.
-
Fabric Dye: Ideal for tie-dye and other immersion techniques. Fabric dye penetrates the fibers, creating long-lasting color.
-
Spray Fabric Paint: Perfect for large areas and achieving smooth coverage. Just be sure to use it in a well-ventilated area.
Choose your fabric paint based on your project needs, colors, and the fabric you’re working with.
Choosing the Right Brushes
Selecting the right brushes can elevate your fabric painting experience.
Here are some brush types to consider:
-
Flat Brushes: These are great for painting large areas and creating sharp edges. They come in various widths for different effects.
-
Round Brushes: Ideal for detail work and intricate designs. They have a pointed tip for precision.
-
Fan Brushes: Perfect for adding texture or creating unique patterns. They can also be used for blending colors.
-
Sponge Brushes: Useful for creating soft, dappled effects. They work well with fabric paint for a more fluid look.
When choosing brushes, consider both the size and shape based on your design preference.
Quality brushes can make a significant difference in your results.
Tips for Long-Lasting Designs

To ensure your fabric painting projects stand the test of time, focus on techniques that enhance durability and proper care.
Follow these tips to keep your designs vibrant and intact.
Heat-Setting Your Paint
Once you finish painting, heat-setting is crucial for longevity.
Use an iron on a low to medium setting.
Place a cloth over your design and press the iron down for about 30 seconds on each area.
- Do not slide the iron; this can smudge the paint.
- After heat-setting, allow your fabric to cool completely.
This process locks in the paint, providing a protective layer against wear and tear.
It’s especially effective for natural fabrics like cotton or silk, enhancing the paint’s adhesion.
Caring for Painted Fabrics
To maintain your fabric’s appearance, you need to take proper care.
- Wash gently: You should hand wash painted fabrics in cold water. Or, use a gentle cycle without harsh detergents.
- Avoid bleach: This can damage your designs. Instead, opt for mild soap to keep colors vibrant.
Drying is key as well.
Air drying is preferable.
If using a dryer, choose a low heat setting.
- Keep out of direct sunlight to prevent fading.


