
Personalizing your clothing can be a fun and creative way to express your unique style.
Whether you’re looking to upcycle a favorite t-shirt or add a trendy twist to your jeans, DIY projects offer endless possibilities. With just a bit of imagination and some basic materials, you can transform everyday garments into statement pieces that reflect your personality.

From simple embellishments to more intricate designs, these projects can be tailored to any skill level.
You don’t need to be a sewing pro to make something special; even beginner-friendly ideas can yield impressive results.
Embrace the opportunity to turn your wardrobe into something distinctly yours while enjoying the process of crafting.
Patch up with Iron-On Badges
Iron-on badges are a fun way to give your clothing a fresh look.
They’re easy to apply, making them ideal for DIY projects.
Start by choosing the patches that catch your eye.
Whether you like quirky designs or classic logos, there’s a badge for everyone.
Before you begin, prepare your fabric.
Make sure it’s wrinkle-free by giving it a quick iron.
A smooth surface helps the patch adhere better.
Position the patch where you want it.
Then, use a hot iron to press down on the patch for about 10-15 seconds.
This step bonds the patch to the fabric.
Let it cool for a moment, and you’re good to go! You can add patches to jackets, jeans, or even hats for a personalized touch.
These patches not only revamp your wardrobe but also show off your unique style.
So, grab some iron-on badges and start customizing your clothes today!
Stencil with Fabric Paint
Stenciling is a fun way to personalize your clothing.
It allows you to create unique designs that reflect your style.
To get started, gather your materials.
You’ll need plain fabric, fabric paint, a stencil of your choice, and a brush or sponge.
Prepare your fabric by washing and ironing it for a smooth surface.
Position the stencil where you want the design.
Secure it with tape to prevent any shifting.
Next, load your brush or sponge with paint and apply it over the stencil.
Be careful not to use too much paint to avoid bleeding.
Once you’re satisfied with the paint application, carefully lift the stencil off.
If you used freezer paper, peel it slowly for clean edges.
For other stencil types, clean them with soap and water for future use.
Let your design dry completely before wearing or washing.
This method allows you to customize shirts, bags, or even home decor items.
Enjoy the process, and don’t be afraid to experiment with colors and patterns!
3) Tie-Dye for a Retro Look

Tie-dyeing brings a vibrant, retro vibe to your wardrobe.
It’s an easy and enjoyable way to personalize your clothing with unique patterns and colors.
To start, gather your supplies: plain cotton fabric, dye, rubber bands, and gloves.
Choose a technique that resonates with you, like the classic spiral or bullseye pattern.
Once you’ve folded your fabric, secure it with rubber bands.
This helps create the distinct shapes that tie-dye is known for.
Next, apply your dye.
You can mix colors for a fun rainbow effect or stick to two shades for a classic look.
Remember to wear gloves to avoid stained hands.
After dyeing, let your fabric sit for a few hours to fully absorb the colors.
Rinse and wash it separately to prevent any dye bleeding onto other items.
When done, you’ll have a piece that stands out as uniquely yours.
Tie-dyeing not only revives your clothes but also adds a nostalgic touch to your style.
Enjoy the creative process and embrace the imperfections that make each item special.
4) Embroider Your Favorite Design
Embroidering your favorite design can be a fun way to personalize your clothing.
Start by choosing a design you love.
It could be a simple pattern, a quote, or even a small image.
Gather your materials: embroidery floss, a needle, and a hoop if you want to keep your fabric taut.
You can use a water-soluble pen to trace your design on the fabric.
This makes it easier to follow.
When you begin, take your time.
Use basic stitches, like backstitch or satin stitch, to bring your design to life.
Remember to keep the back as neat as possible.
Avoid knots when you can; this helps keep your work tidy.
After finishing, hand wash your embroidered item carefully.
Use the delicate cycle if you choose to machine wash, and avoid the dryer.
Hang drying is the best option to preserve your work.
Keep your embroidered clothing looking great for a long time!
5) Add Studs or Spikes
Adding studs or spikes is a simple way to give your clothing a unique edge.
You can personalize jackets, jeans, or even shoes with these eye-catching details.
To start, choose the type of studs or spikes you want.
You can find various styles, from classic metallic to colorful options.
For application, you typically insert the back piece through the fabric and secure it with the top.
This works well for boots and jackets.
If you prefer a no-sew method, consider using adhesive studs.
They are easy to apply and perfect for those who don’t want to make permanent changes to their clothing.
Another technique involves hammering in prong-style studs.
Just poke the prongs through the fabric and bend them inward to hold them in place.
Experiment with different patterns and placements.
Whether you create a uniform row or a scattered design, studs and spikes can significantly change the look of your pieces.
Enjoy the creative process, and make it your own!
6) Use Bleach for a Distressed Look

Using bleach is a simple way to give your clothes a trendy, distressed vibe.
Start by choosing a shirt or jeans you want to transform.
Mix equal parts of bleach and water in a bowl or spray bottle.
For a more controlled look, a spray bottle allows for more design flexibility.
Dip half of your garment into the bleach mixture or spray it directly onto the fabric.
Keep an eye on the item as the color starts to fade.
Let the bleach sit for about 5 to 10 minutes, depending on how light you want it.
Rinse the fabric thoroughly with cold water to stop the bleaching process.
To neutralize the bleach, soak the garment in a vinegar solution afterward.
After rinsing, wash it in cold water and let it air dry.
You can also experiment with stencils for unique patterns.
This way, you can personalize your distressed look even further, giving your clothing a one-of-a-kind style.
7) Sew on Some Cool Patches

Sewing on patches is a fun way to personalize your clothing.
You can choose patches that reflect your interests or style.
It’s an easy project, even if you’re not an experienced sewist.
Start by selecting the patches you want.
You can find these at craft stores or create your own using fabric and thread.
If you opt for homemade patches, consider using felt for durability.
Position the patch on your clothing where you want it.
Pin it in place to ensure it doesn’t shift while you sew.
Then, use a needle and thread or embroidery floss to sew around the edges.
This adds a secure finish and a bit of flair.
Don’t worry about making it perfect.
The charm of DIY lies in its uniqueness.
You can mix and match different patches to create a one-of-a-kind piece.
Iron-on patches are another option if you want something quicker.
Just make sure to follow the instructions for heat application.
Take your time, and enjoy the process of making your clothing uniquely yours!
8) Create Fringe with Scissors

Creating fringe on your clothing is a fun way to personalize your wardrobe.
It adds texture and a unique touch to any piece.
Start with a shirt or a skirt where you want the fringe.
Using scissors, make small, even cuts along the hem.
Aim for strips that are about half an inch wide, but adjust based on your preference.
If you’re working with a fabric that frays easily, consider using fabric glue to secure the edges after cutting.
This helps maintain the look and prevents wider fraying.
For a trendy touch, you can also add bead accents to your fringe.
Simply thread beads onto the end of a few strips for added flair.
Experiment with different lengths and styles of fringe.
You can make it uniform or vary the length for a playful look.
Enjoy the creative process as you transform your clothing into something uniquely yours.
9) Add Lace Trim for a Feminine Touch

Adding lace trim to your clothing is a simple way to infuse a feminine vibe.
Lace can elevate the look of everything from t-shirts to dresses.
Start by selecting a lace trim that matches your fabric.
Lay it on the edge of your garment where you want to add a delicate touch.
Use straight pins to secure the lace, keeping everything aligned.
Sew along the trim’s edge.
A straight stitch works well for this.
Make sure to remove the pins as you go to avoid any mishaps.
If you prefer a no-sew option, fabric glue can hold the lace in place too.
Just keep it clean and neat for the best results.
You might also consider layering lace beneath the fabric for a unique effect.
This can create a soft peekaboo look that’s both subtle and stylish.
Whether you add it to sleeves, hemlines, or necklines, lace is versatile.
Get creative and enjoy the process!
10) Applique with Fabric Scraps

Applique is a fun way to add your unique touch to clothing using fabric scraps.
You can use leftover pieces from previous projects or old clothes that you no longer wear.
Start by choosing a shape or design you want to create.
Simple shapes like hearts, stars, or even letters work great.
Trace your design onto the paper side of fusible web.
Next, place your fabric scraps on the fusible web.
Use an iron to set the fabrics temporarily.
Once set, cut out the shape and peel off the paper backing.
Now, you can fuse your applique piece to the clothing item.
A hot iron will help bond it.
To finish, topstitch around the raw edges for added durability.
This technique lets you express your creativity and recycle fabric simultaneously.
It’s perfect for personalizing t-shirts, bags, and more.
Experiment with different colors and patterns to make each piece uniquely yours.
Getting Started with DIY Clothing

Starting your journey in DIY clothing is exciting! Here are some steps to help you dive in confidently.
Gather Your Supplies
Before you begin, make sure you have the essentials:
- Fabric: Old t-shirts, denim, or any fabric you want to transform.
- Tools: Scissors, needle and thread, sewing machine (if you have one).
- Extras: Fabric paint, embellishments, and stencils can add flair.
Choose Your Project
Pick a simple project to begin.
Here are a few ideas:
- Customizing t-shirts (adding graphics or cutting for a different fit)
- Upcycling old jeans into shorts
- Hand-painting designs on shoes
Start with something you’re excited about!
Learn the Basics
If you’re new to sewing or crafting, check out tutorials.
There are many resources available, including:
- Video tutorials: Visuals can really help!
- Written guides: Step-by-step instructions make it easy to follow along.
Set Up a Workspace
Find a comfortable area to work.
Good lighting helps you see details.
Keep tools organized to avoid frustration.
Experiment and Have Fun
Don’t stress about perfection.
Explore your creativity! Each project is a chance to learn.
Remember to enjoy the process.
Choosing the Right Materials

When it comes to personalizing your clothing, selecting the right materials is key.
Here are some popular options to consider:
- Cotton: Soft and breathable, perfect for t-shirts and summer wear. It’s easy to sew and comes in various prints.
- Denim: Ideal for jeans, skirts, or jackets. Upcycling old denim can create unique pieces.
- Wool: Great for cozy items like hats and scarves. It’s sustainable and adds warmth during colder months.
- Fleece: Soft and warm, perfect for casual wear. It’s easy to work with and great for winter projects.
Before you dive in, think about the functionality of your project.
Will it be worn often? If so, choose durable materials.
You’ll also want to consider the environmental impact of your fabrics.
Look for options like:
- Organic Cotton
- Recycled Materials (like REPREVE® Recycled Canvas)
These choices are more eco-friendly and can give your projects an added layer of meaning.
Don’t forget about the tools you’ll need.
Having proper sewing notions, like needles, threads, and scissors, will make your crafting easier.
Mix and match materials to give your clothing a unique touch! Experimenting is part of the fun, so take your time and enjoy the process.
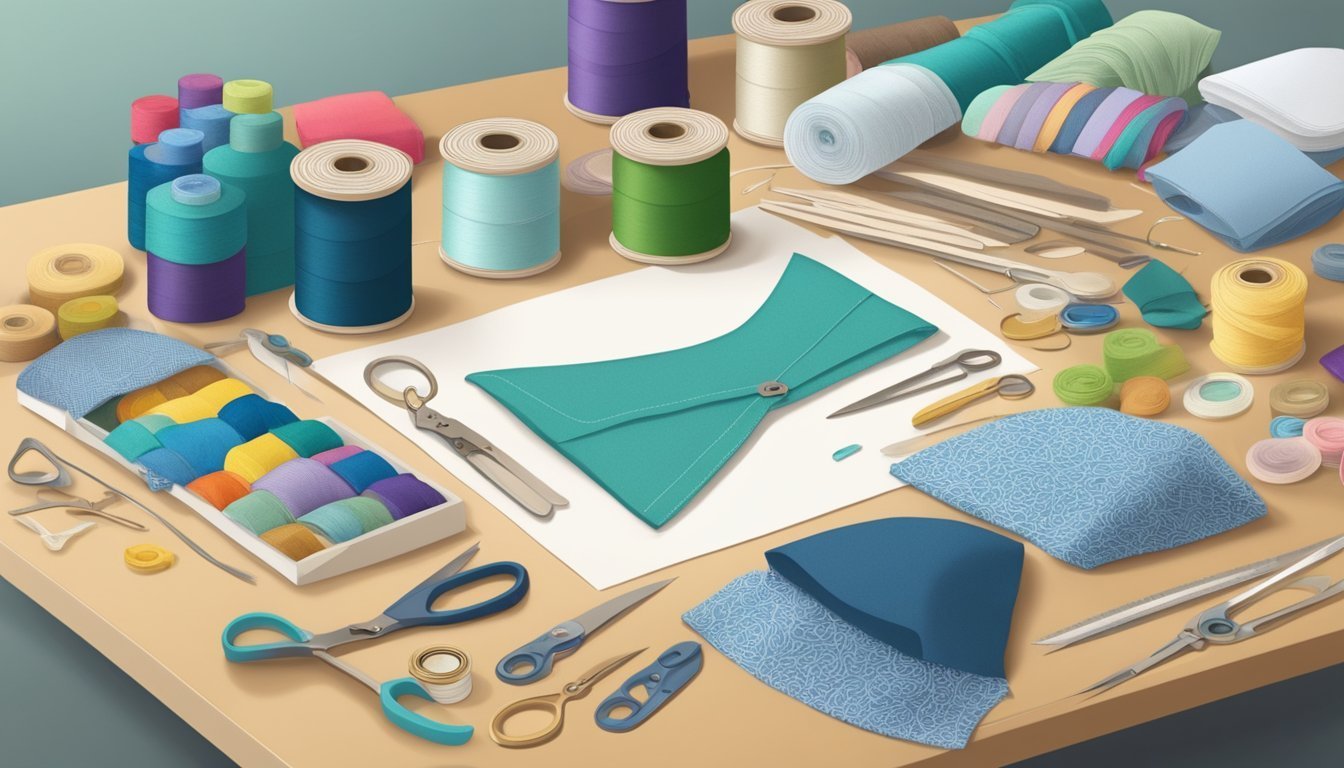
Essential Tools for DIY Clothing

Getting started with DIY clothing projects is exciting, and having the right tools can make all the difference.
Let’s look at some essential items that will set you up for success.
Sewing Machines
A sewing machine is a game changer for any DIY clothing project.
It speeds up the process and gives you a professional finish that hand-sewing might not achieve.
When choosing a machine, consider these features:
- Stitch Variety: Look for a machine that offers multiple stitch types, including straight, zigzag, and decorative stitches. This adds versatility to your projects.
- Automatic Features: Automatic threading and buttonhole functions save you time and frustration.
- Ease of Use: If you’re a beginner, opt for a user-friendly model with clear instructions.
Many brands offer reliable options at varying price points.
Investing in a good sewing machine can elevate your DIY game.
Fabric Scissors
Quality fabric scissors are essential for any DIY clothing enthusiast.
Using the right scissors makes cutting fabric precise and effortless.
Here are key points to consider when selecting fabric scissors:
- Sharpness: Ensure they are sharp for clean cuts. Dull blades can fray fabric edges and mess with your measurements.
- Comfort: Look for scissors with ergonomic handles. Comfort is important for prolonged use and reduces hand fatigue.
- Size: A longer blade is better for cutting through larger pieces of fabric, while smaller scissors can help with detailed work.
Having a dedicated pair of fabric scissors means you won’t risk dulling your kitchen scissors.
Treat them well, and they’ll last through many projects.
Techniques for Adding Personal Touches
Personalizing your clothing can be a fun and creative process.
There are many techniques to help you achieve unique looks, focusing on hands-on methods like embroidery and fabric painting.
Embroidery Basics
Embroidery is a fantastic way to customize your garments.
With just a few supplies, you can add intricate designs or simple initials to your clothing.
Supplies you need:
- Needle
- Embroidery thread
- Fabric stabilizer (optional)
- Scissors
Start by selecting the design you want.
You can sketch it on paper first or find inspiration online.
If you’re new, simple patterns or your initials can be a good start.
To begin, use a hoop to hold the cloth taut.
Thread your needle, making a knot at the end.
Pull your thread through the fabric from underneath, and follow your design with basic stitches like backstitch or satin stitch.
Using Fabric Paints
Fabric painting is another easy and exciting way to personalize your clothing.
It allows you to create expressive designs and bold colors.
Things you’ll need:
- Fabric paints
- Brushes or sponges
- Stencils (optional)
- Protective covering for your workspace
Begin by prepping your clothing item.
First, wash and dry it to remove any dirt or finishes.
Then, lay it flat and put a protective covering inside to prevent paint from bleeding through.
Use stencils for clean lines, or freehand your design if you’re feeling adventurous.
Apply the paint using brushes, sponges, or even stamping techniques.
Remember to let each layer dry before adding more details, and follow the manufacturer’s instructions.
Both methods offer a fantastic way to showcase your style.
Give them a try!