Creating an organized art space can significantly enhance your creative process.
Whether you’re a seasoned artist or a weekend hobbyist, having everything in its place helps streamline your workflow and minimizes distractions. The right DIY projects can transform your cluttered area into a functional and inspiring environment.

In this article, you’ll discover ten creative DIY projects that can help you organize your art supplies and tools effectively.
From clever storage solutions to space-saving designs, these ideas will cater to various needs and preferences.
Let’s dive in and explore how to make your art space not only practical but also enjoyable to work in.
1) Pegboard Tool Organizer
A pegboard is a fantastic way to keep your art tools organized.
You can easily customize it to fit your needs, whether you’re working with paintbrushes, scissors, or other supplies.
To get started, choose a wall space where a pegboard will fit.
Mount it securely, ensuring it can hold the weight of your tools.
You might even use washers and long screws for a sturdy setup.
Next, add hooks and holders to keep tools off the surface.
Consider using looped holders for items like scissors or pliers.
You can also use shelves above the pegboard for larger items.
This setup not only keeps your tools visible but also allows easy access when creativity strikes.
You’ll spend less time searching for what you need and more time creating.
Plus, pegboards can be painted or decorated to match your style, enhancing your art space’s aesthetic.
Mason Jar Paint Holder

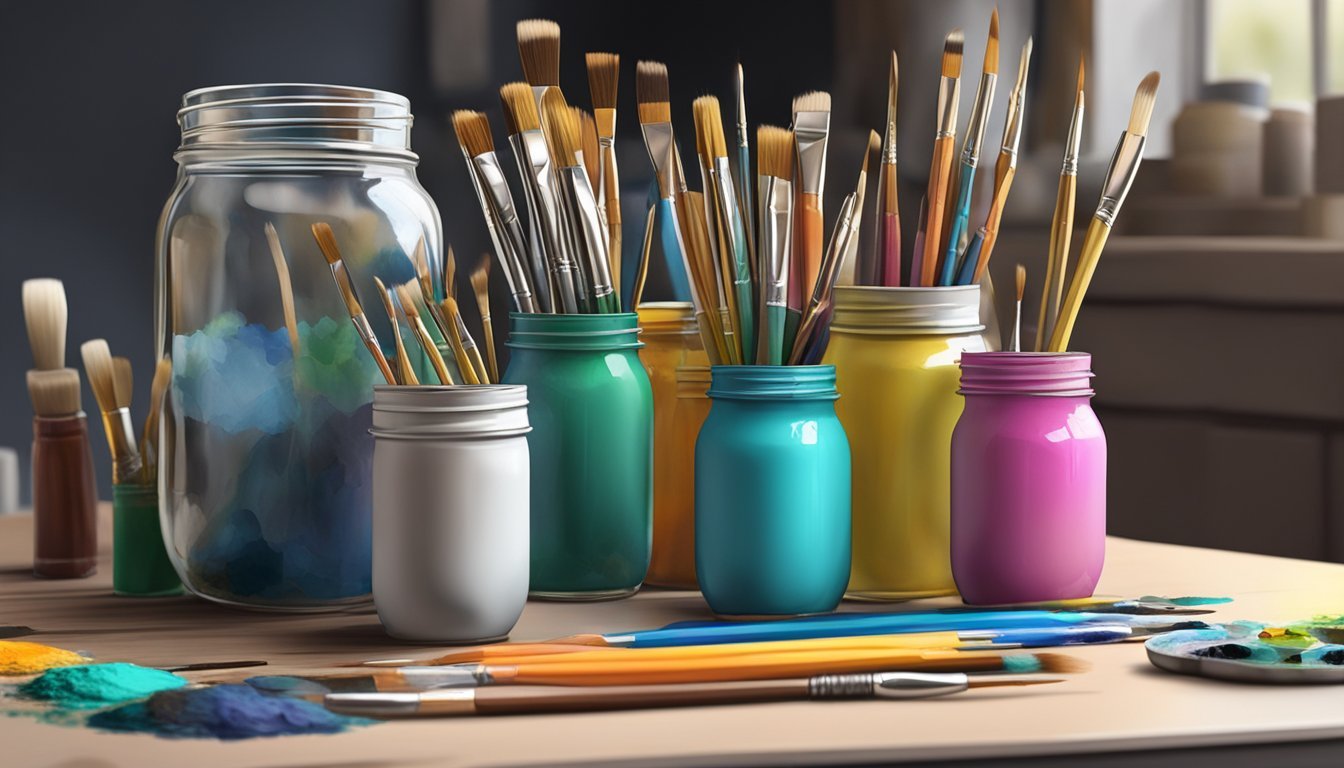
Using mason jars for your paint collection is a simple and effective way to keep your art space organized.
These jars are perfect for storing various paint types, from acrylics to watercolors.
You can easily separate your jars by color or type to make finding the right shade a breeze.
Just grab some chalkboard paint for the lids and label each jar accordingly.
It adds a personal touch and helps you keep everything sorted.
Another benefit of using mason jars is their visibility.
You can see the colors at a glance, which saves you time when you’re in the creative zone.
They also fit well on shelves or in drawers.
For an added touch, consider decorating the jars with washi tape or paint.
This way, they can also serve as decorative elements in your studio.
Enjoy the process of organizing while enhancing your artistic space!
DIY Washi Tape Dispenser

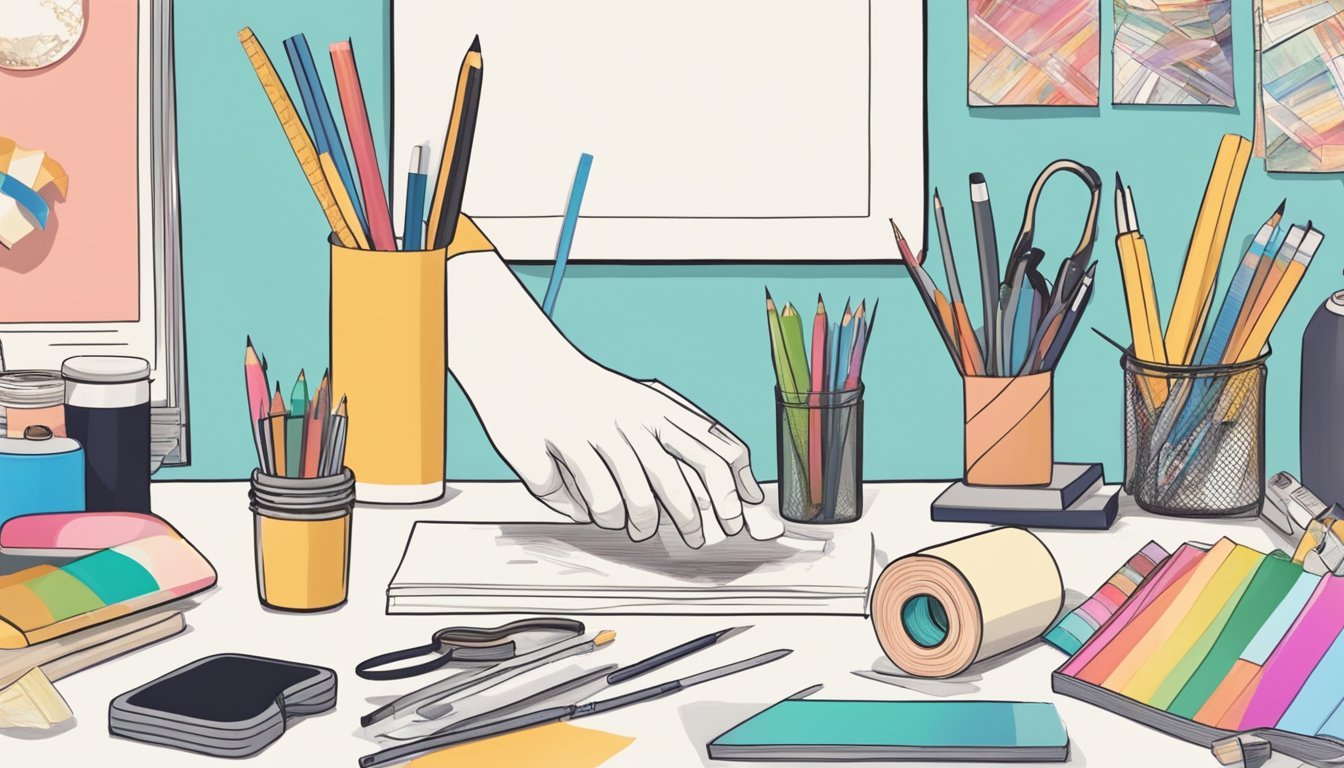
Creating your own washi tape dispenser can add a fun touch to your art space.
It not only keeps your tape organized but also adds a personal flair.
Start with a small box.
Paint it inside and out to match your decor.
Let the paint dry completely.
Next, wrap strips of washi tape around the box.
You can arrange them vertically or horizontally.
Trim the edges neatly with scissors for a clean look.
For added durability, apply a couple of coats of decoupage medium over the painted surface.
This helps protect the tape from wear and tear.
You can also design a spin-style dispenser using wood for a unique touch.
This allows you to easily find the tape you want.
Whichever method you choose, having a DIY washi tape dispenser will keep your workspace tidy and stylish.
Plus, it’s a simple project you can complete in an afternoon.
4) Magnetic Paintbrush Strip

Creating a magnetic paintbrush strip is a simple and effective way to organize your art space.
You can keep your brushes easily accessible while also adding a touch of creativity to your workspace.
Start by purchasing a magnetic strip, which you can find at most craft or hardware stores.
This strip will hold your paintbrushes securely while displaying them.
Attach the magnetic strip to a wall or the side of your workbench using heavy-duty double-sided tape or screws.
Make sure it’s at a height that’s convenient for you.
Once it’s installed, simply place your metal-handle paintbrushes onto the strip.
You’ll enjoy the way it frees up drawer space and makes choosing the right brush effortless.
Feel free to paint or decorate the magnetic strip to match your art space’s aesthetic.
This not only serves a functional purpose but also adds a personal touch to your studio.
5) Rolling Storage Cart

Creating a rolling storage cart can transform your art space into a fully organized hub.
It’s a practical solution for easy access to your supplies while keeping everything tidy.
Start by selecting a sturdy cart with multiple shelves.
You can customize each shelf to fit your needs.
Color coordinating your shelves can add a fun touch while helping you find items quickly.
Consider adding hooks to the sides for tools like scissors or rulers.
This keeps them within reach.
Use baskets or containers on each shelf to sort smaller items, making it simpler to find what you need.
A rolling cart is versatile, allowing you to move it around as necessary.
You can easily stash it away when you need space or roll it out when inspiration hits.
This project is perfect for artists of any level looking to streamline their creative workflow.
6) Pegboard Art Supply Wall
Creating a pegboard art supply wall can transform your space into a functional and organized haven.
Start by choosing a suitable pegboard and mounting it securely on the wall.
You can easily customize your pegboard with hooks and shelves.
Hang brushes, paint, and other supplies so they’re within arm’s reach.
This keeps your essentials visible and accessible, reducing clutter.
Consider adding small containers for smaller items like pencils or scissors.
These can be attached directly to the pegboard to maximize space.
Pegboards are not only practical but also a great way to showcase your creativity.
You can paint or decorate the board to match your style, turning it into a statement piece.
This setup encourages you to keep your supplies organized, making your art space more enjoyable to use.
Plus, the flexibility of pegboards means you can easily rearrange your layout as your needs change.
7) Recycled Tin Can Holders

Recycled tin can holders are a clever way to organize your art supplies.
They’re easy to create and can add a personal touch to your workspace.
Start by cleaning and removing the labels from your empty cans.
You can then paint them or cover them with decorative paper to match your style.
Once decorated, these cans can hold brushes, markers, or pencils.
You can group them by color or type for quick access.
If you want to get creative, try stacking cans or attaching them to a wooden board for additional organization.
This setup can be both functional and visually appealing.
Using recycled tin cans keeps waste out of landfills and gives you unique storage solutions.
Plus, it’s a budget-friendly option for your art space.
8) Fabric Wall Pocket Organizer
A fabric wall pocket organizer is a great way to keep your art supplies tidy and accessible.
You can easily make one using various materials like canvas or lightweight fabric.
Start by selecting your fabric and cutting it into the desired size.
Create pockets by sewing simple rectangular shapes.
You can customize the dimensions based on what you want to store—think brushes, paints, or sketching materials.
Once your pockets are ready, attach bias tape or a dowel at the top.
This will allow you to hang the organizer on your wall, saving precious tabletop space.
Additionally, using E6000 glue can add extra stability if needed.
These organizers not only help declutter your area but also add a pop of color and personality to your workspace.
You can even display fun patterns to inspire creativity while you work.
So gather your supplies and give this project a try! It’s a fulfilling way to enhance your art space without spending a fortune.
9) DIY Wooden Marker Holder

Creating a wooden marker holder is a fun and practical project.
You can customize it to fit your space and style.
Start by gathering materials like wood boards, wood glue, and a saw.
You can use 1×6 or 1×4 boards, which are simple to work with.
Cut the wood to your desired lengths.
The holder can have multiple compartments, making it easy to organize markers by color or type.
Once the pieces are cut, assemble them using wood glue.
You might want to add a finish or paint to give it a personal touch.
Let the holder dry completely before placing your markers inside.
This DIY project not only keeps your markers accessible but also adds a unique element to your art space.
10) Cork Board Inspiration Wall
Creating a cork board inspiration wall can breathe life into your art space.
It’s a simple yet effective way to keep your ideas and motivation visible.
Start by choosing a few cork boards in various sizes.
You can arrange them in an eye-catching pattern on your wall.
This allows for flexibility as you add or change out images and notes.
Pin up your favorite art pieces, quotes, or color swatches.
This not only inspires you but also brings your creative vision to life.
Consider adding fabric or decorative paper to your cork boards for a personal touch.
This turns your practical tool into a stylish decor element.
A cork board is more than just a place for notes; it’s a canvas for your creativity.
As you fill it with your artistic journey, it will keep you motivated every time you walk into your art space.
Maximize Your Space With Creative Layouts

In a small art space, every inch counts.
You can create an organized and inspiring environment by using vertical storage and functional furniture arrangements.
Here are some effective strategies to consider.
Utilizing Vertical Storage
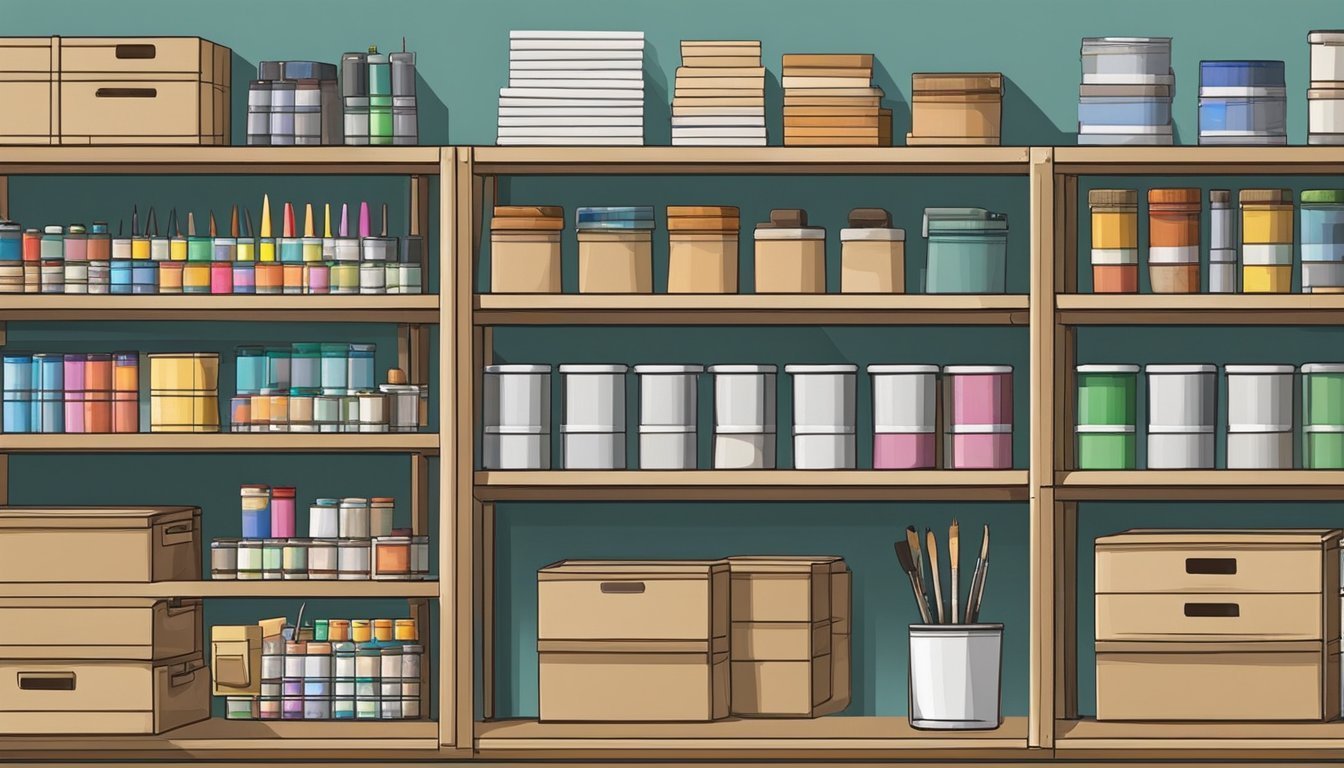
Take advantage of your walls. Install shelves to store supplies like paints, brushes, and canvases.
This keeps your workspace clear and makes it easy to grab what you need.
Pegboards are also fantastic for hanging tools and materials.
They’re customizable, allowing you to arrange items in a way that suits your workflow.
Consider using over-the-door organizers for smaller items.
These can hold everything from scissors to ribbons, saving valuable drawer space.
Magnetic strips are another clever idea for holding metal tools.
Place them above your workstation for easy access without cluttering your table.
Functional Furniture Arrangement
Your furniture layout can greatly impact the functionality of your art space.
A L-shaped desk or a foldable table can maximize corners while offering a spacious work area.
Position your desk near natural light for better visibility while working. Task lighting is essential, too, so combine overhead lights with desk lamps for illuminated flexibility.
Storage carts on wheels can be a game changer.
They provide extra surface area while being easy to move around, adapting to your changing needs.
Lastly, incorporate multi-purpose furniture.
A bench with storage underneath is perfect for keeping supplies organized while giving you a place to sit or work.
Organizing Supplies Like A Pro

Getting your art supplies organized can boost your creativity and efficiency.
By categorizing your materials and implementing a labeling system, you can streamline your workspace for maximum productivity.
Categorizing By Medium
Start by sorting your supplies based on the type of medium you use.
This makes it easier to find what you need without digging through everything.
Create distinct sections for items like:
- Paints: Group acrylic, watercolor, and oil paints together.
- Brushes: Organize by size and type, such as round, flat, or detail brushes.
- Drawing Tools: Keep pencils, pens, and charcoal in a dedicated area.
Use bins or caddies to separate each category.
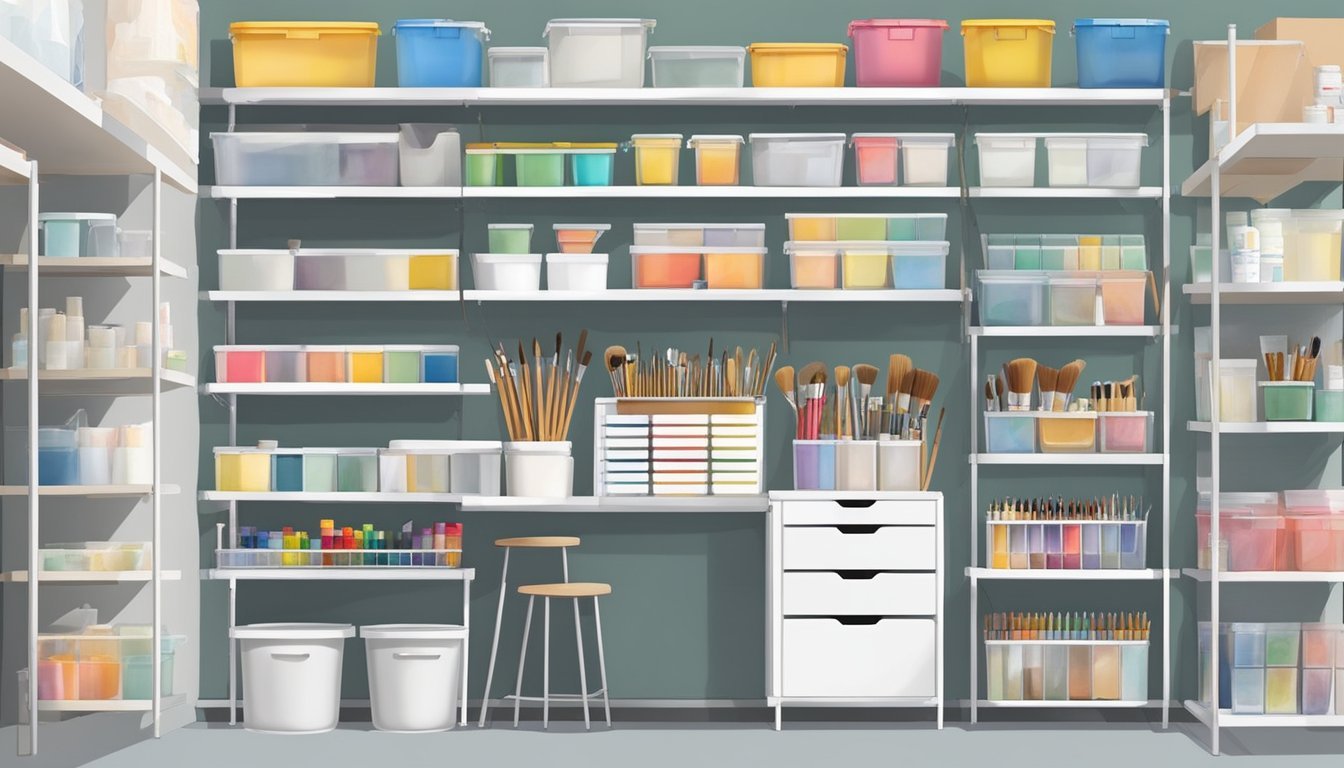
Consider color-coding your storage for quick identification.
For example, keep all watercolor supplies in a blue container and acrylics in a red one.
This simple method can save you time and minimize frustration.
Labeling Systems
A solid labeling system can change the game when it comes to organization.
Labeling helps you find supplies quickly and encourages you to put items back in their designated spots.
Use clear labels such as:
- Drawer Labels: For specific drawers, use terms like “Watercolor” or “Varnish.”
- Bin Labels: Attach labels to storage bins indicating their contents.
Consider using a label maker for a professional touch, or go with handwritten tags for a personal feel.
If you enjoy re-organizing, opt for removable labels.
This allows you to update names as your collection grows or changes.
Labels will make your art space not just organized, but visually appealing too.


